

Painting rod iron furniture is an excellent way to refresh its appearance and extend its life. Over time, rod iron pieces can develop rust and lose their original sheen due to exposure to the elements. However, with the right preparation and painting techniques, you can restore these durable, classic pieces to their former glory.
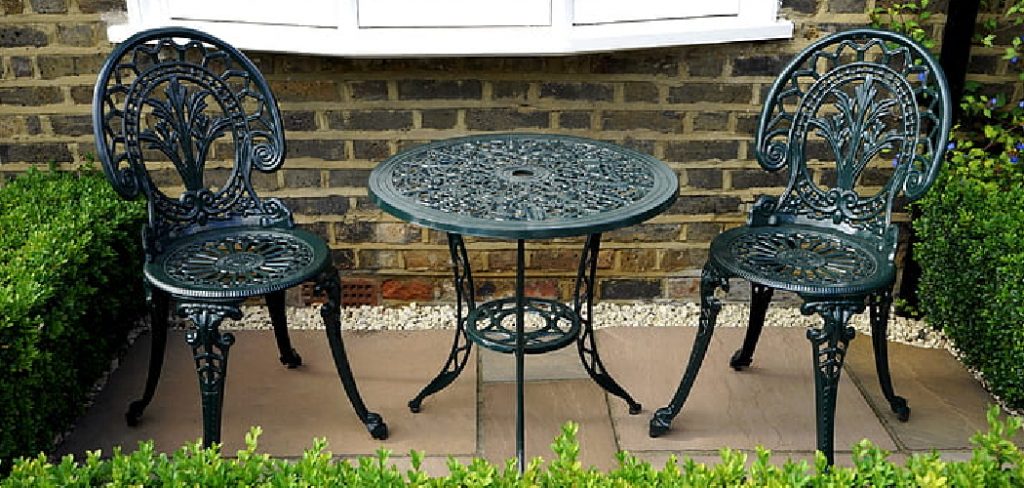
This guide will walk you through how to paint rod iron furniture, professional-looking finish that will protect your furniture for years to come. Whether you’re updating a patio set or a garden bench, a fresh coat of paint can make a world of difference.
Why Paint Rod Iron Furniture
Painting rod iron furniture not only enhances its aesthetic appeal but also provides essential protection against corrosion and weathering. Unpainted or poorly maintained rod iron is susceptible to rust, which can weaken the structure and ruin its appearance.
By applying a fresh coat of paint, you create a barrier that helps prevent moisture from causing rust, thereby prolonging the furniture’s lifespan. Additionally, painting allows for personalization, offering the opportunity to match the furniture with your existing décor or to introduce a bold, new color to your outdoor space.
Tools and Materials Needed for Painting
To achieve a professional-looking finish when painting rod iron furniture, you’ll need the right tools and materials. Here’s a list to get you started:
- Wire Brush or Sandpaper: Used for removing rust and any existing paint flakes to prepare the surface.
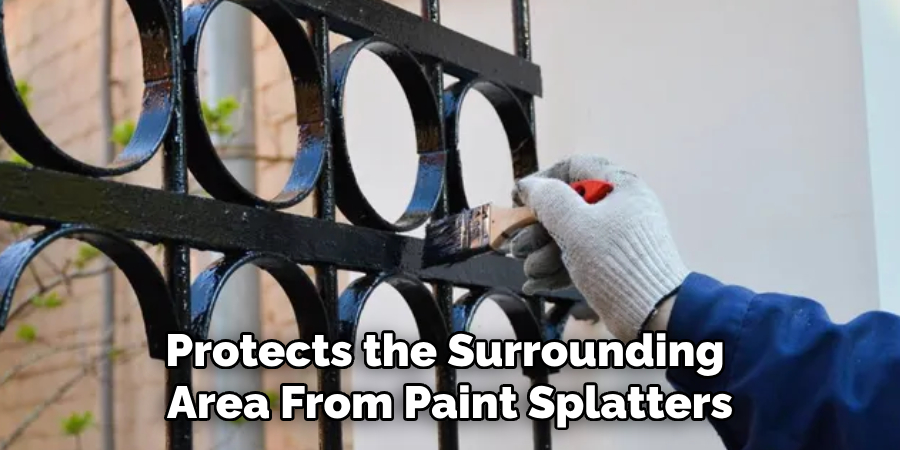
- Drop Cloths or Plastic Sheeting: Protects the surrounding area from paint splatters.
- Painter’s Tape: Essential for masking off any areas you don’t wish to paint.
- Primer for Metal Surfaces: Helps the paint adhere better and provides added protection against rust.
- Metal Paint: A high-quality outdoor paint that is specifically designed for metal surfaces to ensure durability.
- Paintbrushes or Sprayer: Depending on your preference, either can be used to apply the paint evenly.
- Protective Wear: Including gloves and a mask, to safeguard against dust and fumes during preparation and painting.
- Cleaning Rag and Mineral Spirits: For cleaning the surface before painting and for any necessary clean-ups.
Preparing Your Rod Iron Furniture for Painting
Preparation is crucial for ensuring that your paint adheres properly and that the final finish is smooth and long-lasting. Follow these steps to prepare your rod iron furniture for painting:
- Clean the Surface: Start by thoroughly cleaning the furniture to remove any dirt, grime, or grease. Use soapy water and a sponge to scrub the surface, then rinse with clean water and allow it to dry completely.
- Remove Rust: Use a wire brush or sandpaper to remove any rust from the rod iron. Ensure that all rust is removed to prevent it from spreading under the paint. Pay close attention to areas with intricate details or crevices where rust might be hiding.
- Sand the Surface: Lightly sand the entire surface of the furniture to create a slightly rough texture that helps the paint adhere better. This step is particularly important if the furniture is glossy or if you’re painting over existing paint.
- Protect Surroundings: Lay down drop cloths or plastic sheeting around the furniture to protect your work area from dust and paint splatters. Use painter’s tape to mask off any parts of the furniture that you don’t want to paint, such as cushions or adjacent surfaces.
- Apply Primer: Once the surface is clean and smooth, apply a suitable primer designed for metal surfaces. This step is essential for enhancing the paint’s adhesion and providing additional rust protection. Follow the manufacturer’s instructions for the drying time before moving on to painting.
By properly preparing your rod iron furniture, you’ll lay the foundation for a successful painting project that results in beautiful, durable pieces.
10 Easy Methods How to Paint Rod Iron Furniture
1. Start with a Thorough Cleaning
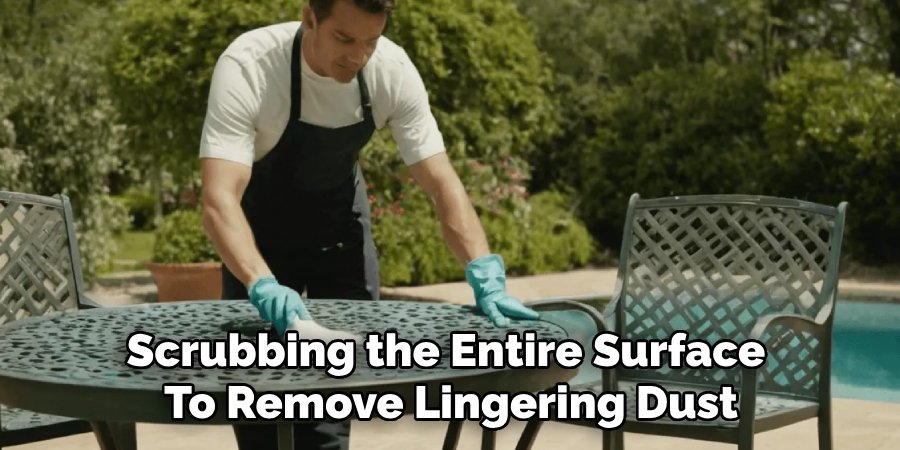
Before you even think about picking up a paintbrush, you need to clean your wrought iron furniture thoroughly. Dust and grime can prevent paint from adhering properly, so it’s crucial to remove all debris.
Use a wire brush to scrape off any loose paint or rust. Follow this with a damp cloth, scrubbing the entire surface to remove lingering dust and dirt. You might also want to use a mild soap solution if the furniture is particularly grimy. Allow the furniture to dry completely before moving on to the next step.
2. Sand it Down
Sanding is a vital step when painting wrought iron furniture. It smooths out any rough spots and provides a better surface for the paint to adhere to. Start by using a medium-grit sandpaper to sand the entire piece, focusing on any areas with rust or peeling paint. Follow up with a finer grit to ensure a smooth finish.
If your furniture has intricate details, consider using a sanding sponge or a wire brush to reach those nooks and crannies. Once done, wipe down the furniture to remove any sanding dust.
3. Apply a Rust Converter
If your wrought iron furniture has rust spots, a rust converter is your best friend. This chemical formula changes rust into a paintable surface, preventing further corrosion. Simply apply the rust converter with a paintbrush to the affected areas. Make sure to follow the manufacturer’s instructions, as drying times can vary. Using a rust converter not only preps the furniture for painting but also extends its overall durability.
4. Choose the Right Primer
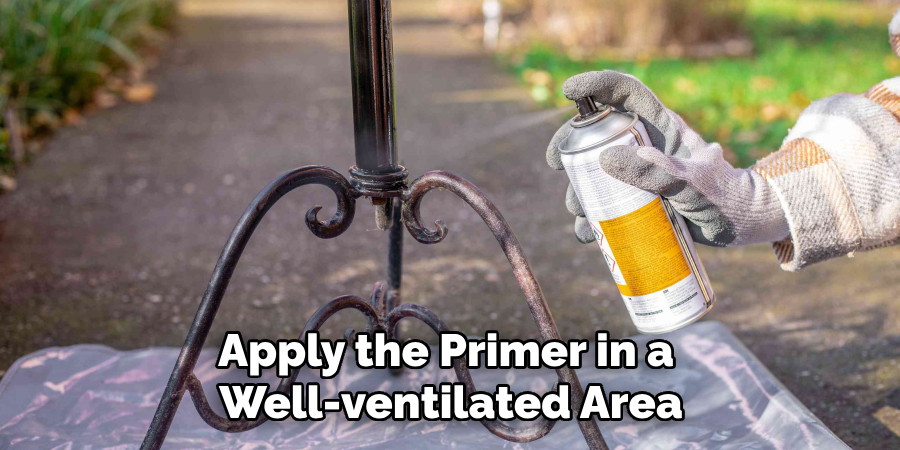
A high-quality primer is essential for ensuring your paint job lasts. For wrought iron, opt for a rust-inhibiting metal primer. Spray primers are often the best choice for metal furniture, as they provide even coverage and can reach tricky spots.
Remember to apply the primer in a well-ventilated area, keeping the can about 10-12 inches from the surface to avoid drips. Allow the primer to dry as per the instructions on the can before moving on to painting.
5. Pick Your Paint Wisely
When it comes to painting wrought iron, not all paints are created equal. Choose a paint specifically designed for metal surfaces, which often contain rust-preventing properties. Oil-based paints or enamel sprays are great options. If you’re going for a spray paint, opt for one with a built-in primer for ease of use.
Whether you’re painting with a brush or spraying, make sure to do it in thin, even layers to prevent drips and uneven coverage.
6. Consider Spray Painting for an Even Finish
Spray painting is perfect for wrought iron furniture because it provides a smooth, even finish without brush marks. It’s especially useful for furniture with intricate designs or curves. Hold the spray can about 12 inches from the surface and apply in sweeping motions.
Make sure to overlap each pass slightly and allow each coat to dry before applying the next. It may take several coats to achieve full coverage, but the result will be worth the patience.
7. Don’t Rush the Drying Process
One of the most common mistakes in painting wrought iron furniture is rushing the drying process. Each coat of paint needs enough time to dry completely before the next one is applied. Follow the paint manufacturer’s recommendations for drying times, which can vary based on humidity and temperature.
If possible, paint in a shaded outdoor area to speed up the process. Proper drying ensures a durable and long-lasting finish.
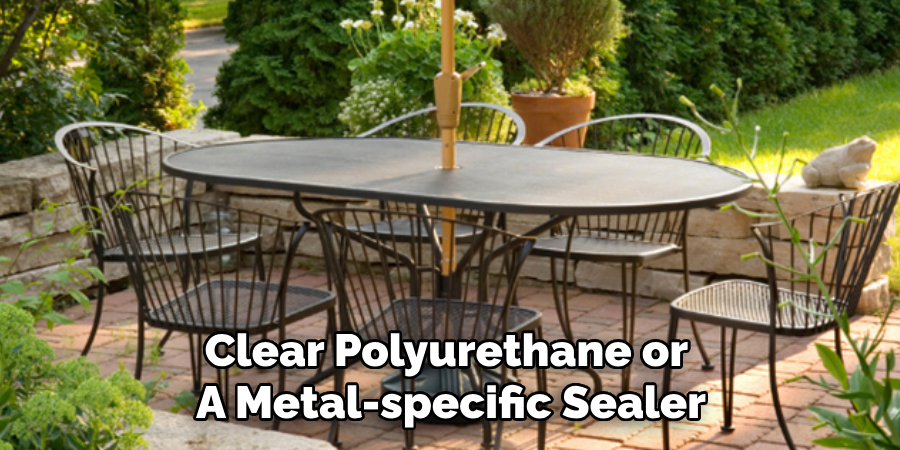
8. Seal with a Protective Topcoat
A clear protective topcoat is the cherry on top of your painting project. It seals your paint job and adds an extra layer of protection against weather elements and wear. Opt for a clear polyurethane or a metal-specific sealer. Again, spray versions are ideal for wrought iron due to their ability to reach tight spaces.
Just like with painting, apply the topcoat in light, even layers, allowing each to dry properly before the next.
9. Maintain Your Painted Furniture
Once you’ve transformed your wrought iron furniture, proper maintenance will keep it looking its best. Avoid using harsh chemicals for cleaning—stick to mild soap and water.
Wipe down the furniture regularly to prevent dirt buildup, and inspect for any chips or scratches that might need touching up. Taking these simple steps will ensure your freshly painted furniture remains in top shape for years to come.
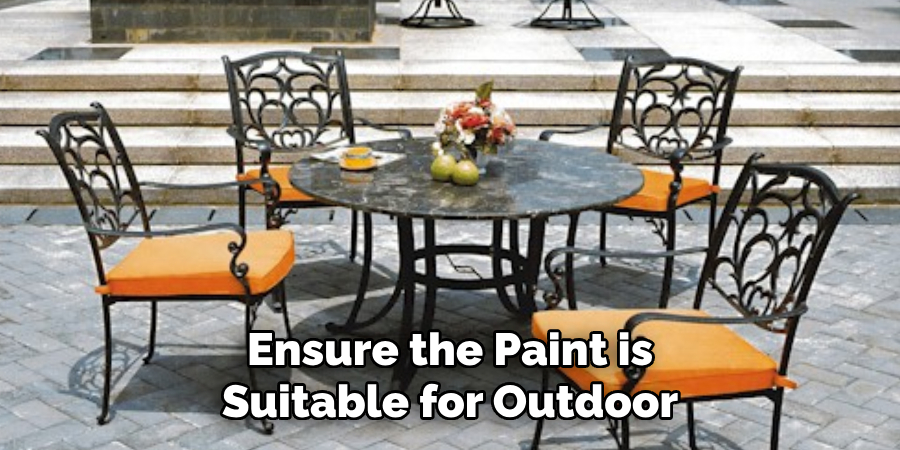
10. Get Creative with Colors
Who says wrought iron furniture has to be black or white? One of the perks of painting your furniture is the endless color options available. From bold blues to rustic reds, choose a shade that complements your outdoor or indoor decor.
You can even try different finishes like matte, satin, or gloss to add a unique touch. Just ensure the paint is suitable for outdoor use if your furniture is meant for the patio.
Conclusion
Revamping your wrought iron furniture with a fresh coat of paint not only enhances its visual appeal but also extends its lifespan by protecting it from rust and wear.
By following the steps outlined above—from thorough cleaning to selecting the right paint and taking time with the drying process—you can achieve professional-looking results at home. Thanks for reading our blog post on how to paint rod iron furniture! We hope you found it helpful and informative.
Edmund Sumlin is a skilled author for Metal Fixes, bringing 6 years of expertise in crafting a wide range of metal fixtures. With a strong background in metalwork, Edmund’s knowledge spans various types of fixtures, from decorative pieces to functional hardware, blending precision with creativity. His passion for metalworking and design has made him a trusted resource in the industry.
Professional Focus:
- Expert in Metal Fixtures : Edmund aesthetic specializes in creating durable and innovative metal fixtures, offering both appeal and functionality. His work reflects a deep understanding of metalworking techniques and materials.
- Sustainability Advocate : He is dedicated to using sustainable practices, ensuring that every fixture is crafted with eco-friendly methods while maintaining high-quality standards.
In his writing for Metal Fixes, Edmund provides valuable insights into the latest trends, techniques, and practical advice for those passionate about metal fixtures, whether they are professionals or DIY enthusiasts. His focus on combining artistry with engineering helps others discover the true potential of metal in design.