

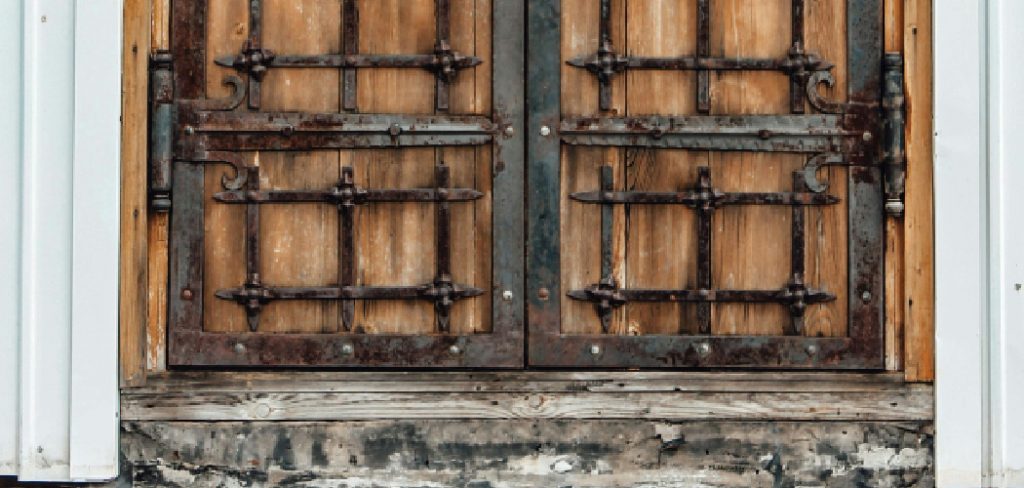
Are you looking to repair the bottom of your steel door? This guide will provide step-by-step instructions on how to repair the bottom of a steel door.
Repairing the bottom of a steel door may seem daunting, but with the right tools and guidance, it can be a straightforward process. Steel doors are popular for their durability and security, but over time, they can suffer from damage and rust, particularly at the bottom, where they are most exposed to moisture and other elements. Addressing these issues promptly is crucial to maintaining the structural integrity and appearance of the door.
In this guide, we’ll walk you through the steps necessary to assess the damage, gather the appropriate materials, and execute the repair efficiently, ensuring your steel door functions like new again.
What Will You Need?
Before you begin, gather the necessary tools and materials to complete the repair effectively. Here’s a list of items that you’ll need:
- Safety gloves and goggles
- Mask/respirator (if working with rust)
- Power drill
- Wire brush or sandpaper
- Rust converter/neutralizer
- Epoxy or auto-body filler
- Putty knife/spatula
- Paint and paintbrush
Once you have all the needed materials, let’s start the repair process.
10 Easy Steps on How to Repair the Bottom of a Steel Door
Step 1: Assess the Damage
Begin by thoroughly inspecting the bottom of the steel door to identify the extent of the damage. This assessment will help you determine the necessary repairs and the amount of materials required. Look for signs of rust, corrosion, dents, or any holes that may have developed. Rust is most common at the bottom of steel doors due to prolonged exposure to moisture; pay close attention to the edges and corners where moisture is likely to accumulate.
Use a flashlight if needed to get a clear view of any hard-to-see areas. After an initial assessment, gently tap the affected area with a small tool like the handle of a screwdriver to check for any hidden weaknesses that might require more extensive repairs. Once you’ve evaluated the damage, you’ll be better prepared to proceed with purchasing the suitable materials and planning your repair approach.
Step 2: Remove Rust and Corrosion
Once you have assessed the damage, the next step is to remove any rust and corrosion from the affected area. Use your safety gloves and goggles to protect yourself from dust and debris. If you are working with extensive rust, wearing a mask or respirator may be helpful to avoid inhaling rust particles. Use a wire brush or sandpaper to scrape away loose rust and debris. Apply firm, consistent pressure to ensure you reach all corroded areas, particularly the edges and corners where rust might be more stubborn. For the most effective results, use sandpaper with varying grit sizes, starting with a coarser grit and gradually moving to a finer one for smoother results.
Step 3: Apply Rust Converter/Neutralizer
After removing the loose rust and debris, it’s crucial to treat the remaining rust to prevent further corrosion. Apply a rust converter or neutralizer to the affected area using a paintbrush or spray bottle, following the product’s instructions for the best results. This chemical solution will convert the rust into a stable compound, sealing out moisture and creating a protective layer. Be sure to cover the exposed metal surface and allow it to dry completely per the manufacturer’s recommendations. Properly neutralizing the rust will enhance the longevity of your repair by ensuring that it won’t continue to spread underneath any filler or paint applied later in the process.
Step 4: Fill in the Damage
With the rust neutralized, it’s time to address any holes or dents in the door. Mix your epoxy or auto-body filler according to the package instructions. Applying the filler to the damaged area using a putty knife or spatula ensures you fill in any holes or depressions completely. Smooth the filler to be level with the surrounding door surface, removing excess material to avoid unnecessary sanding later on. Allow the filler to cure as the manufacturer recommends before proceeding to the next step. This will create an even and sturdy surface for painting and finishing touches.

Step 5: Sand the Repaired Area
Once the filler has cured completely, it’s time to sand the repaired area to ensure a smooth, even surface. Begin by using coarse-grit sandpaper to remove any excess filler and to level the surface with the rest of the door. Gradually switch to finer-grit sandpaper to achieve a smoother finish.
Sand in a circular motion to blend the repaired section seamlessly with the surrounding metal. Be thorough in this process, as a well-sanded surface will contribute to a professional-looking final result and ensure that the paint adheres properly. After sanding, wipe down the area with a damp cloth to remove all dust and sanding particles, preparing the door for the next stage of the repair.
Step 6: Prime the Surface
Before painting, it is essential to apply a primer to the repaired area. Priming helps to create a surface that the paint can adhere to effectively, preventing any rust from bleeding through. Choose a primer suitable for metal surfaces and apply it evenly using a paintbrush or spray can, following the manufacturer’s instructions. Ensure the primer covers all exposed metal and filler to protect against future corrosion. Allow the primer to dry completely before moving on to the painting phase. This step not only improves the aesthetic quality of the final paint job but also enhances the durability and lifespan of the repair.
Step 7: Paint the Door
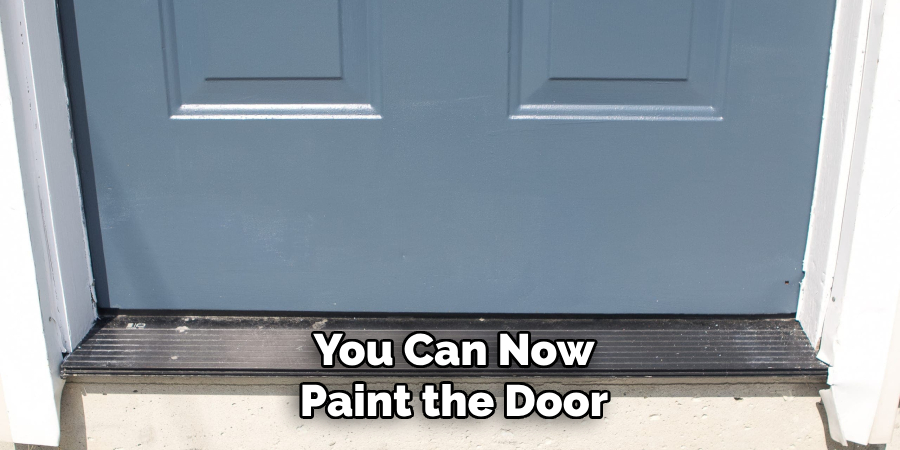
With the fully dry primer, you can now paint the door. Choose a high-quality paint that is appropriate for metal surfaces and matches the existing color of your door. Using a clean brush or spray paint can be applied evenly across the repaired area. For the best results, use multiple thin coats rather than one thick coat, allowing each layer to dry as the paint manufacturer recommends.
This approach will help you achieve a smooth and even finish without drips or runs. Be attentive to the edges and details to ensure a uniform appearance. Once the final coat has dried completely, inspect the door for any spots requiring a touch-up. The completed paint job will enhance the door’s aesthetic appeal and provide an additional protective layer against weather and wear.
Step 8: Seal the Edges and Joints
After painting the door and ensuring it is scorched, it’s essential to seal the edges and joints for added protection against moisture and elements. Use a clear or color-matched sealant that is appropriate for metal surfaces. Apply the sealant evenly along all edges, joints, and seams of the door to prevent water infiltration, which can lead to rust and corrosion in the future. Be sure to follow the manufacturer’s instructions for application and curing times.
Step 9: Inspect and Maintain
Once the repair and painting process is complete, it’s essential to take the time to inspect your work for any imperfections or areas that may need additional attention. Look for uneven paint, missed spots of sealant, or any signs of residual rust. Address these issues promptly to ensure the longevity and quality of your repair.
Establish a regular inspection routine, preferably every few months to maintain the door’s appearance and structural integrity. This involves checking for new rust spots, paint chipping, or sealant wear. Cleaning the door with mild soap and water will help preserve the paint and finish. By remaining vigilant, you can catch potential issues early and extend the life of your repair work.
Step 10: Reattach Hardware
With the door fully repaired, painted, and sealed, the final step is to reattach any hardware that was removed during the process. Carefully align each piece, such as handles, hinges, and locks, to their original positions, ensuring they function correctly. Use appropriate tools, such as a screwdriver or wrench, to securely fasten the hardware. Pay attention to the alignment of moving parts to avoid any operational issues. Once everything is in place, check the door’s operation to confirm smooth opening and closing. This step completes the repair process, restoring the door’s functionality and appearance to its best potential.
By following these steps and using suitable materials and techniques, you can successfully repair a rusted metal door without replacing it entirely.
Conclusion
How to repair the bottom of a steel door may seem daunting at first, but by following a structured approach and using the right materials, anyone can achieve a high-quality repair.
The key steps include neutralizing rust, filling any damages with epoxy or auto body filler, smoothing the surface with sanding, and applying primer and paint to protect against future corrosion. Each stage plays a vital role in ensuring the door looks visually appealing and maintains its structural integrity. By sealing the edges and performing regular maintenance, you extend the life of the repair, safeguarding the door from environmental elements. Attending to such details ensures that the door remains functional and aesthetically pleasing for years.
With patience and attention to detail, a repaired steel door can serve reliably without needing costly replacements.
Edmund Sumlin is a skilled author for Metal Fixes, bringing 6 years of expertise in crafting a wide range of metal fixtures. With a strong background in metalwork, Edmund’s knowledge spans various types of fixtures, from decorative pieces to functional hardware, blending precision with creativity. His passion for metalworking and design has made him a trusted resource in the industry.
Professional Focus:
- Expert in Metal Fixtures : Edmund aesthetic specializes in creating durable and innovative metal fixtures, offering both appeal and functionality. His work reflects a deep understanding of metalworking techniques and materials.
- Sustainability Advocate : He is dedicated to using sustainable practices, ensuring that every fixture is crafted with eco-friendly methods while maintaining high-quality standards.
In his writing for Metal Fixes, Edmund provides valuable insights into the latest trends, techniques, and practical advice for those passionate about metal fixtures, whether they are professionals or DIY enthusiasts. His focus on combining artistry with engineering helps others discover the true potential of metal in design.