

Installing a cast iron bathtub can be a rewarding project for any homeowner looking to enhance their bathroom’s functionality and aesthetic appeal. While requiring some manual effort due to its weight, a cast iron tub offers durability, heat retention, and a classic look that can elevate any bathroom design.
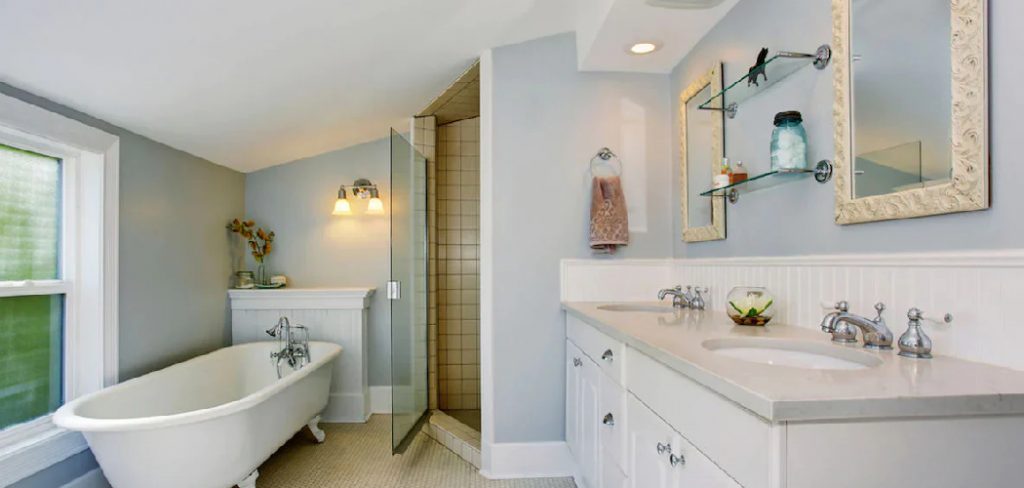
This guide will provide step-by-step instructions for how to install a cast iron bathtub, whether you’re a seasoned DIY enthusiast or a novice looking to tackle your first big project. With the proper tools and preparation, you can successfully install your new cast iron bathtub and enjoy its benefits for years to come.
Why Choose a Cast Iron Bathtub
Opting for a cast iron bathtub brings a host of advantages that make it a favored choice among homeowners. One of the most notable benefits is its exceptional durability. Made from robust materials, cast iron tubs can withstand heavy use over the years without showing signs of wear. In addition to their longevity, these bathtubs excel in heat retention, allowing water to stay warm for longer periods—enhancing your relaxing bathing experience.
The classic and elegant design of cast iron bathtubs also adds a timeless appeal to any bathroom, effortlessly enhancing its visual aesthetics. Moreover, their substantial weight provides extra stability, making them a safe and reliable option in bathroom fixtures. Finally, a cast iron bathtub’s ability to significantly dampen noise due to its composition makes for a quieter, more serene bathroom environment.
Tools and Materials Needed
Before you begin installing your cast iron bathtub, gather all necessary tools and materials to ensure a smooth installation process. You will need:
- Safety Gear: Gloves and safety goggles to protect yourself from sharp edges and debris.
- Measuring Tape: To verify dimensions and ensure proper alignment with plumbing fixtures.
- Level: For ensuring the bathtub is installed evenly.
- Wrench Set: Necessary for tightening plumbing connections.
- Pipe Wrench: Useful for working with large or stubborn plumbing fittings.
- Pry Bar: To help lift and position the bathtub accurately.
- Caulk and Caulking Gun: For sealing joints and preventing water leaks.
- Plumber’s Putty: To secure drains and fixtures.
- Assorted Screws and Anchors: For securing the bathtub into place.
- Buckets and Rags: To manage water spills and clean up any mess.
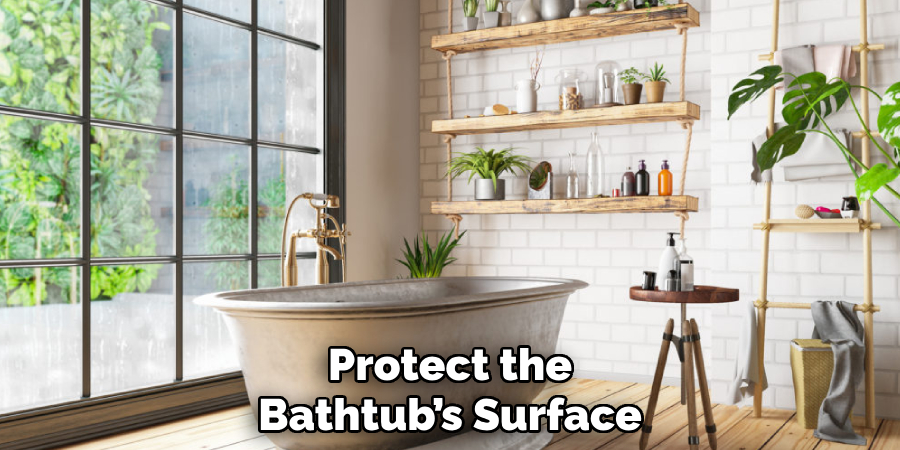
- Towels or Blankets: To protect the bathtub’s surface during handling.
Ensure you have all the listed items on hand before starting the project to work efficiently and safely.
Preparing the Installation Area
Proper preparation of the installation area is crucial for a successful cast iron bathtub installation. Start by ensuring the bathroom space is clear and roomy enough to maneuver the heavy bathtub without obstruction. Remove any existing fixtures or debris that might impede the installation process. Next, examine the floor structure to verify it can support the substantial weight of a cast iron bathtub.
Reinforce the floor if necessary, ensuring optimal safety and stability after installation. Check the plumbing lines to confirm they align with the bathtub’s drain and faucet openings; adjustments to the plumbing may be necessary before proceeding. It’s also recommended to install cement backer board or waterproof drywall around the tub area to prevent moisture damage.
Finally, thoroughly clean the area to create a dust- and debris-free environment, reducing the risk of damaging the bathtub’s surface during installation. With the area properly prepared, you’ll pave the way for a smoother installation process.
10 Methods How to Install a Cast Iron Bathtub
1. Plan and Measure the Space
Before starting the installation, take precise measurements of the bathroom and the bathtub to ensure compatibility. Measure the length, width, and height of the tub and compare them with the available space, especially if the tub will need to be navigated through doorways, staircases, or hallways.
Keep in mind that cast iron bathtubs are incredibly heavy and may require structural reinforcement in the flooring. Consider consulting with a structural engineer to ensure your floor can support the weight of the tub, water, and occupants.
2. Prepare the Installation Area
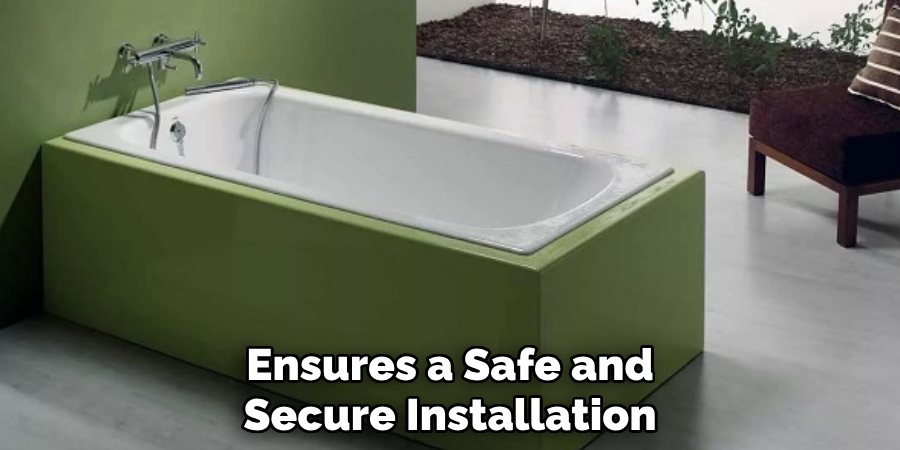
Clear the bathroom of any obstructions, old fixtures, or debris. If you are replacing an old tub, disconnect the plumbing and carefully remove the old unit, ensuring you don’t damage the flooring or surrounding walls. Inspect the area for any signs of damage or decay, such as rotting subfloor or mold, and repair as necessary. Proper preparation ensures a safe and secure installation.
3. Install or Reinforce the Subfloor
Given the weight of a cast iron bathtub, reinforcing the subfloor may be necessary to prevent sagging or structural damage. This often involves adding additional joists or bracing. Use high-quality plywood or similar materials to create a sturdy base. Make sure the floor is level, as an uneven base can lead to improper drainage or cracks in the tub over time.
4. Plan the Plumbing Connections
Position the tub so it aligns with existing plumbing or plan the new piping layout if needed. Check that the water supply lines, drain, and overflow outlets are in the correct positions. You may need to hire a licensed plumber for complex adjustments. Use durable materials, such as brass fittings, and confirm that all connections meet local building codes.
5. Assemble the Required Tools and Materials
Before moving the heavy cast iron tub, gather all necessary tools and supplies to streamline the installation. Essential tools include wrenches, a level, a caulk gun, pipe sealant tape, and protective gloves. Materials such as a drain assembly, plumber’s putty, and shims are also crucial. Having everything within reach minimizes delays during the process.
6. Enlist Help for Moving the Tub
Cast iron bathtubs can weigh 300 pounds or more, making them difficult to move. Enlist at least two to three strong individuals or hire professionals to lift and position the tub. Use furniture dollies, lifting straps, or sliders to reduce the risk of injury and damage to the tub or flooring. When maneuvering the tub, take care to avoid scratching floors or walls.
7. Install the Drain Assembly
Before placing the tub into position, attach the drain assembly. Apply plumber’s putty to the underside of the drain flange and tighten it securely into the tub. Connect the waste and overflow pipes, ensuring a snug fit to prevent leaks. Perform this step before setting the tub in place, as access to the underside will be limited once installed.
8. Position and Level the Tub
Carefully lower the cast iron tub into place, aligning it with the plumbing connections. Use a level to ensure the tub is even on all sides. If necessary, use shims to adjust the height or correct uneven flooring. Double-check that the tub is firmly supported along its base to prevent stress on any single point, which could lead to cracking or warping.

9. Secure the Tub to the Wall
Once the tub is in position, attach it to the wall studs using the mounting brackets or clips provided with the tub. This step prevents movement during use and adds to the overall stability of the fixture. Use corrosion-resistant screws and washers to secure the tub, and ensure the connections are tight without over-tightening, which could damage the tub or mounting hardware.
10. Seal and Finish the Installation
To prevent water leakage, seal the edges of the tub where it meets the walls with a high-quality waterproof caulk. Allow the caulk to dry according to the manufacturer’s instructions before using the tub. Install any remaining fixtures, such as the faucet and showerhead, and test all plumbing connections for leaks. If water leaks are detected, tighten connections or reapply sealant as necessary.
Common Mistakes to Avoid
- Neglecting Accurate Measurements: One of the most common errors during installation is failing to take precise measurements of both the bathtub and the intended space. This oversight can lead to difficulties in fitting the tub through doorways or into the designated area, potentially resulting in costly modifications or delays.
- Inadequate Floor Support: Underestimating the weight of a cast iron bathtub can lead to insufficient floor reinforcement. Ensure that the flooring structure can adequately support the tub, water load, and users to prevent structural damage or hazardous conditions.
- Improper Plumbing Alignment: Misalignment of the plumbing connections can cause leaks or drainage problems. Carefully align the tub with existing plumbing, and consider hiring a professional plumber if the adjustments seem complex or beyond DIY expertise.
- Forgetting to Level the Tub: An uneven installation can result in poor drainage or stress on certain points of the tub, leading to cracks over time. Always check that the tub is level and make adjustments as necessary.

Conclusion
Installing a cast iron bathtub can be a challenging yet rewarding project that adds both aesthetic appeal and functionality to a bathroom. The key to a successful installation lies in careful planning and preparation, including assessing structural support, aligning plumbing accurately, and gathering necessary tools and help.
Adhering to these guidelines helps avoid common mistakes, ensuring a secure and long-lasting result. Thanks for reading, and we hope this has given you some inspiration on how to install a cast iron bathtub!
Edmund Sumlin is a skilled author for Metal Fixes, bringing 6 years of expertise in crafting a wide range of metal fixtures. With a strong background in metalwork, Edmund’s knowledge spans various types of fixtures, from decorative pieces to functional hardware, blending precision with creativity. His passion for metalworking and design has made him a trusted resource in the industry.
Professional Focus:
- Expert in Metal Fixtures : Edmund aesthetic specializes in creating durable and innovative metal fixtures, offering both appeal and functionality. His work reflects a deep understanding of metalworking techniques and materials.
- Sustainability Advocate : He is dedicated to using sustainable practices, ensuring that every fixture is crafted with eco-friendly methods while maintaining high-quality standards.
In his writing for Metal Fixes, Edmund provides valuable insights into the latest trends, techniques, and practical advice for those passionate about metal fixtures, whether they are professionals or DIY enthusiasts. His focus on combining artistry with engineering helps others discover the true potential of metal in design.