

Are you trying to figure out how to ream a hole in metal?
Reaming a hole in metal is a crucial process in manufacturing and metalworking that ensures precision and accuracy in the size and finish of drilled holes. This technique is essential when creating holes that meet specific dimensions and tolerances, as reaming allows for a smooth and exact finish that might not be achieved with drilling alone. Whether you’re working with steel, aluminum, or other metals, understanding the reaming process is key to achieving a professional standard in your projects.
Properly reaming a hole involves selecting the right tools, understanding the material properties, and employing the correct techniques. This guide will cover all of these to help you achieve optimal results.
What Will You Need?
Before we dive into the steps of how to ream a hole in metal, let’s first go over the necessary tools and equipment you’ll need for this task. Having the right tools on hand is crucial in achieving precise and accurate results.
- A drill press or handheld power drill with variable speed control
- Reamers designed for metalworking (e.g., chucking reamers, hand reamers)
- Cutting fluid (such as cutting oil or lubricating paste)
- Safety gear (safety glasses, gloves)
Once you have gathered the necessary tools and equipment, you can begin reaming.
10 Easy Steps on How to Ream a Hole in Metal
Step 1. Select the Right Reamer
To effectively ream a hole in metal, selecting the proper reamer is crucial. Reamers come in various shapes and sizes, each suitable for different applications and materials. For instance, chucking reamers are ideal for machine tools like drill presses, providing a precise finish on pre-drilled holes. In contrast, hand reamers might be used where machine access is limited, allowing for manual smoothing and sizing of the hole. When choosing a reamer, consider its material, as those made from high-speed steel or carbide are suitable for hard metals like steel or cast iron.
Additionally, check the reamer’s flute design; spiral flutes are more effective at removing chips in deep or blind holes, while straight flutes work better for through holes. The fit of the reamer to your specific diameter requirement is also essential, as even slight variances can impact the final hole quality. By selecting the right reamer, you lay a solid foundation for achieving the desired precision and finish in your metalworking project.
Step 2. Secure the Workpiece
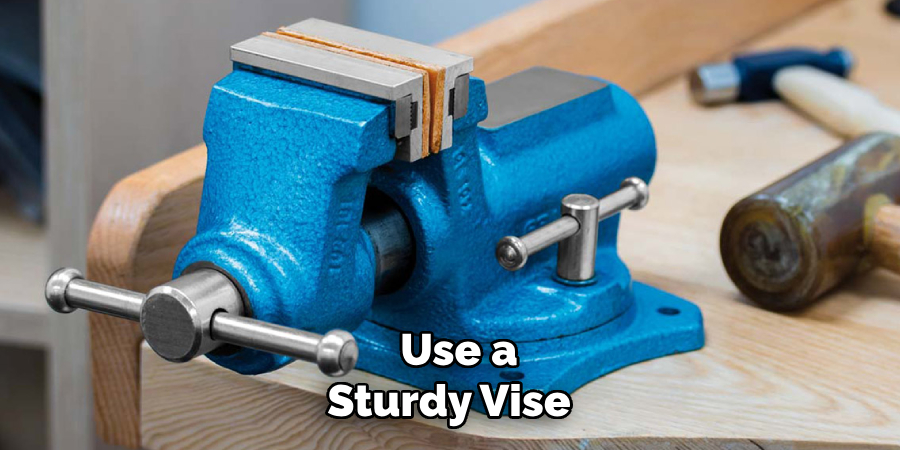
Ensuring the workpiece is securely clamped in place is necessary for a successful reaming process. Loose or unstable workpieces can lead to inaccuracies and even damage to the reamer or the material itself. Use a sturdy vise or clamping system to steady the metal piece, checking that it’s appropriately aligned with the drill press or handheld drill. This precaution reduces the risk of movement during reaming and helps maintain consistent pressure and alignment, which is essential for achieving a smooth and precise hole. If using a drill press, ensure the table is locked, and the workpiece is aligned with the spindle to avoid any misalignment during the operation.
Step 3. Apply Cutting Fluid
Applying cutting fluid is an important step to facilitate a smoother reaming process and prolong the life of your tools. The fluid, often in the form of cutting oil or lubricating paste, is a lubricant, reducing friction and heat generated between the reamer and the metal workpiece. This helps prevent overheating, which can degrade the reamer and compromise the quality of the hole. Generously apply the cutting fluid to both the reamer and the hole, ensuring it covers the entire surface that will be in contact during reaming. By cutting fluid, you achieve a cleaner, more precise hole and protect your tools and materials from wear and damage.
Step 4. Align the Reamer with the Hole
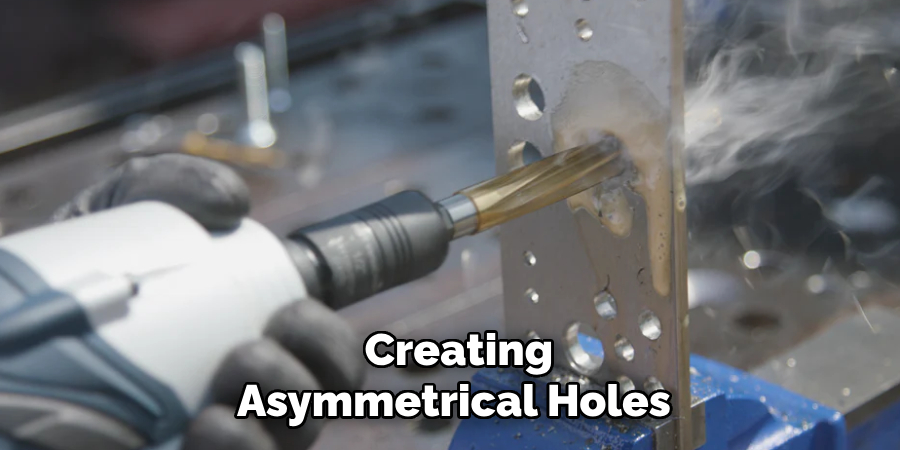
Proper alignment of the reamer with the pre-drilled hole is crucial to achieving an accurate and smooth finish. Begin by positioning the reamer slightly above the hole, ensuring it’s perfectly centered. For best results, adjust the drill press or handheld drill so the reamer can enter the hole straight on without tilting. Misalignment can result in an uneven reaming process, creating asymmetrical holes or causing the reamer to bind or break. Carefully lower the reamer into the hole using steady pressure, avoiding sudden movements to maintain precision and prevent damage to both the tool and the workpiece. By aligning the reamer correctly, you lay the groundwork for a successful reaming operation.
Step 5. Begin Reaming at Low Speed
Start the reaming process by setting the drill press or handheld drill to a low speed. This initial low-speed operation helps control the reamer’s entry into the hole, minimizing the risk of sudden jumps that can occur if the tool is spinning too quickly. A slow and steady pace is crucial for maintaining control and achieving a smooth finish. As you begin the reaming, apply consistent pressure, allowing the reamer to cut into the metal smoothly. Monitor the progress, ensuring that the tool remains well-aligned and the cutting fluid keeps the operation cool and efficient. Gradually increase the speed as needed to complete the reaming process, but always prioritize precision over haste to ensure the best results for your metalwork.
Step 6. Monitor and Adjust Pressure
Throughout the reaming process, carefully monitor the pressure applied to the reamer. Consistent pressure is key to preventing chatter and ensuring an even, high-quality finish. Be cautious not to exert excessive force, which could cause the reamer to bind or break. Instead, maintain a gentle, steady pressure, allowing the cutting edges to do the work. If you notice any resistance or abnormal vibrations, stop and reassess the setup to ensure everything is aligned correctly and functioning smoothly. Adjusting the pressure as needed will help achieve the desired hole characteristics while preserving the integrity of the tool and the workpiece.
Step 7. Complete the Reaming Pass
Continue reaming until the reamer has entirely passed through the hole, ensuring all material removal is uniform to achieve the desired finish and diameter. Maintaining a steady pace and even pressure throughout this pass is crucial, allowing the reamer to cut continuously without interruption. Once the reamer exits the far side of the material, cease drilling and lift the reamer straight out of the hole to avoid any additional contact or accidental enlargement of the hole. This step marks the completion of the reaming process, resulting in a clean, precisely sized hole. After ensuring the reamer has completed its job, inspecting the hole for uniformity and precision, readying it for any further operations or final use is a good practice.
Step 8. Clean and Inspect the Reamed Hole
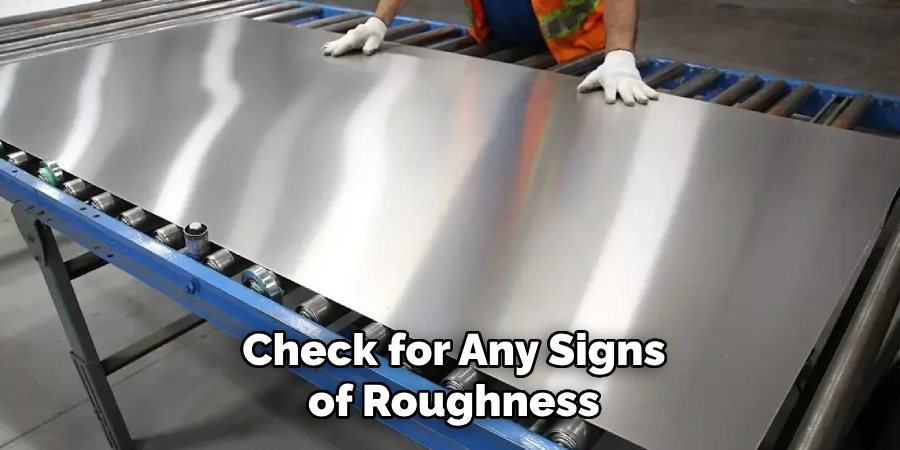
After completing the reaming process, take the time to clean the hole of any remaining debris or chips that may have accumulated. Use a brush or compressed air to clear out the material, ensuring the surface and edges are free of obstructions. Once cleaned, closely inspect the reamed hole to verify it meets the specified dimensions and finish. Check for any signs of roughness, inconsistencies, or variations in diameter, addressing any issues if needed. This inspection guarantees the hole’s quality and readiness for future assembly or use. Proper cleaning and inspection not only ensure superior results but also provide confidence in the integrity of the metalworking project.
Step 9. Finish the Surface
Consider performing a surface finishing process to achieve a professional-grade finish on the reamed hole. Techniques such as deburring or honing can be employed to smooth out any rough edges and enhance the overall precision of the hole. Deburring removes any sharp or uneven fragments left behind from reaming, while honing provides a refined surface quality by using abrasive stones to polish the interior. A finely finished surface will not only ensure better performance in applications where the hole interfaces with other components but also enhance the durability and reliability of the metalwork.
Step 10. Maintain Your Reaming Tools
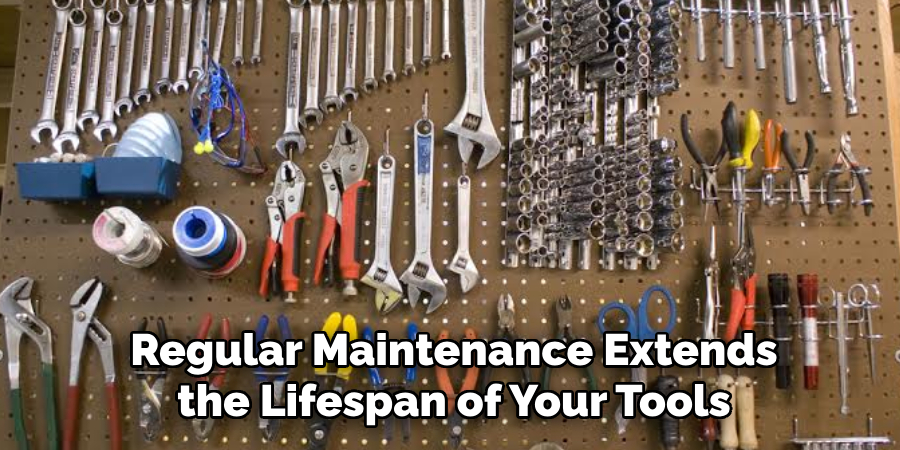
Proper maintenance of your reaming tools ensures a long service life and consistent performance. After each use, clean the reamer thoroughly to remove any residual cutting fluid or metal shavings. Inspect the cutting edges for wear or damage, and sharpen or replace the tool to maintain optimal cutting efficiency. Store the reamer in a dry, secure location, preferably with a protective covering to prevent physical damage or corrosion. Regular maintenance extends the lifespan of your tools and enhances the precision and quality of your metalworking projects.
With these steps and tips in mind, you can confidently approach any reaming task with precision and efficiency.
Conclusion
How to ream a hole in metal is a meticulous process that requires attention to detail and precision.
By following the outlined steps, you can ensure a clean and accurately sized hole every time. From aligning the reamer correctly to maintaining steady pressure, each phase plays a critical role in the operation’s success. Utilizing the correct tools, applying appropriate techniques, and performing diligent inspections lead to superior results. Also, maintaining your reaming tools must be considered, as proper care will extend their lifespan and improve performance in future tasks.
By integrating these practices, you can confidently tackle any reaming project and achieve professional-grade results.
Edmund Sumlin is a skilled author for Metal Fixes, bringing 6 years of expertise in crafting a wide range of metal fixtures. With a strong background in metalwork, Edmund’s knowledge spans various types of fixtures, from decorative pieces to functional hardware, blending precision with creativity. His passion for metalworking and design has made him a trusted resource in the industry.
Professional Focus:
- Expert in Metal Fixtures : Edmund aesthetic specializes in creating durable and innovative metal fixtures, offering both appeal and functionality. His work reflects a deep understanding of metalworking techniques and materials.
- Sustainability Advocate : He is dedicated to using sustainable practices, ensuring that every fixture is crafted with eco-friendly methods while maintaining high-quality standards.
In his writing for Metal Fixes, Edmund provides valuable insights into the latest trends, techniques, and practical advice for those passionate about metal fixtures, whether they are professionals or DIY enthusiasts. His focus on combining artistry with engineering helps others discover the true potential of metal in design.