

Removing metal siding from a building can be a manageable task with the right tools and techniques. Whether you’re planning to replace it with a new material or simply need to access the underlying structure, understanding the process is essential to ensure safety and efficiency.

This guide on how to remove metal siding will walk you through the necessary steps and considerations, from gathering the appropriate tools to executing the removal correctly. By following these recommendations, you can successfully remove metal siding and prepare your space for whatever comes next.
Why Remove Metal Siding?
Before delving into the actual process of removing metal siding, it’s essential to understand why it may need to be removed in the first place. There are several reasons why you may want or need to remove metal siding, including:
Damage:
Over time, metal siding can become damaged due to weather conditions, age, or accidents. If left unrepaired, this damage can worsen and affect the structural integrity of the building. Removing the damaged metal siding is necessary to prevent further issues.
Renovation:
If you’re planning to renovate your building, removing the existing metal siding may be a part of the process. This will give you a clean slate to work with and make it easier to install new siding or change the appearance of the structure.
Accessing underlying structure:
In some cases, you may need to remove metal siding to access and repair underlying structures such as walls or insulation. This is common during home renovations or repairs.
Tools You Will Need
Having the right tools for any job is crucial, and removing metal siding is no exception. Here are some essential tools that you’ll need before starting the process:
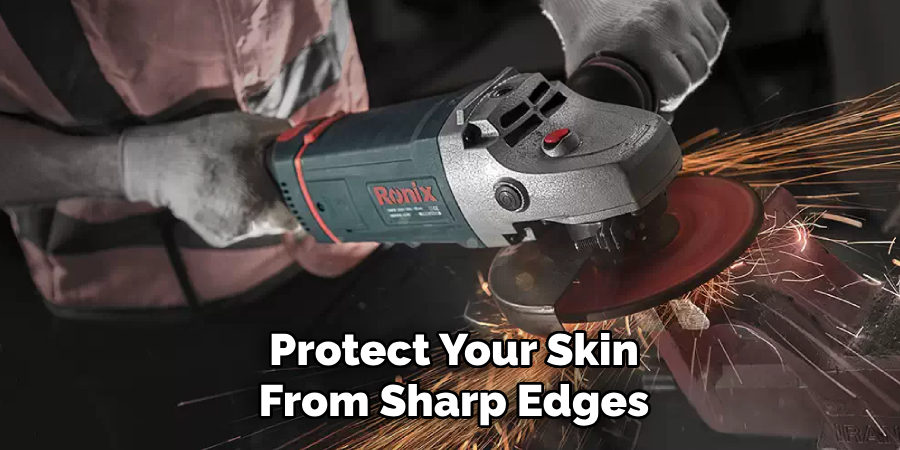
Gloves and Protective Clothing:
Protective gear is essential to prevent injuries while handling metal siding. Wear heavy-duty gloves, long-sleeved shirts, and pants to protect your skin from sharp edges.
Safety Goggles:
Metal siding can produce small shards of metal that can be hazardous to your eyes. Wearing safety goggles will protect your eyes from any debris.
Ladder:
You’ll need a sturdy ladder to reach the top of the building and safely remove metal siding from higher areas.
Screwdriver or Drill:
If the metal siding is attached with screws, you’ll need a screwdriver or drill with appropriate bits to remove them. Make sure to use the correct size bit for the screws.
Pry Bar:
A pry bar will come in handy when removing any trim pieces or overlapping panels. It’s best to have both flat and angled pry bars on hand.
Hammer:
A hammer will be necessary for tapping off panels that are stuck or nailed down.
8 Steps on How to Remove Metal Siding
Step 1: Preparation
Before beginning the removal process, it’s crucial to prepare both the workspace and yourself to ensure safety and efficiency.
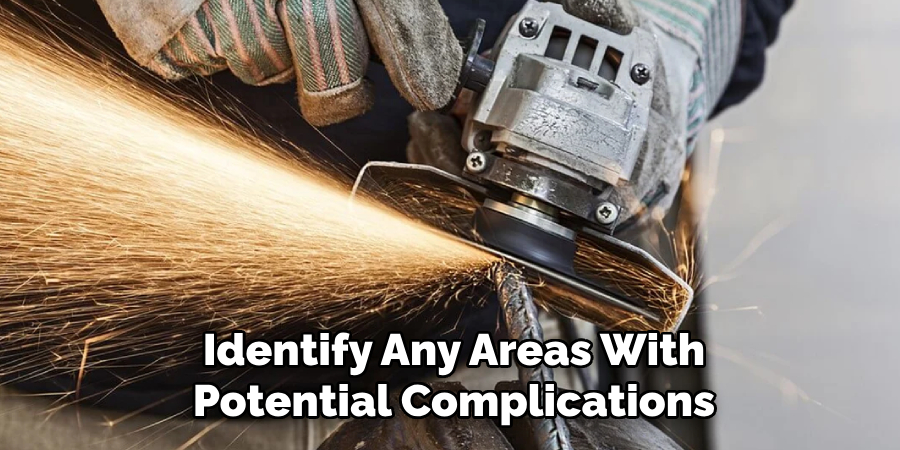
Start by clearing the area around the building of any obstacles, debris, or items that could impede movement or pose a tripping hazard. Set up your ladder on stable ground and make sure all your tools, including gloves, goggles, and other protective gear, are within reach.
Additionally, inspect the metal siding to identify any areas with potential complications, such as nails or unique fasteners that may require special tools. This pre-check helps avoid last-minute surprises and promotes a smooth workflow as you move forward with the removal process.
Step 2: Remove Trim
Once you’re fully prepared, begin the process by removing any trim or molding that surrounds the metal siding. This trim is often secured with nails or screws, so use a screwdriver or drill to carefully extract them. If the trim is nailed in place, employ a pry bar to gently lift it away from the building. Be cautious not to damage the trim if you plan to reuse it.
Removing the trim reveals the edges of the siding panels, making it easier to access the fasteners and ensuring that the panels can be lifted off cleanly in the subsequent steps. Remember to wear your gloves and safety goggles as you proceed to protect against any sharp edges that may be exposed.
Step 3: Remove Fasteners
With the trim removed, you can now focus on removing the fasteners that hold the metal siding panels in place. Depending on the type of siding and installation method, these fasteners may be screws, nails, or clips.
Use your screwdriver or drill to remove them carefully, taking care not to damage the panel in the process. If any stubborn fasteners won’t budge, use a hammer and pry bar to gently dislodge them without bending or damaging the panel.
Step 4: Detach Panels from Top Down
Starting at the top of the building, begin detaching each panel by lifting it slightly away from its position and sliding it towards you. This movement will release the panel from any remaining fasteners at the bottom and along the sides while minimizing the risk of damage.
Once a panel is detached, carefully place it on the ground to avoid any bending or warping.
Step 5: Remove Panels Horizontally
Once the panels are detached from the top down, you can begin the horizontal panel removal process. With the topmost panel removed, focus on accessing the next row of panels. Gently lift each panel from the seam at one end, typically where it overlaps or interlocks with the adjacent panel.
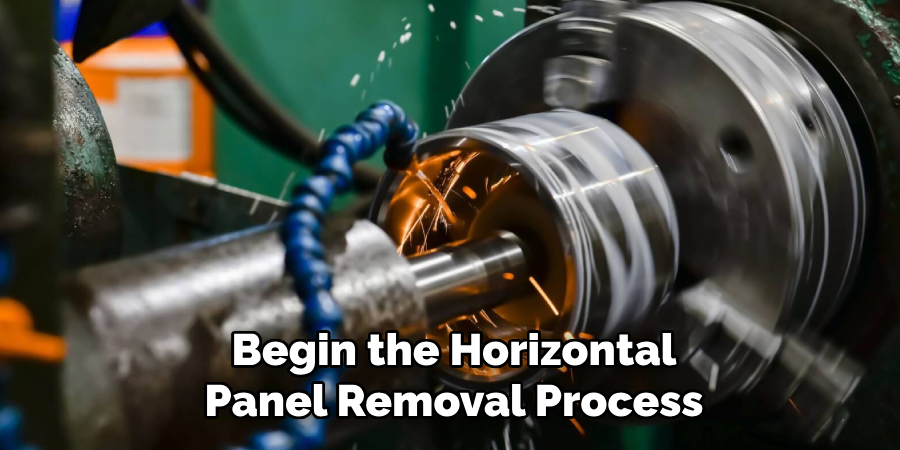
As you lift the panel, carefully slide it away from its position. This action helps to free the panel from any fasteners or connecting elements along the sides.
Make sure to support the panels evenly to prevent bending or causing unnecessary tension. Continue working horizontally, ensuring each panel is safely placed aside to avoid damage. Repeat this process methodically across each section of the building, maintaining a steady pace to ensure efficiency and safety.
Step 6: Remove J-Channel or Trim
Before removing any J-channel or trim pieces, make sure they’re not supporting the remaining panels. In most cases, these elements only serve to support the bottom edge of each panel and can be removed once all other panels are detached.
Carefully extract any screws that secure the J-channel or trim in place before lifting it away from the building. If any nails are present, use a pry bar and hammer to gently loosen them without causing damage.
Step 7: Clear Fasteners and Debris
Once all the metal siding is removed, carefully inspect the area for any remaining fasteners, debris, or sharp edges. Use a broom or vacuum to clean the area thoroughly and remove any small pieces of metal that may have fallen during the process. Dispose of these materials safely and keep the workspace tidy for your safety.
The clean-up process also includes carefully removing any nails or screws still attached to the building to avoid potential injuries or damage.
Step 8: Inspect and Repair
With all the metal siding removed, take some time to inspect the building’s exterior for any damage or areas that require repair before installing new siding. If you plan to replace the old siding with new metal panels, make sure to prepare the surface by removing any remaining screws or nails, filling in any holes, and cleaning away dirt or debris.
Following these steps on how to remove metal siding will allow you to safely and efficiently remove metal siding from your building, whether for replacement or repair purposes. Remember to always prioritize safety by wearing appropriate protective gear and taking necessary precautions while working at heights on a ladder.
Frequently Asked Questions
Q: Can I Use a Regular Hammer for Removing Metal Siding?
A: While you can use a regular hammer, it’s recommended to have specialized tools such as pry bars and angled pry bars on hand for easier and more efficient removal. These tools are specifically designed for this type of task, reducing the risk of damage or injury. The added leverage and grip also make it easier to remove stubborn fasteners or trim pieces.
Q: Do I Need to Remove the Metal Siding in a Specific Order?
A: It’s best to start from the top of the building and work your way down, detaching panels row by row. This method helps prevent damage to lower panels as you remove those above them. Additionally, this approach allows for easier access to fasteners and makes it simpler to clear away debris during each step.
Q: How Can I Tell If My Metal Siding Has Been Installed Correctly?
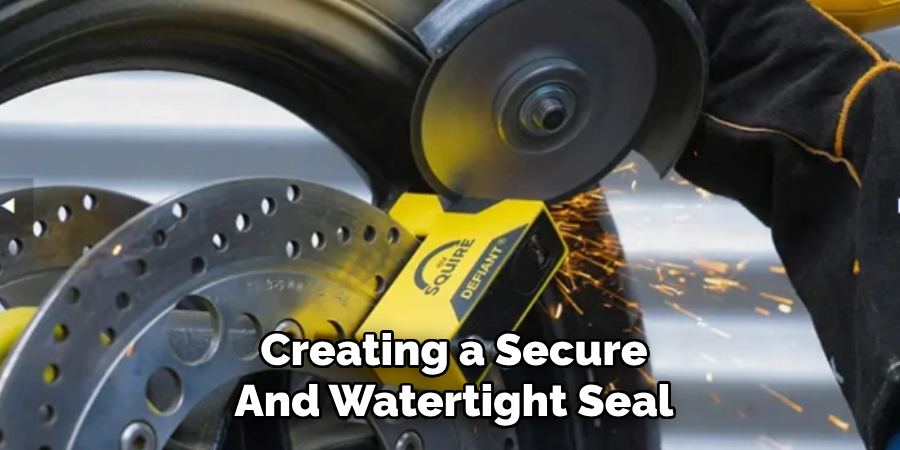
A: Properly installed metal siding should have overlapping seams that interlock with each other, creating a secure and watertight seal. If you notice any gaps or misaligned panels, it’s likely that the siding was not installed correctly. Make sure to address any installation issues before replacing the siding to ensure a proper and long-lasting installation.
Conclusion
Removing metal siding can seem like a daunting task, but by following a systematic approach, it can be managed safely and efficiently. Preparing adequately, prioritizing safety, and using the right tools are crucial for a successful removal process.
Each step on how to remove metal siding , from preparation to inspection, plays a vital role in ensuring the job is completed without any damage to the building or injury to yourself.
Whether you are replacing old siding with new materials or undertaking a renovation project, these guidelines are designed to help you achieve a smooth and effective removal. With meticulous attention to detail and adherence to safety measures, you can achieve a professional result, readying your structure for its next transformation.
Edmund Sumlin is a skilled author for Metal Fixes, bringing 6 years of expertise in crafting a wide range of metal fixtures. With a strong background in metalwork, Edmund’s knowledge spans various types of fixtures, from decorative pieces to functional hardware, blending precision with creativity. His passion for metalworking and design has made him a trusted resource in the industry.
Professional Focus:
- Expert in Metal Fixtures : Edmund aesthetic specializes in creating durable and innovative metal fixtures, offering both appeal and functionality. His work reflects a deep understanding of metalworking techniques and materials.
- Sustainability Advocate : He is dedicated to using sustainable practices, ensuring that every fixture is crafted with eco-friendly methods while maintaining high-quality standards.
In his writing for Metal Fixes, Edmund provides valuable insights into the latest trends, techniques, and practical advice for those passionate about metal fixtures, whether they are professionals or DIY enthusiasts. His focus on combining artistry with engineering helps others discover the true potential of metal in design.