

Removing spray foam insulation from metal surfaces can be a challenging task, often requiring patience and the right techniques to avoid damage. This guide provides step-by-step instructions on how to remove spray foam insulation from metal, ensuring the metal underneath remains in good condition. Whether the foam is cured or fresh, understanding the best practices for removal will help homeowners and professionals alike maintain the integrity and appearance of their metal surfaces.
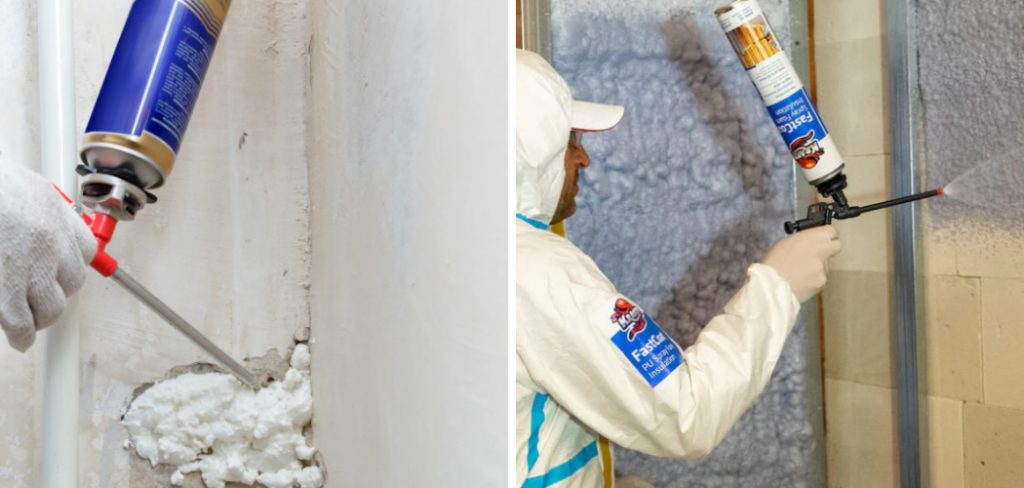
Why Remove Spray Foam Insulation from Metal
There are several reasons why one might need to remove spray foam insulation from metal surfaces. Firstly, improper application or accidental overspray can compromise the appearance of the metal, necessitating removal to restore its aesthetic appeal. Secondly, in industrial or construction settings, ensuring that machinery and structural elements remain free of obstruction is crucial for safety and functionality, which may require the removal of excess insulation. Additionally, during renovations or repairs, accessing the metal substrate might be necessary for maintenance tasks or structural assessments, making foam removal a necessary step.
Lastly, if the spray foam insulation becomes damaged or deteriorates over time, it can negatively affect the insulation’s efficacy, prompting its removal and replacement. Understanding these reasons helps in planning the appropriate methods and tools for effective removal.
Safety Precautions
When undertaking the task of removing spray foam insulation from metal surfaces, it is essential to prioritize safety. Begin by working in a well-ventilated area to minimize the risk of inhaling potentially harmful fumes from any chemicals used during the process. Wearing gloves is crucial to protect your hands not only from these chemicals but also from any sharp or jagged edges that may be encountered. Additionally, exercise caution to avoid using abrasive methods on delicate metal surfaces, as this can lead to damage or scratching.
By observing these safety precautions, you can ensure a safer and more effective removal process.
10 Methods How to Remove Spray Foam Insulation from Metal
1. Use a Plastic Scraper for Fresh Foam
If the spray foam is still wet or has not fully cured, act quickly to remove it using a plastic scraper. Plastic tools are gentle on metal surfaces and can effectively lift the foam without causing scratches. Carefully slide the scraper under the foam, applying gentle pressure to peel it away. Avoid using metal tools, as they may scratch or damage the underlying surface. Once the bulk of the foam is removed, wipe the area with a damp cloth to clean off any residue.
2. Apply Acetone for Uncured Foam
Acetone is a powerful solvent that can dissolve uncured spray foam insulation. Soak a clean cloth or sponge in acetone and dab it onto the foam. Allow the solvent to penetrate for a few minutes, then wipe away the softened foam with the cloth. Be cautious when using acetone, as it is flammable and can damage painted or coated metal surfaces. Test a small, inconspicuous area before applying it extensively. This method is particularly effective for fresh foam that hasn’t yet hardened.
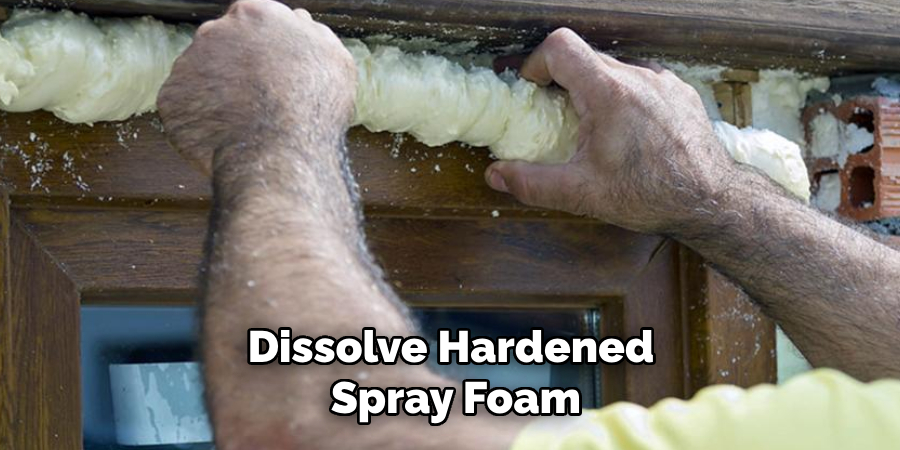
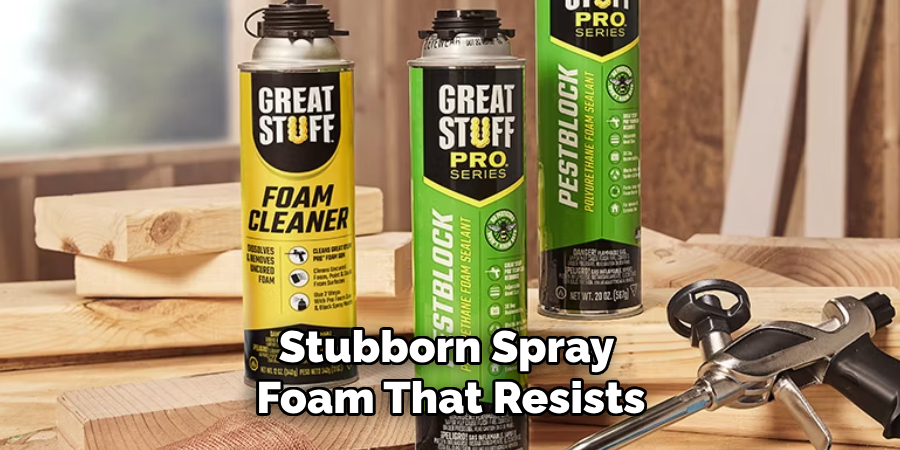
3. Use a Foam-Specific Solvent
For cured foam, commercial foam removal solvents are an excellent option. These products are specially formulated to dissolve hardened spray foam without damaging metal surfaces. Apply the solvent according to the manufacturer’s instructions, typically by spraying or brushing it onto the foam. Wait for the recommended time to let the solvent break down the foam, then wipe it away with a cloth. Rinse the area with water to remove any residual solvent.
4. Cut Away Excess Foam with a Utility Knife
If the spray foam has hardened, use a utility knife to cut away the bulk of the foam. Hold the knife at a shallow angle and make controlled cuts to avoid gouging the metal. Once you’ve removed the majority of the foam, you can use another method, such as a solvent or scraping, to eliminate any remaining residue. A sharp blade ensures precise cutting and reduces the risk of slipping or damaging the surface.
5. Heat the Foam to Soften It
Heat can soften cured spray foam, making it easier to remove. Use a heat gun or hair dryer to gently warm the foam, being careful not to overheat the metal or surrounding areas. Once the foam becomes pliable, scrape it away with a plastic scraper or wipe it off with a cloth. This method works well for large areas of foam but requires caution to avoid burns or overheating, which could damage painted or coated metal surfaces.
6. Try Mechanical Sanding for Stubborn Residue
For stubborn spray foam that resists other removal methods, mechanical sanding can be an effective solution. Use fine-grit sandpaper or a sanding tool to gently abrade the foam until it is completely removed. Sand in circular motions to prevent uneven wear on the metal surface. This method is best suited for unpainted or unfinished metal, as it may damage coatings or finishes. After sanding, wipe the area clean with a damp cloth.
7. Use Rubbing Alcohol for Residual Foam
Rubbing alcohol (isopropyl alcohol) can be used to dissolve residual spray foam insulation. Soak a cloth in rubbing alcohol and rub it over the remaining foam. The alcohol breaks down the foam, making it easier to wipe away. This method is gentle on most metal surfaces and is ideal for removing thin layers or streaks of foam left behind after using other techniques. Repeat as necessary until the surface is completely clean.
8. Employ a Pressure Washer
For outdoor applications or large areas of spray foam on metal, a pressure washer can be an effective tool. The high-pressure water stream can loosen and remove the foam without the need for chemicals. Use a narrow spray nozzle to focus the pressure on the foam. Avoid using excessive pressure, as this could dent or damage thin metal sheets. This method works particularly well for metal roofing, fences, or vehicles.
9. Use Vegetable Oil for Adhesive Residue
Vegetable oil or cooking spray can help break down the adhesive properties of cured spray foam insulation. Apply a generous amount of oil to the foam and let it sit for 15–20 minutes. The oil will weaken the foam’s bond with the metal surface, making it easier to scrape or wipe away. After removing the foam, clean the surface with soap and water to remove any oily residue. This is a safe, non-toxic method suitable for most metal surfaces.
10. Call a Professional for Delicate or Complex Jobs
If the spray foam is on a delicate or intricately designed metal surface, or if previous methods have failed, consulting a professional is a wise choice. Professional cleaners and restoration experts have specialized tools and solvents to remove spray foam insulation without damaging the underlying material. While this option may involve additional costs, it ensures the safety and integrity of your metal surfaces.

Things to Consider When Removing Spray Foam Insulation from Metal
When approaching the task of removing spray foam insulation from metal surfaces, several factors should be taken into account to ensure the process is effective and safe. First, evaluate the type of metal and its finish—different metals and coatings may react differently to solvents or physical methods of removal, and some may require specific care to avoid damage. The state of the foam, whether cured or uncured, will also dictate the most appropriate removal method, influencing the choice between scraping, solvents, or mechanical techniques.
Always prioritize safety by working in a well-ventilated area and using protective gear such as gloves and goggles, especially when handling chemicals like acetone and foam-specific solvents. Additionally, consider the environmental impact of the methods and materials used and opt for eco-friendly solutions where possible.
Tips for Achieving the Best Results
- Test on a Small Area First: Before fully committing to any foam removal technique, test it on a small, inconspicuous area of the metal surface. This ensures compatibility and prevents unintended damage.
- Use the Right Tools: Having the appropriate tools such as plastic scrapers, fine-grit sandpaper, and utility knives can make a significant difference in efficiently removing foam without harming the metal.
- Follow Manufacturer Instructions: When using commercial solvents or foam removal products, always adhere to the manufacturer’s guidelines to avoid mishaps and achieve optimal results.
- Maintain Patience and Precision: Patience is key in safely removing spray foam. Work slowly and carefully to ensure all residue is removed without scratching or damaging the metal.
- Prioritize Safety: Equip yourself with safety goggles, gloves, and masks to protect against chemical exposure and debris during the removal process.
- Regular Maintenance: For metal surfaces that are frequently insulated with foam, consider implementing a regular maintenance schedule to prevent buildup and make removal easier in the future.

Conclusion
Removing spray foam insulation from metal surfaces can be a challenging task, but with the right strategies and care, it can be accomplished effectively. By understanding the type of metal, the state of the foam, and utilizing the appropriate removal techniques, you can preserve the integrity and appearance of your metal surfaces. Prioritizing safety, testing methods in small areas first, and using the proper tools are crucial steps in the process. So, there you have it – a quick and easy guide on how to remove spray foam insulation from metal.
Edmund Sumlin is a skilled author for Metal Fixes, bringing 6 years of expertise in crafting a wide range of metal fixtures. With a strong background in metalwork, Edmund’s knowledge spans various types of fixtures, from decorative pieces to functional hardware, blending precision with creativity. His passion for metalworking and design has made him a trusted resource in the industry.
Professional Focus:
- Expert in Metal Fixtures : Edmund aesthetic specializes in creating durable and innovative metal fixtures, offering both appeal and functionality. His work reflects a deep understanding of metalworking techniques and materials.
- Sustainability Advocate : He is dedicated to using sustainable practices, ensuring that every fixture is crafted with eco-friendly methods while maintaining high-quality standards.
In his writing for Metal Fixes, Edmund provides valuable insights into the latest trends, techniques, and practical advice for those passionate about metal fixtures, whether they are professionals or DIY enthusiasts. His focus on combining artistry with engineering helps others discover the true potential of metal in design.