Self tapping hooks are a practical solution for securely attaching items to metal surfaces without the need for pre-drilled holes. These hooks are specifically designed to cut their own threads as they are driven into the material, making them convenient and time-saving. They are ideal for a variety of applications, from hanging tools and equipment in a garage to organizing kitchen or bathroom accessories. Understanding how to properly use self tapping hooks for metal can enhance your DIY projects, ensuring that installations are stable and reliable. In this guide, we will explore how to use Self Tapping Hooks for Metal.

Common Applications of Self Tapping Hooks
Self tapping hooks are incredibly versatile and can be utilized in numerous situations where a stable and secure attachment to metal is required. In industrial settings, these hooks are often used for organizing tools and equipment, ensuring easy access and space optimization. They are popular in automotive applications as well, where they can secure cables and components within vehicles. Around the home, self tapping hooks are perfect for hanging picture frames, artwork, or organizing kitchen utensils and bathroom towels.
Their ability to firmly secure items without requiring additional tools or anchors makes them a popular choice for both professional contractors and DIY enthusiasts alike. Whether it’s for personal projects or professional installations, self tapping hooks provide a seamless and efficient solution for attaching items to metal surfaces.
Different Types of Self Tapping Hooks
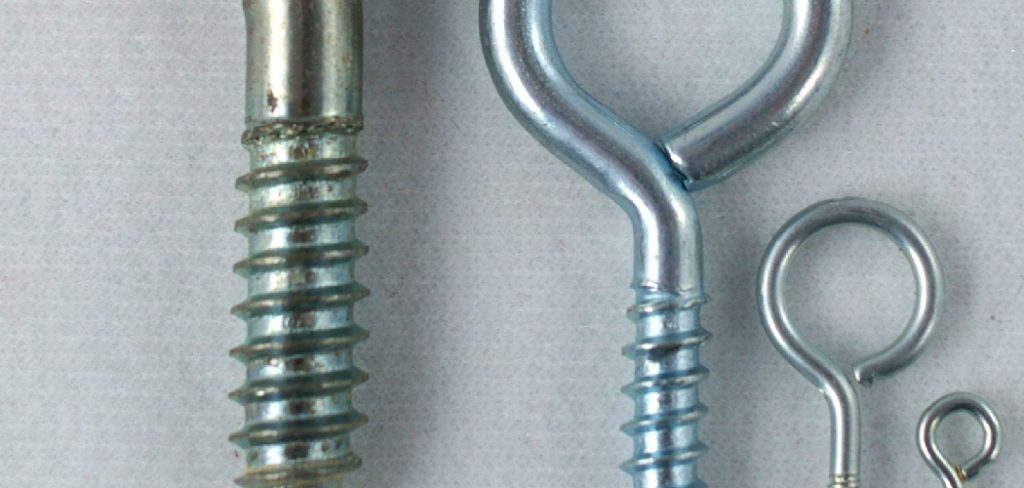
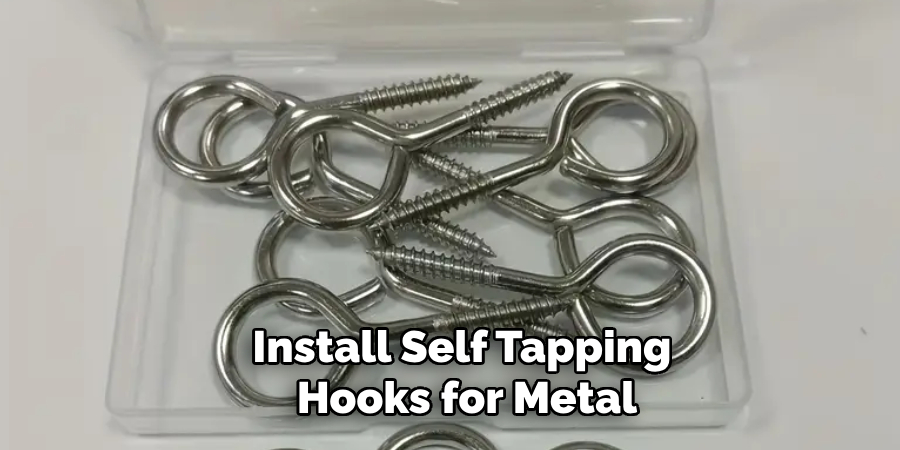
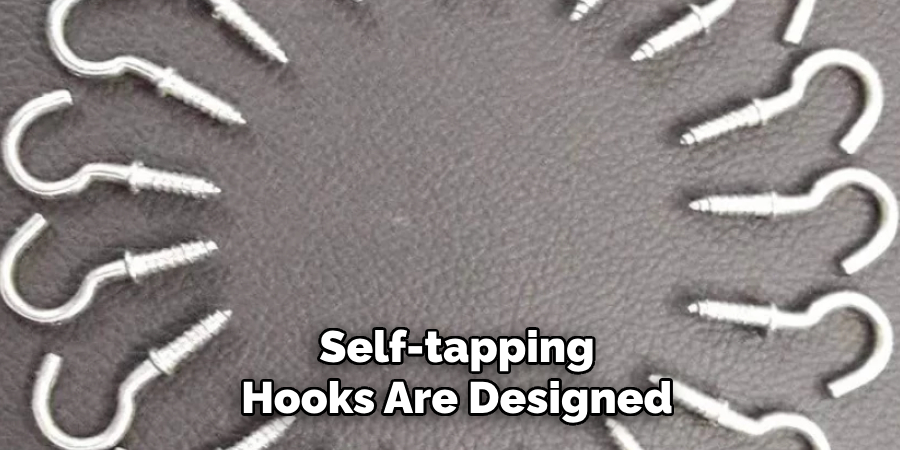
There are several types of self tapping hooks available, each designed to meet specific needs based on the application and the type of metal surface. One common variety is the eye hook, which features a closed loop for securely hanging items. Ideal for heavy-duty applications, eye hooks distribute weight effectively and prevent items from slipping off. Another type, the J hook, is open-ended and versatile for hanging items that are easy to remove, such as tools with handles or cords. For applications where a flush finish is needed, flat hooks, which lie against the surface, are preferred.
Heavy-duty self tapping hooks come with reinforced threads and a robust shank for securing bulkier and heavier items. Finally, specialty hooks, such as those with rubber coatings, are available for delicate items requiring scratch prevention. Choosing the right type of self tapping hook depends on the load requirements and specific environmental conditions of your project.
Tools and Materials Needed
To successfully install self tapping hooks for metal, you’ll need a few essential tools and materials. First, you’ll require a drill or a screwdriver that matches the drive type of the self tapping hook. Depending on the specific hook, this could be a Phillips or flathead screwdriver. Additionally, it’s recommended to have a tape measure or ruler on hand to ensure precise placement of your hooks. Safety goggles should be worn to protect your eyes from metal shavings. Lastly, ensure you have the right size and type of self tapping hooks suitable for the thickness and type of metal you’re working with.
Having these tools and materials ready will facilitate a smooth installation process and achieve the best results.

10 Methods How to Use Self Tapping Hooks for Metal
1. Select the Right Self-Tapping Hook
The first step in using self-tapping hooks is choosing the appropriate type for your specific application. Self-tapping hooks come in various sizes, thread patterns, and materials, each suited to different metals and loads. For heavier items, opt for hooks with coarse threads and reinforced construction, while lighter loads can use finer-threaded hooks. Choosing the right hook ensures it will penetrate the metal effectively and support the desired weight.
2. Prepare the Metal Surface
Clean the metal surface thoroughly before installation to remove dust, grease, or rust. Use a cloth soaked in a degreaser or rubbing alcohol to ensure the area is free from contaminants that could interfere with the hook’s grip. For rusted surfaces, sand away the rust with fine-grit sandpaper or a wire brush. A clean and smooth surface allows the hook to bite into the metal securely.
3. Mark the Installation Point
Accurate placement is essential for proper functionality. Use a pencil, marker, or center punch to mark the exact spot where the hook will be installed. For precise alignment, especially when installing multiple hooks, use a measuring tape and level. This step prevents misalignment and ensures a neat and professional finish.
4. Use a Pilot Hole for Thick Metals
Although self-tapping hooks are designed to cut into metal without pre-drilling, creating a small pilot hole can make the process easier for thicker or harder metals. Use a drill with a bit slightly smaller than the hook’s thread diameter to create the pilot hole. This reduces resistance during installation and minimizes the risk of damaging the hook or the metal surface.
5. Position the Hook at the Correct Angle
Hold the self-tapping hook perpendicular to the metal surface to ensure straight and even threading. Misaligned installation can weaken the hook’s grip and compromise its load-bearing capacity. Apply firm, steady pressure to keep the hook in place as you begin threading it into the metal.

6. Drive the Hook with the Appropriate Tool
Use a screwdriver or drill with a bit that fits the hook’s head snugly to drive it into the metal. Start at a low speed to maintain control and ensure the hook threads properly. Increase speed gradually once the hook begins to bite into the surface. Avoid over-tightening, as this can strip the threads or weaken the grip.
7. Use Lubricant for Tough Metals
For particularly hard metals, applying a small amount of lubricant, such as machine oil or silicone spray, can make the installation process smoother. Lubricant reduces friction and prevents the hook from binding or breaking during installation. Wipe away excess lubricant once the hook is fully secured to maintain a clean surface.
8. Test the Hook’s Stability
After installation, test the hook by gently pulling or applying a small amount of weight to ensure it is securely fastened. If the hook feels loose or wobbly, remove it and inspect the threads and metal surface for issues. Reinforce the area with a larger hook or additional support if necessary. Testing ensures the hook will perform reliably under load.
9. Reinforce the Hook for Heavy Loads
For heavy-duty applications, consider reinforcing the hook by adding a washer or a backing plate. This distributes the load over a larger area and reduces stress on the metal surface. Attach the washer or plate between the hook and the metal surface before tightening. This method enhances stability and prevents the hook from pulling out under heavy loads.
10. Maintain and Inspect the Hooks Regularly
To ensure long-term performance, periodically inspect the hooks for signs of wear, rust, or loosening. Tighten any hooks that have become loose and replace those showing significant damage or corrosion. For outdoor applications, use corrosion-resistant hooks and apply a protective coating, such as rust-proof paint or sealant, to the surrounding metal. Regular maintenance prolongs the life of the hooks and keeps them functioning safely.

Things to Consider When Installing Self Tapping Hooks
When installing self-tapping hooks, understanding the environment and context of the installation is crucial. First, consider the thickness and type of metal involved, as this will determine the need for a pilot hole and the appropriate size and material of the hook. Ambient conditions, such as exposure to moisture and temperature fluctuations, can impact the hook’s durability and performance, prompting the use of corrosion-resistant materials when necessary. Assess the weight and type of load the hook needs to support to choose one with suitable thread and construction.
Furthermore, ensure that the proper safety equipment is used to protect against metal shavings and accidental injuries. By taking these factors into account, you can guarantee a successful and secure installation of self-tapping hooks.
Common Mistakes to Avoid
When installing self-tapping hooks for metal, it is essential to sidestep common pitfalls that can compromise the installation’s effectiveness and safety. One frequent mistake is selecting the wrong type of hook for the application, which can lead to insufficient holding power or damage to the metal surface. Another error is failing to clean the metal thoroughly before installation, as debris and contaminants can prevent the hook from gaining a secure grip. Additionally, skipping the pilot hole when working with thick metals can result in excessive force being applied, potentially bending the hook or damaging the metal. Incorrectly aligning the hook during installation is another common oversight, often weakening the grip and stability.

Conclusion
Proper installation of self-tapping hooks for metal can significantly enhance their functionality and longevity. By taking the time to prepare the surface, select the right tools and materials, and follow a systematic approach, you can ensure a secure and reliable installation. Avoiding common mistakes such as improper cleaning, incorrect alignment, and neglecting pilot holes is crucial for achieving optimal results. Additionally, regular maintenance and mindful consideration of environmental factors can extend the lifespan of the hooks, ensuring they perform safely under various conditions. So, there you have it – a quick and easy guide on how to use Self Tapping Hooks for Metal.
Edmund Sumlin is a skilled author for Metal Fixes, bringing 6 years of expertise in crafting a wide range of metal fixtures. With a strong background in metalwork, Edmund’s knowledge spans various types of fixtures, from decorative pieces to functional hardware, blending precision with creativity. His passion for metalworking and design has made him a trusted resource in the industry.
Professional Focus:
- Expert in Metal Fixtures : Edmund aesthetic specializes in creating durable and innovative metal fixtures, offering both appeal and functionality. His work reflects a deep understanding of metalworking techniques and materials.
- Sustainability Advocate : He is dedicated to using sustainable practices, ensuring that every fixture is crafted with eco-friendly methods while maintaining high-quality standards.
In his writing for Metal Fixes, Edmund provides valuable insights into the latest trends, techniques, and practical advice for those passionate about metal fixtures, whether they are professionals or DIY enthusiasts. His focus on combining artistry with engineering helps others discover the true potential of metal in design.


