

Restoring a cast iron Dutch oven can breathe new life into a kitchen staple, bringing back its classic charm and functionality. Whether your Dutch oven is a family heirloom passed down through generations or a recent yard sale find, proper restoration can enhance its performance and extend its longevity. With just a few simple steps, you can strip away old rust, reseason the surface, and transform the pot into a trusty cooking companion that’s perfect for everything from slow-cooked stews to freshly baked bread.
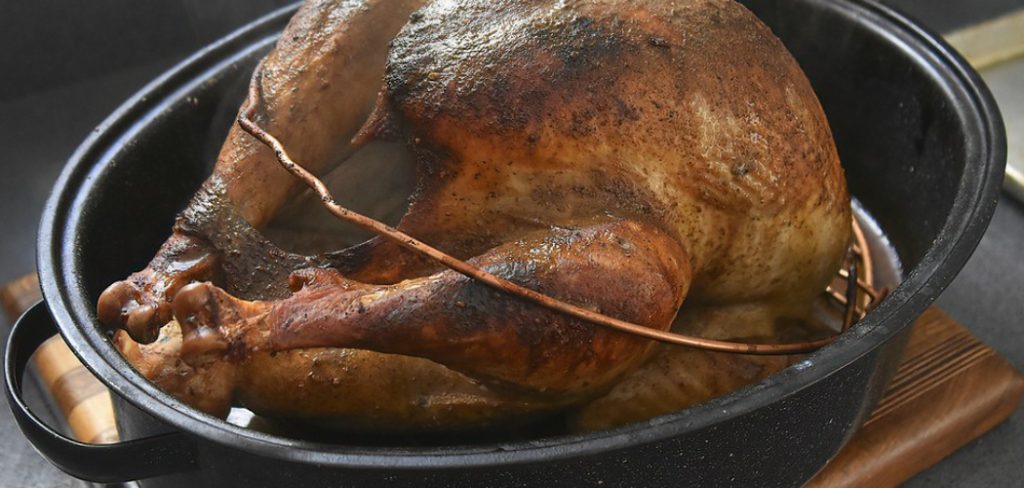
This guide will walk you through how to restore a cast iron dutch oven, ensuring your cast iron Dutch oven continues to deliver delicious meals for years to come.
Durability and Value of Cast Iron Dutch Ovens
Cast iron Dutch ovens are renowned for their incredible durability and long-lasting value, making them a worthwhile investment for any kitchen. Their robust construction allows them to withstand high temperatures, both on the stovetop and in the oven, enabling a variety of cooking methods. This resilience ensures they can endure the rigors of daily use without warping or deteriorating over time. Moreover, their natural, non-stick surface, developed through proper seasoning, enhances cooking performance and reduces the need for additional oils or fats.
The inherent ability of cast iron to retain and evenly distribute heat makes it ideal for slow cooking and baking, providing consistent and flavorful results. These qualities, combined with their timeless appeal, not only make cast iron Dutch ovens a practical choice but also a cherished heirloom that can be passed down through generations, maintaining both function and sentimental value.
Tools and Materials Needed
Before beginning the restoration process, gather the following tools and materials to ensure a smooth and efficient task:
- Safety Gear: Gloves and protective eyewear to safeguard against any sharp rust particles or cleaning agents.
- Stiff Brush or Steel Wool: For scrubbing off rust and old seasoning layers from the surface.
- White Vinegar: Effective for rust removal, it helps to break down corrosion spots on the cast iron.
- Baking Soda: Useful as a gentle abrasive that can aid in cleaning tough spots without damaging the surface.
- Mild Dish Soap: To clean and remove any remaining residues from the Dutch oven.
- Lint-Free Cloths or Paper Towels: For drying and applying oil during the seasoning process.
- Vegetable Oil or Flaxseed Oil: To create a new seasoning layer after cleaning, protecting against future rust.
- Aluminum Foil: Useful for lining the oven or grill to catch any oil drips during seasoning.
- Oven or Grill: Needed to heat the cast iron to bond the oil into the surface, developing a protective coating.
Having all these items ready will prepare you for effectively restoring your cast iron Dutch oven, ensuring it regains its optimal cooking condition.
10 Methods on How to Restore a Cast Iron Dutch Oven
A cast iron Dutch oven is a kitchen and camping staple, loved for its unparalleled durability and ability to create delicious, evenly-cooked meals. However, without proper care, even the sturdiest Dutch oven can succumb to rust, grime, and tarnish over time. The good news? Restoring it to its former glory is entirely possible.
If you’re wondering how to restore a cast iron Dutch oven, whether it’s inherited, picked up at a yard sale, or just showing its age, you’re in the right place. Here’s a step-by-step guide to breathing new life into your trusty cookware.
1. Assess the Condition of the Dutch Oven
Before jumping into restoration, carefully inspect your Dutch oven. Check for rust, grime, or stubborn food residue. Surface rust and general wear are usually salvageable, but avoid using cookware with deep cracks or major structural damage as these are beyond repair and could pose safety risks.
Tip:
Light surface rust? No worries. But if the rust flakes off in large chunks, the restoration process may be more challenging and could require extra elbow grease.
2. Gather Your Tools
Restoring cast iron is easier with the right tools on hand. Essential items include steel wool, a stiff brush, dish soap, and protective gloves. For heavy rust, you’ll also need white vinegar and baking soda.
Tip:
Invest in a chainmail scrubber for a reusable and eco-friendly cleaning tool that works perfectly for cast iron restoration.
3. Remove Food Residue
Start by removing any lingering food particles or residue. Use warm water, a small amount of dish soap (yes—soap is safe in this case), and a stiff brush to scrub the surface. Be thorough but gentle to avoid scratching.
Tip:
Stubborn bits of food? Boil water in the Dutch oven for a few minutes to loosen it up before scrubbing.
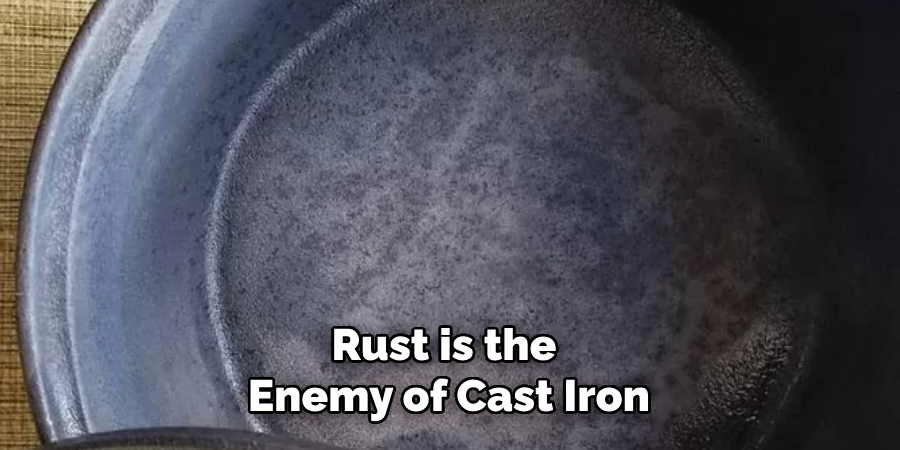
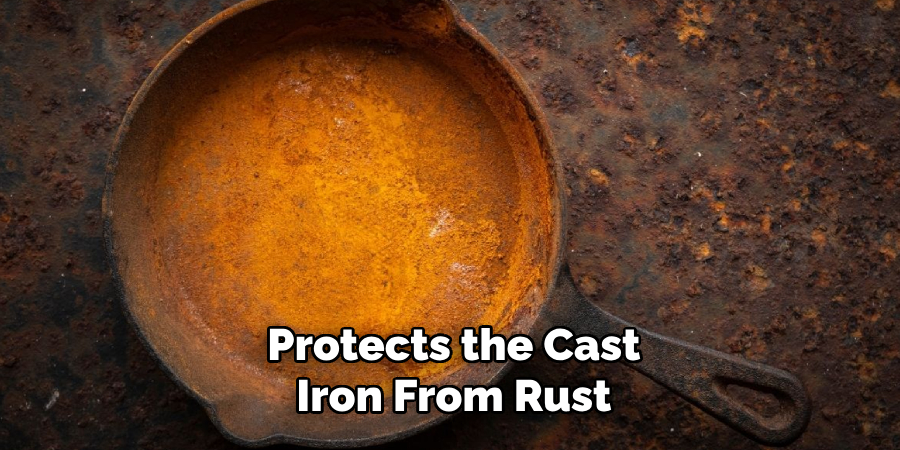
4. Tackle Rust with Vinegar
Rust is the enemy of cast iron, but a vinegar soak can be your ally. Mix equal parts white vinegar and water, enough to submerge the Dutch oven. Let it soak for 1–4 hours, checking frequently to ensure you’re not overdoing it—vinegar is strong and over-soaking can damage the iron.
Tip:
Got rust in hard-to-reach places? Use a toothbrush dipped in vinegar to target those spots.
5. Scrub, Scrub, Scrub
After soaking, use steel wool or a stiff brush to scrub away rust. Apply consistent pressure, focusing on areas where the rust is most visible. Rinse thoroughly with warm water to wash away debris.
Tip:
For stubborn rust spots, sprinkle baking soda onto the steel wool or brush for extra grit during scrubbing.
6. Neutralize the Vinegar (If Used)
To stop the acidic action of vinegar, rinse the Dutch oven with a baking soda solution (1 tablespoon of baking soda per quart of water). This will ensure the vinegar doesn’t continue to etch the iron.
7. Dry Thoroughly
Once cleaned, it’s crucial to dry the cast iron completely. Wipe it down with a clean cloth or paper towels, and then place it in a warm oven for 10–15 minutes to remove any remaining moisture.
Tip:
Moisture is the leading cause of rust. Do not skip the drying step if you want to prevent future buildup!
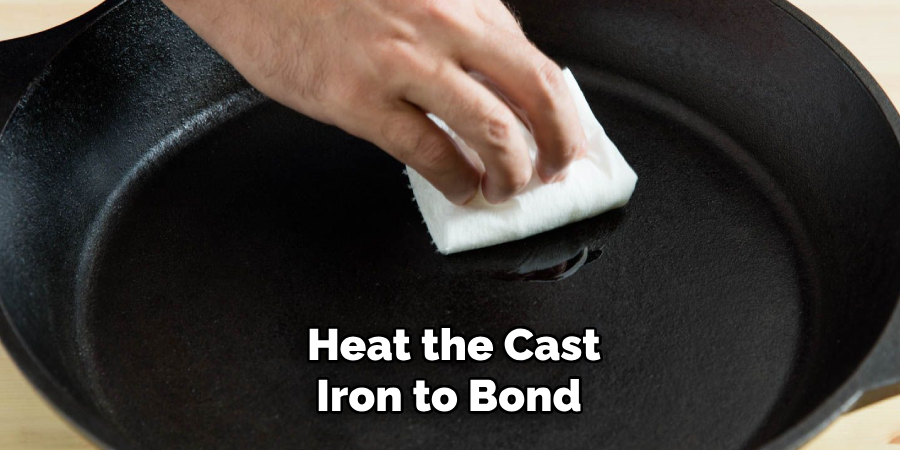
8. Re-season the Dutch Oven
Seasoning restores the non-stick surface and protects the cast iron from rust. Apply a thin layer of vegetable oil or flaxseed oil to the entire surface, inside and out. Bake the pot (upside-down) in an oven preheated to 375°F for one hour. Place a sheet of foil on the rack below to catch any dripping oil.
Tip:
Repeat the seasoning process 2–3 times for a durable and glossy finish.
9. Maintain Your Restored Cast Iron
Now that your Dutch oven is restored, it’s important to maintain its condition. Clean it immediately after use with warm water (no soap). Wipe it thoroughly dry and lightly oil the surface before storing.
Tip:
When camping, avoid using your Dutch oven directly over harsh flames—this can strip the seasoning. Instead, use coals or a tripod setup.
10. Store It Properly
Store your Dutch oven in a dry, well-ventilated area. If nested with other cookware, place a sheet of paper towel inside the oven’s interior to absorb any moisture and protect the seasoning.
Tip:
If you live in a humid climate, inserting silica gel packets (commonly found in shoe boxes) can help keep moisture at bay.
Things to Consider When Using Your Cast Iron Dutch Oven
When using your restored cast iron Dutch oven, there are several factors to keep in mind to ensure its longevity and excellent performance. First, always preheat the oven gradually to avoid thermal shock, which can cause cracking. Temperature fluctuations can be detrimental, so avoid transferring the Dutch oven directly from cold to extremely hot environments. Additionally, use wooden or silicone utensils to prevent scratching the seasoned surface. Acidic foods, such as tomatoes or citrus, should be cooked with caution, as they can erode the seasoning over time. Finally, although faucet water is generally safe, try to minimize lengthy exposure to avoid rust; instead, opt for a quick rinse followed by immediate drying.
Common Mistakes to Avoid
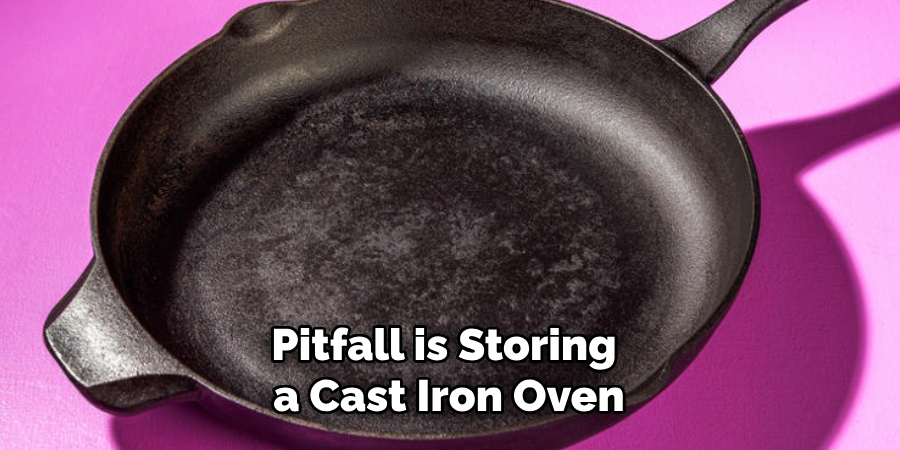
Even with the best intentions, certain mistakes can compromise the integrity and longevity of your cast iron Dutch oven. First, avoid using harsh chemicals or steel wool too aggressively during cleaning, as this can strip away the seasoning you’ve worked hard to build. Only utilize gentle scrubbers and mild soap. Secondly, never place a cast iron Dutch oven in a dishwasher—the harsh detergents and prolonged exposure to water can lead to rusting and damage the seasoning. Another common pitfall is storing a cast iron oven without thoroughly drying it; moisture left on the surface will facilitate rust.
Additionally, refrain from letting food sit in the pot for long periods; the acids and moisture can break down the seasoning layer.
Conclusion
Restoring and maintaining a cast iron Dutch oven may require some effort, but the rewards are well worth it. With proper care and attention, this versatile cookware can last for generations, providing consistent quality in every meal. By following the outlined steps for rust removal, seasoning, and maintenance, you ensure your Dutch oven remains a reliable kitchen companion. Embrace these techniques, and your cast iron will continue to deliver unmatched culinary results. So, there you have it – a quick and easy guide on how to restore a cast iron dutch oven.
Edmund Sumlin is a skilled author for Metal Fixes, bringing 6 years of expertise in crafting a wide range of metal fixtures. With a strong background in metalwork, Edmund’s knowledge spans various types of fixtures, from decorative pieces to functional hardware, blending precision with creativity. His passion for metalworking and design has made him a trusted resource in the industry.
Professional Focus:
- Expert in Metal Fixtures : Edmund aesthetic specializes in creating durable and innovative metal fixtures, offering both appeal and functionality. His work reflects a deep understanding of metalworking techniques and materials.
- Sustainability Advocate : He is dedicated to using sustainable practices, ensuring that every fixture is crafted with eco-friendly methods while maintaining high-quality standards.
In his writing for Metal Fixes, Edmund provides valuable insights into the latest trends, techniques, and practical advice for those passionate about metal fixtures, whether they are professionals or DIY enthusiasts. His focus on combining artistry with engineering helps others discover the true potential of metal in design.