

Keeping your hedge trimmer blades clean is essential for maintaining their performance and longevity. Over time, sap, resin, and debris can accumulate, reducing the efficiency of the blades and even causing them to rust. Regular cleaning not only ensures a smooth trimming experience but also extends the life of your tool.

In this guide on how to clean hedge trimmer blades, we will walk you through the steps needed to effectively clean your hedge trimmer blades, helping you achieve optimal results with minimal effort.
Why is It Important to Clean Hedge Trimmer Blades?
Dirty hedge trimmer blades can affect the performance of your tool in several ways. First, debris and sap build-up can cause the blades to clog, resulting in slower cutting speed and an uneven cut. This not only makes the task more time-consuming but also leads to a less than satisfactory outcome.
Furthermore, accumulated debris and sap can cause the blades to become dull, requiring more effort and time to achieve the desired results. In extreme cases, this may even damage the blades, resulting in costly repairs or replacements.
Regularly cleaning your hedge trimmer blades also helps prevent rusting. Moisture from plants and vegetation can cause the blades to rust, reducing their effectiveness and shortening their lifespan.
What You Will Need
Before we dive into the steps for cleaning your hedge trimmer blades, here are some items you will need:
- A Clean Cloth or Rag
- Warm Water
- Soap or Detergent (Preferably Mild)
- Wire Brush or Toothbrush
- Lubricant Spray or Oil (for Afterwards)
- Protective Gloves (for Safety)
8 Steps on How to Clean Hedge Trimmer Blades
Step 1: Safety First
Before beginning the cleaning process, it is crucial to ensure your safety. Start by disconnecting the hedge trimmer from any power source. If your trimmer is battery-operated, remove the battery pack. This step eliminates any risk of accidental activation during cleaning.

After disconnection, put on protective gloves to safeguard your hands from sharp edges and potential irritants from cleaning agents. By prioritizing safety, you can focus on the task at hand with peace of mind.
Step 2: Inspect the Blades
Once you’ve ensured your safety, the next step is to visually inspect the hedge trimmer blades for any visible damage or excessive wear. Look for nicks, bends, or any irregularities that could affect their performance. While inspecting, also check for areas with heavy sap or debris buildup, as these will need extra attention during the cleaning process.
Identifying any issues at this stage allows you to address them promptly, ensuring the blades function optimally once cleaned. If you notice significant damage, consider consulting a professional for repair or replacement to maintain the tool’s efficiency.
Step 3: Remove Excess Debris
With the inspection complete, it’s time to remove any loose debris from the blades. Use a wire brush or an old toothbrush to gently brush away leaves, twigs, or any other loose particles clinging to the blades. Focus on areas where debris is more likely to accumulate, such as the edges and joints of the blades. Be thorough but gentle to avoid inadvertently damaging the blades.
Removing excess debris at this stage makes the subsequent cleaning steps more effective and helps restore the hedge trimmer’s cutting efficiency.
Step 4: Soak the Blades
After removing the loose debris, it’s time to soak the blades in warm soapy water. Fill a bucket or sink with warm water and add mild soap or detergent. Submerge the blades in the solution for several minutes, allowing any stubborn sap or debris to soften. This step makes cleaning more manageable and less time-consuming.
Note: If your hedge trimmer has a gasoline engine, disconnect and remove it before soaking the blades.
Step 5: Clean the Blades

Next, use a clean cloth or rag to wipe away any remaining residue on the blades. Pay close attention to areas with heavy build-up of sap or debris. For tougher areas, use the wire brush or toothbrush to gently scrub away the remaining gunk. Avoid using harsh chemicals or abrasive tools as they can damage the blades.
Rinse the blades with clean water to remove any soap residue, then dry them thoroughly with a clean cloth.
Step 6: Lubricate the Blades
Once your hedge trimmer blades are clean and dry, it’s time to lubricate them for smooth operation. Use a lubricant spray or oil specifically designed for garden tools and apply it evenly on both sides of the blades. This helps prevent rusting and keeps the blades sharp for longer.
Note: Be cautious not to over-lubricate as this can attract more dirt and debris, resulting in a sticky residue on the blades.
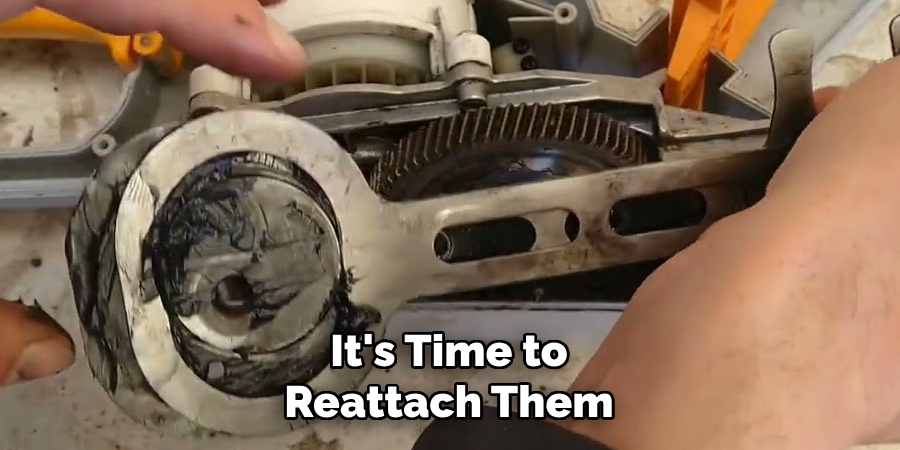
Step 7: Reassemble the Hedge Trimmer
After cleaning and lubricating the blades, it’s time to reattach them to the hedge trimmer. Ensure all parts are properly aligned and tightened according to the manufacturer’s instructions. For gasoline-powered trimmers, reattach and reconnect the engine.
You can now safely plug in your trimmer or insert the battery pack and test its performance. If you notice any issues, check for proper assembly or consult a professional.
Step 8: Final Inspection
The last step is to do a final inspection of your clean hedge trimmer blades. Run a test on some small branches or shrubs to check for optimal cutting performance. If you notice any issues, repeat the cleaning process or consult a professional for further assistance.
Following these steps on how to clean hedge trimmer blades to clean your hedge trimmer blades regularly not only ensures their longevity but also improves the overall performance of your tool. By taking proper care of your gardening equipment, you can make yard work more efficient and enjoyable. Happy trimming!
How Much Could It Cost?
The cost of maintaining and cleaning your hedge trimmer blades can vary based on the tools and products you choose. Basic cleaning supplies, such as mild soap and a clean cloth, are usually inexpensive and may already be available in your home. A wire brush or toothbrush can be purchased for a few dollars at a hardware store. Lubricant spray or oil, specifically designed for garden tools, can range from $5 to $15, depending on the brand and size of the container.
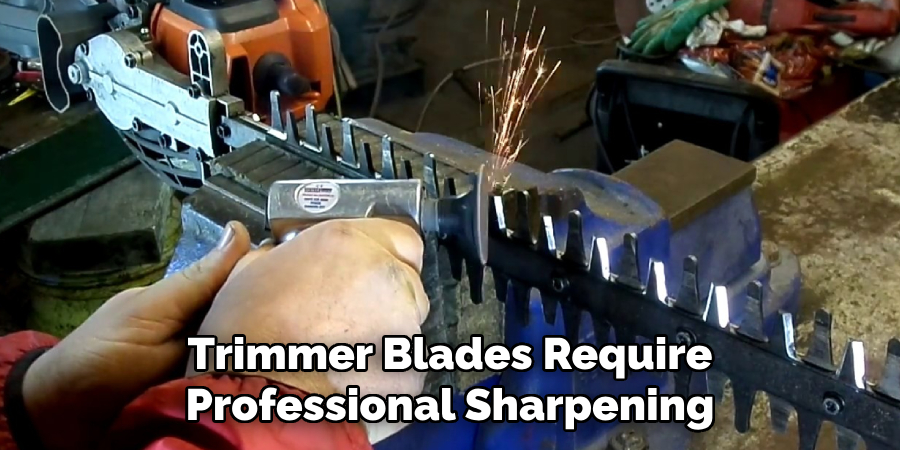
If your hedge trimmer blades require professional sharpening due to significant dullness or damage, expect to spend approximately $10 to $20. In extreme cases where blade replacement is necessary, the cost could increase to $20 to $50 or more, depending on the make and model of your trimmer. Regular maintenance can help prevent costly repairs and replacements, making it a more budget-friendly option in the long run.
Additional Tips
- To make the cleaning process easier, consider investing in a hedge trimmer blade cleaner or spray. These products are specifically designed to dissolve stubborn sap and debris buildup.
- If you regularly trim thick branches or dense shrubs, it’s recommended to clean your blades after every use to prevent excessive build-up of debris.
- For safety purposes, always disconnect power sources before cleaning any garden tool.
- When storing your hedge trimmer, ensure the blades are clean and dry to avoid rusting. You can also apply a light coat of lubricant before storing it for an extended period.
- If your hedge trimmer has multiple blades, take extra care when cleaning and reassembling them to ensure they are properly aligned and tightened. This helps maintain the tool’s balance and prevents any potential accidents.
- Regular maintenance, including cleaning and lubricating, can significantly extend the lifespan of your hedge trimmer blades, saving you money in the long run. Overall, proper care and maintenance not only benefit your gardening equipment but also ensure your safety while using them. Happy trimming!
Frequently Asked Questions
Q: How Often Should I Clean My Hedge Trimmer Blades?
A: It is recommended to clean your hedge trimmer blades after every use or at least once a month. The frequency may vary depending on how often you use your trimmer and the type of vegetation you are cutting.
Q: Can I Use Harsh Chemicals to Clean the Blades?
A: No, it is not advisable to use harsh chemicals or abrasive tools as they can damage the blades. Stick to mild soap or detergent for cleaning and a specific lubricant spray or oil for maintenance.
Q: What Should I Do if My Hedge Trimmer Blades Are Rusty?
A: If your blades are already rusty, it is best to consult a professional for repair or replacement. Regularly cleaning and lubricating your blades can help prevent rusting in the future.
Q: How Do I Know If My Hedge Trimmer Needs Cleaning?
A: Signs that your hedge trimmer needs cleaning include decreased cutting efficiency, sticky residue on the blades, or difficulty in starting the engine (for gasoline-powered trimmers). Regularly inspecting and cleaning your blades can help prevent these issues.
Conclusion
Regular maintenance of your hedge trimmer blades, as outlined in these steps on how to clean hedge trimmer blades, is essential for keeping your equipment in top condition. By dedicating a little time to inspection, cleaning, and lubrication, you ensure that your trimmer performs efficiently and safely.
Not only does this routine care extend the life of the blades, but it also makes your gardening tasks more effective and less strenuous. Remember, consistently maintaining your tools pays off in the long run, providing cleaner cuts and preserving the beauty of your landscaped spaces.
Edmund Sumlin is a skilled author for Metal Fixes, bringing 6 years of expertise in crafting a wide range of metal fixtures. With a strong background in metalwork, Edmund’s knowledge spans various types of fixtures, from decorative pieces to functional hardware, blending precision with creativity. His passion for metalworking and design has made him a trusted resource in the industry.
Professional Focus:
- Expert in Metal Fixtures : Edmund aesthetic specializes in creating durable and innovative metal fixtures, offering both appeal and functionality. His work reflects a deep understanding of metalworking techniques and materials.
- Sustainability Advocate : He is dedicated to using sustainable practices, ensuring that every fixture is crafted with eco-friendly methods while maintaining high-quality standards.
In his writing for Metal Fixes, Edmund provides valuable insights into the latest trends, techniques, and practical advice for those passionate about metal fixtures, whether they are professionals or DIY enthusiasts. His focus on combining artistry with engineering helps others discover the true potential of metal in design.