

Measuring a countersunk bolt accurately is crucial for ensuring a proper fit in your projects, whether they’re related to construction, engineering, or DIY tasks. Unlike standard bolts, countersunk bolts have a flat head that sits flush with the surface of the material, providing a sleek and unobtrusive finish.
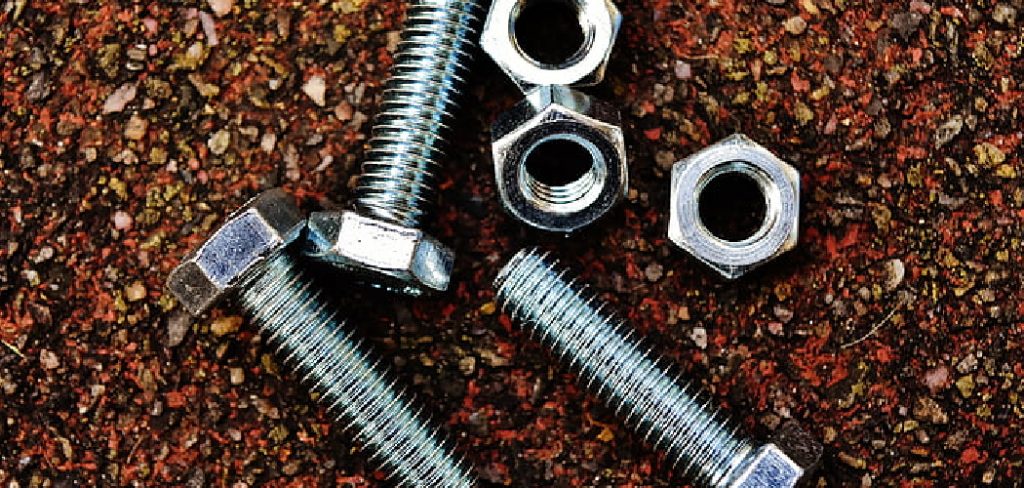
Understanding how to measure these bolts involves a few key steps that account for both the diameter of the bolt and the angle of the countersunk head. This guide will walk you through how to measure a countersunk bolt, helping you achieve the desired outcomes in your work.
Importance of Accurate Measurements
Accurate measurements are fundamental to the success of any project involving countersunk bolts. Ensuring precision in the measurement process prevents misalignment and potential structural weaknesses, which can lead to costly repairs and compromised integrity of the final product. Precise measurements are particularly critical in engineering and construction projects, where even a slight deviation can result in significant issues.
Moreover, accurate sizing guarantees that the countersunk bolts provide the seamless finish they are designed for, maintaining both the functional and aesthetic aspects of the work. By adhering to exact measurements, you enhance the durability and professional quality of your projects, leading to better overall outcomes.
Tools and Materials Required for Measurement
To measure a countersunk bolt accurately, you will need a set of specific tools and materials to ensure precise results. A caliper or a micrometer is essential for measuring the diameter and verifying the angles of the countersunk head. These tools offer the precision necessary for readings, often down to thousandths of an inch or millimeters.
A protractor will also be required to confirm the angle of the countersunk head to ensure it matches the specifications of your project. Additionally, having a ruler or tape measure can be beneficial for longer bolts to assess their total length. A pencil and notepad should be kept on hand to jot down measurements and any calculations. Ensuring you have these tools ready will streamline the measurement process and help achieve optimal results.

10 Methods How to Measure a Countersunk Bolt
1. Understand the Key Dimensions of a Countersunk Bolt
Before you begin measuring, it’s important to familiarize yourself with the key dimensions of a countersunk bolt. These include the bolt diameter, shank length, head height, and taper angle.
The diameter refers to the thickness of the bolt itself, the shank length is the length of the cylindrical portion of the bolt, the head height is the measurement from the flat surface of the bolt head to its highest point, and the taper angle refers to the angle at which the head tapers. Understanding these components will help you accurately measure and choose the right countersunk bolt for your needs.
2. Measure the Diameter of the Bolt
The diameter of a countersunk bolt is one of the most critical measurements, as it determines whether the bolt will fit into the hole you’ve drilled for it. To measure the diameter, use a caliper or a micrometer to get an accurate reading. The caliper’s jaws should be placed around the outer edges of the bolt shank (the cylindrical part).
Be sure to measure the bolt in several places to ensure it is uniform, as some bolts may have slight variations. The standard bolt diameter is often marked on the packaging, but measuring it yourself can help ensure precision, especially when dealing with non-standard or custom bolts.
3. Measure the Length of the Bolt
The length of a countersunk bolt refers to the distance from the flat end of the bolt (opposite the head) to the tip of the bolt. This measurement is essential for determining how far the bolt will extend into the material and whether it will be long enough to secure the intended parts.
To measure the length, use a tape measure or caliper and ensure the tool is lined up properly with the flat end of the bolt. Keep in mind that bolts can come in various lengths, and the appropriate length depends on the thickness of the material you are fastening.
4. Measure the Head Height
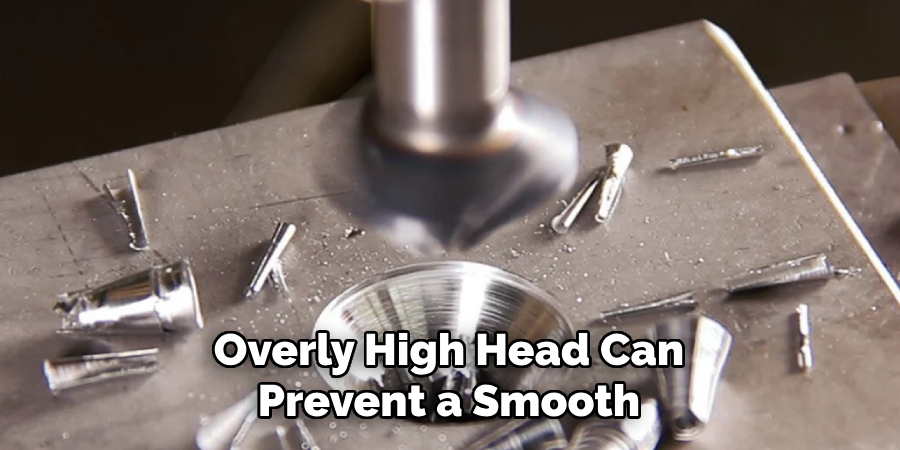
The head height of a countersunk bolt refers to the distance from the bottom of the countersunk part of the bolt head to its highest point. This measurement is crucial for determining how flush the bolt will sit with the surface of the material.
To measure the head height, use a caliper to measure the distance from the flat underside of the head to the topmost point. For a countersunk bolt to sit flush with the surface, the head height must be precisely measured to ensure it will not protrude. A bolt with an overly high head can prevent a smooth, flush finish.
5. Measure the Taper Angle of the Head
The taper angle is another critical dimension when measuring a countersunk bolt, as it determines how well the bolt will fit into the countersunk hole in the material. The taper angle refers to the angle of the slope that the bolt head follows, which allows it to sit flush with the surface.
To measure the taper angle, use an angle gauge or protractor. Place the gauge on the slope of the bolt’s head and read the angle. Typically, countersunk bolts have a 90-degree angle, but this can vary depending on the application or manufacturer, so it’s essential to check if a specific angle is required for your project.
6. Check the Thread Type and Pitch
Countersunk bolts come in various thread types and pitches, so measuring the thread pitch is crucial when determining compatibility with nuts or threaded holes. To measure the thread pitch, use a thread gauge or caliper. The pitch refers to the distance between threads, usually measured in millimeters for metric bolts or threads per inch (TPI) for imperial bolts.
If you’re unsure of the thread pitch, you can compare it to a known gauge or check the bolt’s packaging for specifications. Having the correct thread type and pitch ensures that the bolt will fasten securely and not strip over time.
7. Use a Caliper for Precision Measurements
A caliper is a versatile tool that can help you measure a countersunk bolt accurately. When measuring both the diameter and length of the bolt, calipers provide precise readings down to thousandths of an inch or millimeters. To measure the bolt’s diameter, open the caliper’s jaws and place them around the shank of the bolt.
For measuring length, use the caliper’s depth gauge to measure from the flat end of the bolt to its tip. A digital caliper may offer even more convenience with an easy-to-read display. Using a caliper ensures that you get an accurate and repeatable measurement, especially when working with small, detailed parts.
8. Measure the Hole Size for Fit
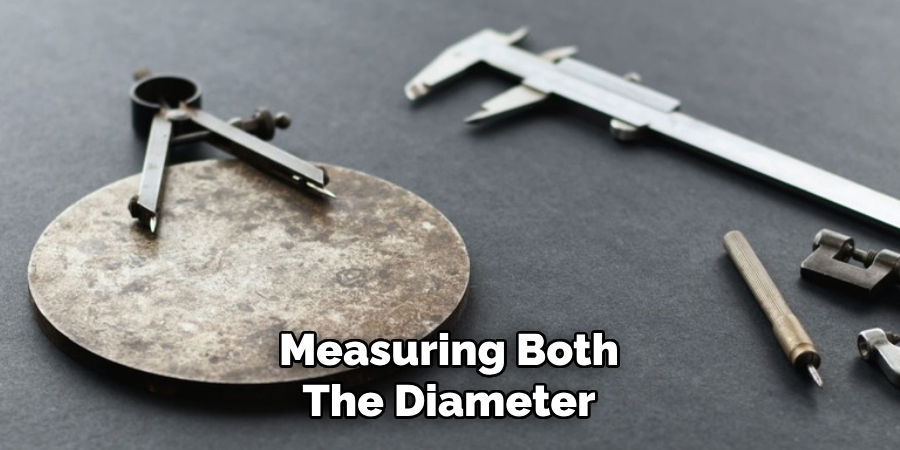
When selecting a countersunk bolt, it’s not only important to measure the bolt itself but also the hole that the bolt will fit into. The hole should match the size of the bolt in terms of both diameter and depth to ensure a secure, tight fit. To measure the hole size, use a caliper or drill gauge.
Be sure that the countersink angle of the hole corresponds with the taper angle of the bolt head. If the hole is too small, the bolt will not sit flush, and if it’s too large, the bolt may not fasten securely. Measuring both the bolt and hole is essential for compatibility.
9. Compare the Bolt to Manufacturer Specifications
If you are purchasing countersunk bolts from a supplier or hardware store, the specifications for the bolt should be listed on the packaging or the manufacturer’s website. Compare your measurements to these specifications to ensure that the bolt is the right size for your project.
Manufacturers typically provide information on the bolt’s diameter, length, head height, taper angle, thread type, and material. Cross-checking these measurements with your own will give you confidence that the bolt will perform well for your specific use case.
10. Consider the Material and Coating
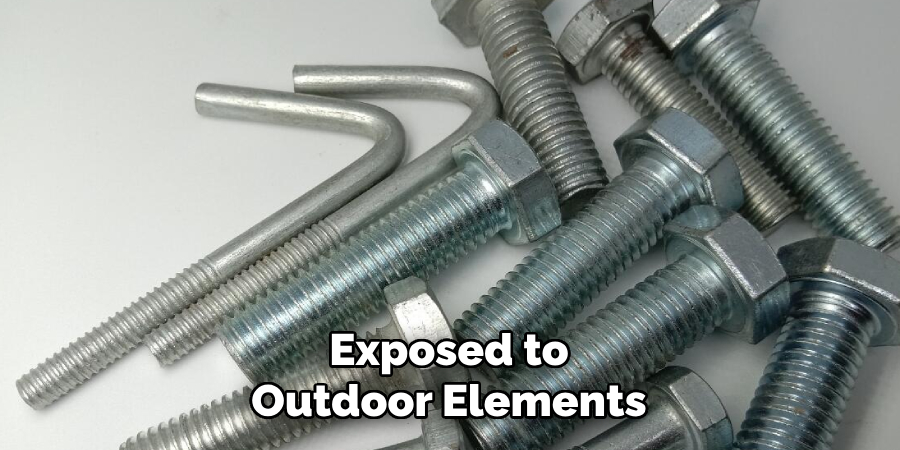
While measuring the physical dimensions of a countersunk bolt is crucial, it’s also important to consider the material and coating of the bolt. Common materials for countersunk bolts include steel, stainless steel, brass, and alloy metals. The material affects the bolt’s strength, corrosion resistance, and suitability for certain environments.
Additionally, some bolts come with coatings such as zinc plating or black oxide to provide extra protection against rust and wear. Understanding the material and coating of the bolt ensures that it will perform well under the expected conditions, whether it’s exposed to outdoor elements or heavy machinery.
Conclusion
In summary, selecting the appropriate countersunk bolt for your project requires careful attention to detail and precise measurements. By thoroughly assessing dimensions such as length, head height, and taper angle, you ensure that the bolt will function as intended.
Additionally, considering the thread type, pitch, and compatibility with the hole size further guarantees a secure fit. Beyond dimensions, the material and coating of the bolt play crucial roles in determining its performance and durability in various applications. So, there you have it – a quick and easy guide on how to measure a countersunk bolt.
Edmund Sumlin is a skilled author for Metal Fixes, bringing 6 years of expertise in crafting a wide range of metal fixtures. With a strong background in metalwork, Edmund’s knowledge spans various types of fixtures, from decorative pieces to functional hardware, blending precision with creativity. His passion for metalworking and design has made him a trusted resource in the industry.
Professional Focus:
- Expert in Metal Fixtures : Edmund aesthetic specializes in creating durable and innovative metal fixtures, offering both appeal and functionality. His work reflects a deep understanding of metalworking techniques and materials.
- Sustainability Advocate : He is dedicated to using sustainable practices, ensuring that every fixture is crafted with eco-friendly methods while maintaining high-quality standards.
In his writing for Metal Fixes, Edmund provides valuable insights into the latest trends, techniques, and practical advice for those passionate about metal fixtures, whether they are professionals or DIY enthusiasts. His focus on combining artistry with engineering helps others discover the true potential of metal in design.