

Are you an avid chainsaw user? If so, you know the importance of a sharp, well-maintained chainsaw bar. A bad chainsaw bar can not only affect the performance of your chainsaw but also be dangerous to use.
A well-maintained chainsaw is vital for efficient and safe operation, and the condition of the chainsaw bar plays a crucial role in this. Over time, wear and tear can cause the bar to deteriorate, leading to decreased performance and potential safety hazards. Identifying when a chainsaw bar is bad is essential for ensuring the longevity of your equipment and the efficiency of your work.
In this guide on how to tell if chainsaw bar is bad, we will explore key indicators that signal a worn-out or damaged chainsaw bar, helping you understand when it’s time for a replacement.
What Will You Need?
Before we dive into the signs of a lousy chainsaw bar, ensuring you have the necessary tools and equipment is important. These will come in handy when inspecting your chainsaw bar for any issues. Here are some items you may need:
- A New Chain: If your chainsaw bar is wrong, you’ll likely need a new chain.
- A Flathead Screwdriver: This tool can adjust the chain’s tension on your chainsaw.
- Gloves: It’s always essential to protect your hands while working with power tools.
- Safety Glasses: When inspecting or making adjustments to your chainsaw, wear safety glasses to protect your eyes from debris or flying particles.
- A Cloth: Keep a clean cloth to wipe away any debris or dirt obstructing your view of the chainsaw bar.
Now that you have all the necessary tools, let’s examine how to tell if your chainsaw bar is bad.
10 Easy Steps on How to Tell if Chainsaw Bar is Bad
Step 1. Inspect the Rails:
Inspecting the rails of your chainsaw bar is a fundamental step in determining its condition. Begin by carefully examining the edges of the bar where the chain runs. The rails should be straight and even, without any dents, chips, or uneven wear. Uneven rail wear is a common sign that your chainsaw bar is reaching the end of its lifespan. If the rails appear to be asymmetrical or have sharp burrs along the edges, this not only affects the cutting efficiency but also the safety of the chainsaw.
A rail worn down too much can cause the chain to slip or derail during use, which poses a significant hazard to the operator. To maintain optimal performance and safety, consider replacing your chainsaw bar if you notice any concerning signs during this inspection.
Step 2. Check for Sprocket Wear:
The sprocket, located at the tip of the chainsaw bar, is crucial for guiding the chain during operation. To identify sprocket wear, first look for any signs of damage or significant wear, such as notched or chipped teeth. Spin the sprocket manually to ensure it moves freely and without resistance. A worn sprocket can cause the chain to bind or jump, leading to inefficient cutting and potential safety risks. If you observe any damage or find the sprocket movement is hindered, it might be time to replace both the sprocket and the bar or seek professional repair.

Step 3. Evaluate the Straightness of the Bar:
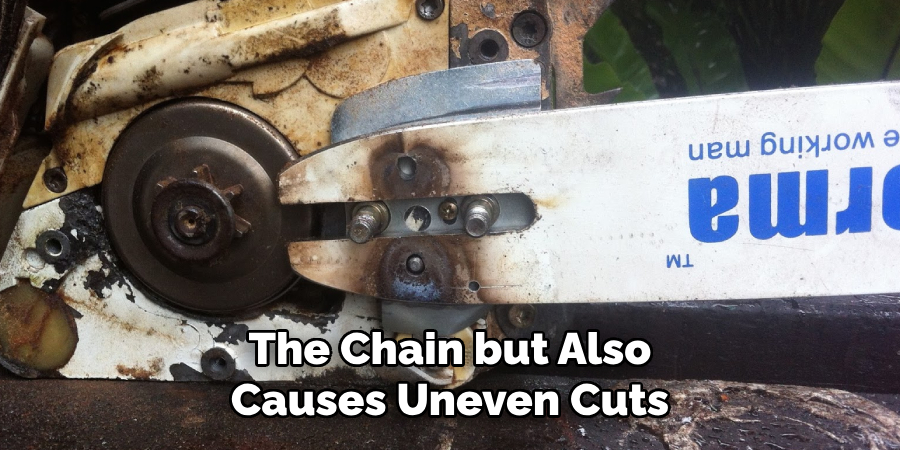
A bent chainsaw bar can significantly impact the performance and safety of your chainsaw. To evaluate the straightness of the bar, remove it from the chainsaw and lay it on a flat surface. The bar should rest entirely flat without any apparent curves or bends. Using a straightedge ruler, check along the entire bar length for any deviations. A bent bar not only misguides the chain but also causes uneven cuts, increasing the strain on the motor and potentially leading to dangerous kickbacks. If you detect any bending, consider replacing the bar immediately to maintain safety and effectiveness in your chainsaw operations.
Step 4. Inspect for Cracks or Breaks:
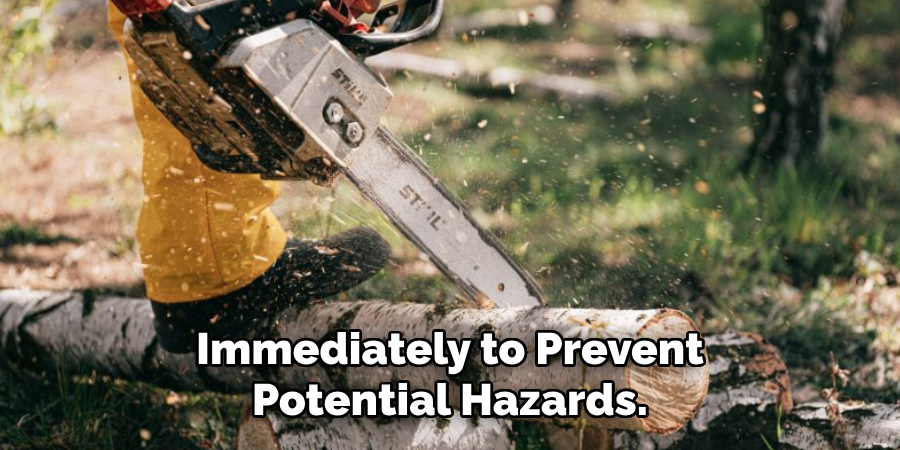
Carefully check the entire length of the chainsaw bar for any signs of cracks or breaks. Even small hairline cracks can compromise the integrity of the bar, leading to possible failure during use. Pay special attention to the areas around the mounting holes and the bar’s tip, as these are common stress points. If you find any cracks or breaks, replacing the bar immediately is crucial to avoid accidents or damage to your chainsaw.
Step 5. Assess the Bar Groove:
The groove in the chainsaw bar is another critical component that must be assessed regularly. Over time, the groove can become worn or clogged with debris, affecting the chain’s alignment and smooth operation. To inspect the groove, clean it with a brush or compressed air to remove any dirt, sawdust, or oil residue. Once clean, use a tool like a gauge to measure the groove’s width. It should match the width of your chain’s drive links to ensure a snug fit. A too wide groove indicates wear, which can prevent the chain from running correctly and reduce cutting efficiency.
If you find the groove is worn or damaged, it is advisable to replace the chainsaw bar to restore optimal functionality and extend the life of your chainsaw.
Step 6. Check the Oil Hole and Channel:
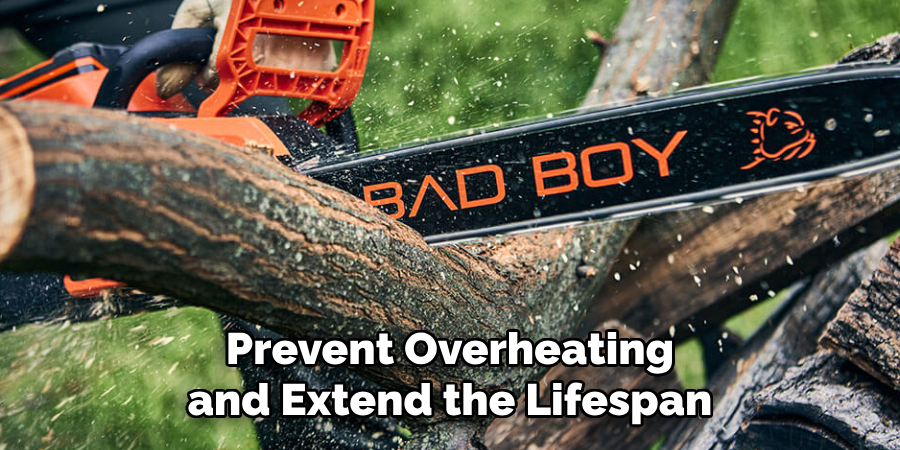
Proper lubrication is vital for the smooth operation of your chainsaw, and the oil hole and channel are key to distributing chain oil evenly. Begin by inspecting the oil hole for any obstructions or buildup of dirt and debris. Clear away any residue that might block oil flow, ensuring it maintains a consistent supply to the chain and bar. Next, examine the oil channel for wear or damage. A damaged or clogged oil channel can lead to insufficient oil distribution, increasing friction and causing premature wear on the chain and bar. If you notice any serious issues with the oil hole or channel, consider cleaning thoroughly or replacing the bar to prevent overheating and extend the lifespan of the equipment.
Step 7. Examine the Chain Tensioning Mechanism:
The chain tensioning mechanism is essential for maintaining proper chain tension, which is critical for both performance and safety. Inspect the tensioning screw and the related components to ensure they are intact and functioning smoothly. Begin by loosening the chain to check for any stripped threads or deformities in the tensioning screw. If you find wear or damage, it may lead to the inability to properly adjust the chain tension, resulting in the chain being too loose or tight. This can increase the risk of the chain slipping off during use or putting undue stress on the motor.
Ensure the chain tension is set correctly per your chainsaw manufacturer’s recommendation before each use. If any part of the tensioning mechanism is worn or defective, replace it promptly to ensure consistently safe and efficient operation of your chainsaw.
Step 8. Clean and Store the Chainsaw Properly:
After completing the maintenance checks, cleaning and storing your chainsaw properly is essential. Begin by thoroughly wiping down the entire chainsaw, including the bar and chain, to remove any sawdust, oil, and debris. Use a soft brush or cloth for this task. Pay special attention to the air filter and cooling fins, ensuring they are free from blockages. Once cleaned, store your chainsaw in a dry, secure location away from direct sunlight and moisture to prevent rust and corrosion. Consider using a protective case or cover to shield it from dust and accidental damage. Proper storage extends the lifespan of your chainsaw and ensures it’s ready for safe and efficient use the next time you need it.
Step 9. Regularly Monitor Chain Sharpness:
Ensuring that your chainsaw chain remains sharp is vital for efficient cutting and safe operation. A dull chain can cause several problems, including an increased likelihood of kickbacks, excessive strain on the motor, and poor cutting performance. To assess the chain’s sharpness, examine the cutting edges for dullness or damage and look for signs such as fine sawdust instead of large wood chips when cutting. If necessary, use a chainsaw sharpener or file to re-sharpen the cutting teeth, following the angle and depth recommendations in your chainsaw’s manual.
Step 10. Check the Chain for Any Damage:
Regular inspection of the chainsaw chain for damage or wear is essential to avoid accidents and ensure optimal performance. Examine the chain links for any signs of cracks, bends, or missing components. Check the rivets to ensure they are secure and not loosened, which can lead to a chain derailment during use. Look for any corrosion or rust, which can weaken the chain. If you discover any significant signs of wear or damage, it’s advisable to replace the chain immediately to prevent potential hazards. Maintaining a damage-free chain contributes significantly to your chainsaw operation’s efficiency and safety.
By following these simple steps, you can maintain your chainsaw in top working condition and avoid costly repairs or replacements.
Conclusion
In conclusion, regular maintenance and inspection of your chainsaw bar are crucial to ensuring both its longevity and safe operation.
Key indicators of a lousy chainsaw bar include visible cracks or breaks, a worn or damaged groove, and an obstructed oil hole or channel. Additionally, check the chain tensioning mechanism for wear and damage, as this can affect the overall performance of the chainsaw. Recognizing these signs early allows you to take corrective action, such as cleaning or replacing the bar, thereby preventing further damage to the chainsaw.
By adhering to these guidelines on how to tell if chainsaw bar is bad, you can maintain your chainsaw’s peak performance and enhance the safety of your operations.
Edmund Sumlin is a skilled author for Metal Fixes, bringing 6 years of expertise in crafting a wide range of metal fixtures. With a strong background in metalwork, Edmund’s knowledge spans various types of fixtures, from decorative pieces to functional hardware, blending precision with creativity. His passion for metalworking and design has made him a trusted resource in the industry.
Professional Focus:
- Expert in Metal Fixtures : Edmund aesthetic specializes in creating durable and innovative metal fixtures, offering both appeal and functionality. His work reflects a deep understanding of metalworking techniques and materials.
- Sustainability Advocate : He is dedicated to using sustainable practices, ensuring that every fixture is crafted with eco-friendly methods while maintaining high-quality standards.
In his writing for Metal Fixes, Edmund provides valuable insights into the latest trends, techniques, and practical advice for those passionate about metal fixtures, whether they are professionals or DIY enthusiasts. His focus on combining artistry with engineering helps others discover the true potential of metal in design.