

Attaching glass to metal might seem daunting due to the distinct properties of each material, but with the right approach and materials, it can be accomplished effectively.
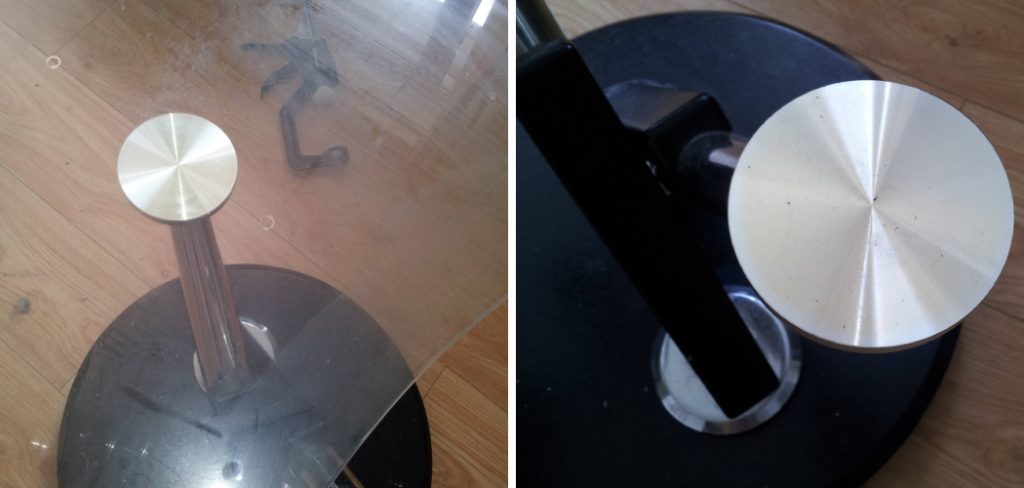
Whether you’re working on a home improvement project, crafting custom art pieces, or involved in industrial applications, understanding the correct methods for securing these two materials will ensure strong and durable bonds.
This introduction on how to attach glass to metal will guide you through the essential steps and considerations to ensure a successful and seamless attachment of glass to metal.
What is Glass?
Glass is a hard, brittle, and transparent material that is commonly used in various industries for its unique properties such as heat resistance, chemical stability, and electrical insulation. It is made from melting sand or other silica-based materials at high temperatures and then rapidly cooling the molten liquid to create a solid state.
Due to its composition, glass can be challenging to attach to other materials like metal because it has low adhesion and expansion coefficients. However, with proper preparation and bonding agents, attaching glass to metal can be achieved successfully.
Needed Materials
Before starting the process of attaching glass to metal, gather all the necessary materials to ensure a smooth and efficient process. Here are some of the essential items you will need:
- Glass Cleaner and Paper Towels or Lint-free Cloth
- Isopropyl Alcohol or Acetone for Degreasing Purposes
- Sandpaper With Various Grits (80, 120, 220) or Diamond Files for Sanding Down the Edges of Glass
- Silicon Carbide Waterproof Sandpaper for Roughening the Metal Surface (if Needed)
- Glass Glue or Adhesive Specifically Designed for Glass and Metal Bonding
- Clamps or Heavy Objects to Hold the Glass in Place While the Adhesive Dries
- Protective Gear Such as Gloves, Goggles, and a Face Mask (Optional but Recommended for Safety)
8 Steps on How to Attach Glass to Metal
Step 1: Clean Both Surfaces
Begin by thoroughly cleaning both the glass and metal surfaces to ensure a strong bond. Use a glass cleaner and a lint-free cloth or paper towels to remove any dirt, dust, or grease from the glass surface. Similarly, for the metal, use isopropyl alcohol or acetone as a degreaser to eliminate any oil or contaminants.
Ensuring that both surfaces are clean will enhance the adhesive’s ability to bond them effectively. Take care to avoid touching the cleaned areas with your hands, as this can transfer oils and residues back onto the surfaces.
Step 2: Sand Down the Glass Edges (If Needed)
If the edges of the glass are jagged or rough, it is advisable to sand them down to create a smoother surface and enhance the bonding effectiveness. Use sandpaper with varying grits—starting with coarser grit such as 80, and progressing to finer grits like 120 and 220—to gently sand the glass edges. Alternatively, diamond files can also be used for this task if more precision is needed.
Ensure you wear protective gloves and goggles to guard against glass splinters. When sanding, hold the glass firmly but carefully to avoid breakage. The smoother edges will provide a more substantial contact area for the adhesive, resulting in a stronger bond between the glass and metal.
Step 3: Roughen the Metal Surface (If Needed)
In cases where the metal surface is smooth, it might be necessary to roughen it to create a more textured surface for better adhesive bonding. Use silicon carbide waterproof sandpaper to gently roughen up the metal’s surface without damaging or scratching it. This process will provide a better grip for the adhesive and help achieve a stronger bond between the glass and metal surfaces.
The type of metal will determine if this step is necessary. Some metals, like aluminum and stainless steel, have a natural oxide layer that provides good adhesion for bonding with glass. However, other metals like copper or brass might require roughening to enhance adhesion.
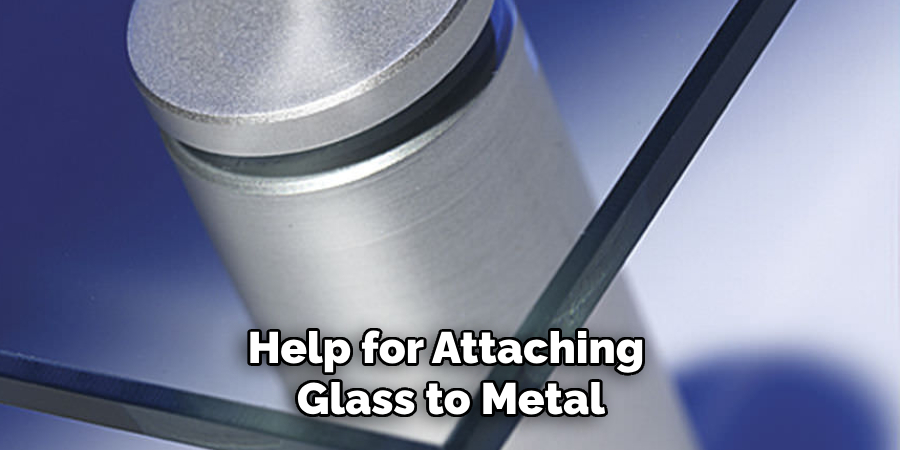
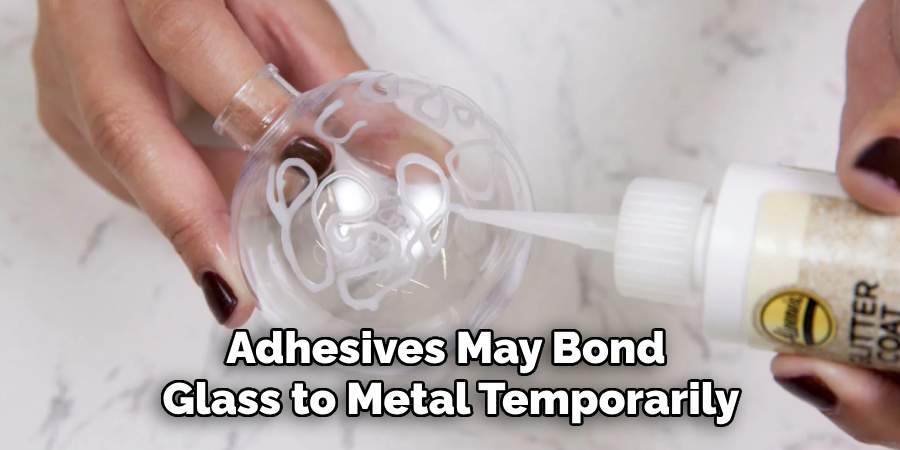
Step 4: Apply the Adhesive
Choose an adhesive specifically designed to bond glass to metal surfaces. Follow the manufacturer’s instructions for mixing and applying the adhesive onto both surfaces. The amount of adhesive used should be sufficient to cover the entire surface but not so much that it oozes out when pressure is applied.
It is essential to work quickly at this stage as some adhesives can dry fast. Avoid applying too much pressure when spreading the adhesive, as this can cause air pockets to form and weaken the bond.
Step 5: Place Glass onto the Metal Surface
Carefully place the glass onto the metal surface, ensuring it is correctly aligned. Apply gentle pressure to spread the adhesive evenly between the surfaces while avoiding excess pressure that could create gaps or air pockets. Once in position, use clamps or heavy objects to hold the glass in place while the adhesive sets.
You can also use masking tape to secure the glass in place if clamps or heavy objects are not available.
Step 6: Allow Adhesive to Dry
Once the glass is securely positioned on the metal surface, it’s crucial to give the adhesive ample time to dry and cure. The drying time will vary depending on the adhesive used, so refer to the manufacturer’s instructions for specific guidance. Typically, it may require a few hours for initial setting and up to 24 hours for a full cure.
During this period, ensure that the assembly remains undisturbed to maintain proper alignment and prevent any weakening of the bond. Avoid moving or stressing the joined pieces until the adhesive has completely cured, ensuring a strong and lasting connection between the glass and metal.
Step 7: Remove Excess Adhesive
Once the adhesive has dried, carefully remove any excess or squeeze-out from the joint using a razor blade or sharp knife. Take care not to damage the bond while removing the excess adhesive. If needed, sand down any rough spots on the edges of the glass.
The joint will now require some time to fully cure and reach maximum strength. Again, refer to the manufacturer’s instructions for specific guidance on curing time.
Step 8: Finishing Touches
To complete the process and achieve a professional-looking result, you can add finishing touches such as painting over visible parts of the metal or applying sealant around the edges of the glass for added strength and protection. This step is not necessary but can enhance both aesthetics and durability of the attachment.
Following these steps on how to attach glass to metal will ensure a secure and long-lasting bond between glass and metal surfaces. Remember to always follow the manufacturer’s instructions for the chosen adhesive and take all necessary safety precautions when working with glass and adhesives.
Do You Need to Use Professionals?
When considering whether to seek professional help for attaching glass to metal, it’s important to weigh the complexity of your project and your own level of expertise. Professional assistance can be beneficial, especially for large or high-risk projects, as experts possess specialized skills, tools, and experience to ensure a strong and durable bond. Additionally, professionals often provide warranties or guarantees on their work, offering peace of mind for the quality and longevity of the installation.
However, for smaller or less complicated projects, DIY methods, as outlined in this guide, can be a cost-effective and rewarding approach. If you decide to go the DIY route, ensure you have the proper materials, follow safety guidelines, and adhere to the adhesive manufacturer’s instructions for the best results.
Frequently Asked Questions
Q: What Types of Adhesives Are Suitable for Bonding Glass to Metal?
A: There are various adhesives available specifically designed for this purpose, including epoxy, silicone, polyurethane, and cyanoacrylate. Each type has its own unique properties, so it’s essential to choose the correct adhesive for your project based on factors like surface materials, strength required, and environmental conditions.
Q: Can I use Super Glue or Regular Household Adhesives to attach glass to metal?
A: Although super glue or household adhesives may bond glass to metal temporarily, they are not designed for long-term use and can weaken over time. It is best to use an adhesive specifically designed for this purpose to ensure a strong and lasting bond between the glass and metal surfaces.
Q: How Strong Will the Bond Between Glass and Metal Be?
A: The strength of the bond between glass and metal will depend on various factors, including the type and quality of adhesive used, surface preparation, and curing time. Following proper techniques and using a high-quality adhesive can result in a strong and durable bond that can withstand normal wear and tear.
Conclusion
Attaching glass to metal requires careful preparation, precision, and the right materials to ensure a strong and durable bond. By thoroughly cleaning both surfaces, sanding the glass edges, and roughening the metal surface as needed, you lay the groundwork for effective adhesion. Choosing the right adhesive and following the correct application steps are crucial for achieving a lasting connection.
Patience is key—allow sufficient time for the adhesive to dry and cure completely before handling the joined pieces. With attention to detail and adherence to the recommended process, your glass and metal assembly will be secure and aesthetically pleasing, adding elegance and functionality to your project. Always prioritize safety and refer to the manufacturer’s guidelines to optimize your results. Thanks for reading this article on how to attach glass to metal.
Edmund Sumlin is a skilled author for Metal Fixes, bringing 6 years of expertise in crafting a wide range of metal fixtures. With a strong background in metalwork, Edmund’s knowledge spans various types of fixtures, from decorative pieces to functional hardware, blending precision with creativity. His passion for metalworking and design has made him a trusted resource in the industry.
Professional Focus:
- Expert in Metal Fixtures : Edmund aesthetic specializes in creating durable and innovative metal fixtures, offering both appeal and functionality. His work reflects a deep understanding of metalworking techniques and materials.
- Sustainability Advocate : He is dedicated to using sustainable practices, ensuring that every fixture is crafted with eco-friendly methods while maintaining high-quality standards.
In his writing for Metal Fixes, Edmund provides valuable insights into the latest trends, techniques, and practical advice for those passionate about metal fixtures, whether they are professionals or DIY enthusiasts. His focus on combining artistry with engineering helps others discover the true potential of metal in design.