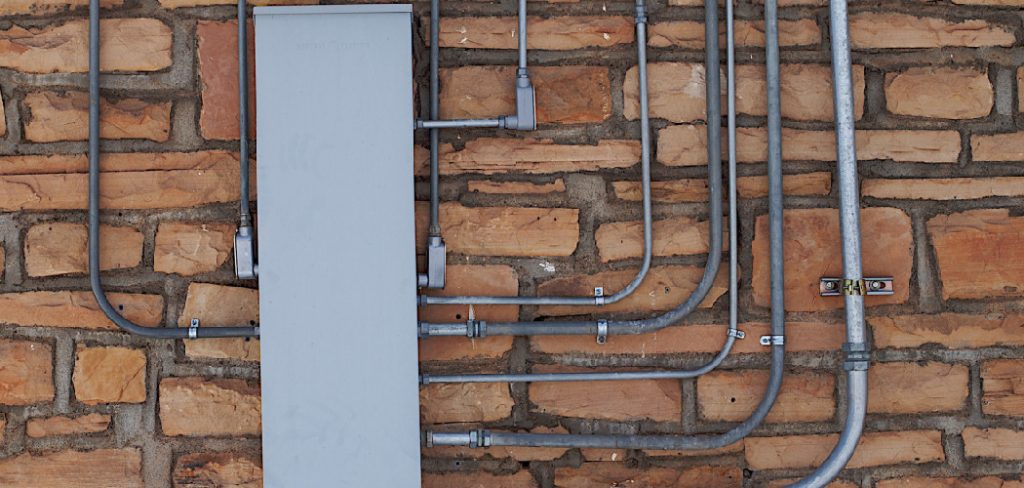
Setting an iron pipe to the wall is fundamental in many plumbing, construction, and industrial settings. Whether you’re installing a plumbing system, providing structural support for piping, or mounting industrial equipment, understanding how to secure an iron pipe properly is crucial for safety, stability, and functionality. This process ensures that the pipe remains firmly in place, preventing leaks, misalignment, or failure under pressure. Common applications include mounting pipes for water distribution, creating supports for shelves or storage units, and securing pipes in industrial or mechanical systems.

The purpose of this article is to provide a comprehensive guide on how to set iron pipe to wall effectively. From assessing the wall type to drilling holes and installing brackets or straps, the guide will walk you through each step with clear instructions and essential tips. Proper installation ensures a long-lasting and secure setup.
Tools and Materials Required for the Job
Setting an iron pipe to the wall requires the right tools and materials to ensure a secure and lasting installation. Having the appropriate items on hand makes the process more efficient and improves the quality of the final result.
Basic Tools
To complete the job, you’ll need a few essential tools:
- Drill – This is used to create mounting holes in the wall.
- Hammer – Useful for securing anchors or lightly adjusting mounts into place.
- Screwdriver – For tightening or loosening screws during the installation.
- Tape measure – For precise measurements and marking positions.
- Level – Ensures alignment, keeping pipes straight and secure.
- Wrench – Tightens bolts or brackets securely in place.
- Pipe clamps, brackets, pipe straps, or flanges – These are mounting supports designed specifically to hold pipes.
Materials
The appropriate materials are just as vital for a successful installation:
- Iron pipe – Ensure it’s the proper size and type for your specific project requirements.
- Anchors or screws – Select these based on your wall type (e.g., drywall, concrete, or brick). They must be sturdy enough to hold the pipe securely.
- Optional items: Use sealant or thread tape for pipe fittings to create a tighter seal and prevent leaks.
Gathering these tools and materials beforehand will ensure a smooth and efficient process from start to finish.
Assessing the Wall and Choosing the Right Mounting Location
Evaluating Wall Type
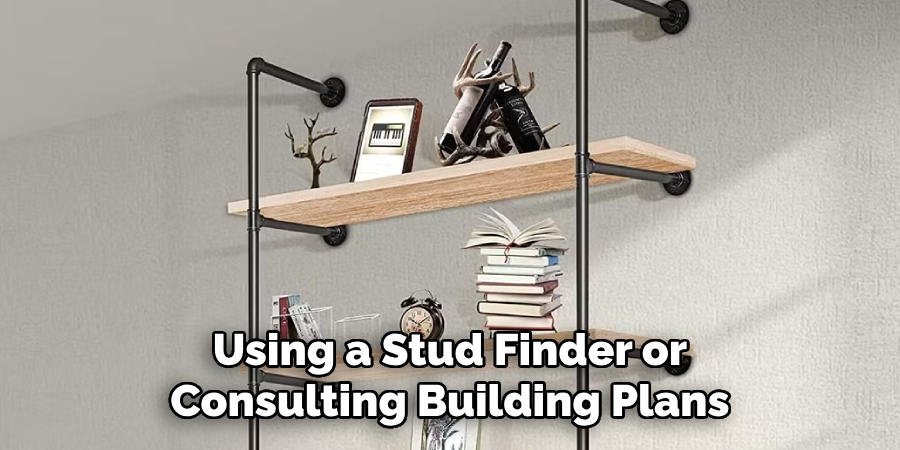
Before starting the installation, evaluating the type of wall you’re working with is crucial, as different wall materials require specific mounting techniques. For drywall, use sturdy anchors or toggle bolts to provide sufficient support. Masonry and concrete walls, on the other hand, require heavy-duty anchors such as expandable bolts or concrete screws for secure placement. Assess the wall for solid anchor points, as these are essential for holding the weight of heavy-duty pipes. If the wall structure is unclear, consider using a stud finder or consulting building plans to locate reliable mounting points.

Determining the Best Mounting Position
Proper measurement and alignment are vital to ensure a secure and functional installation. Start by measuring and marking the desired pipe placement carefully using a tape measure and marking tool. To confirm that the marked points align perfectly to prevent uneven mounting, utilize a level. Plan the pipe’s position to avoid potential obstructions such as electrical wiring, plumbing fixtures, or other structural elements hidden within the wall. Double-check the placement before drilling to minimize errors and ensure that the pipe will be securely and safely fixed in the desired location. Solid preparation leads to a stable and durable outcome.
How to Set Iron Pipe to Wall: Step-by-Step Guide
Marking the Pipe’s Placement
The first step in setting an iron pipe to the wall is precise measurement and marking. Start by using a tape measure to determine where the pipe will be installed. Mark the placement for pipe supports, such as brackets or straps, ensuring the pipe will align with the desired configuration. To ensure accuracy, make use of a spirit level to check that the pipe will be perfectly horizontal or vertical, as required by your project.
It is also important to measure the distance between brackets or clamps carefully. Proper spacing ensures the pipe remains stable and supported evenly along its length, preventing sagging or stress points. Typically, the distance between supports will depend on the pipe’s size and the wall material, so refer to manufacturer guidelines if needed. After finalizing these measurements, double-check all marks before proceeding to the next step. Accuracy at this stage ensures a smooth installation process.
Drilling Holes for Mounting
With the placement marked, the next step involves drilling holes to secure the pipe supports. Begin by selecting the appropriate drill bit size based on the wall anchors or screws you’ll be using. For example, use masonry drill bits for concrete walls or wood drill bits for studs, ensuring compatibility with both the material and the chosen fasteners.

Proceed by carefully drilling into the walls at the marked points for the pipe supports. Take your time to ensure the holes are straight and appropriately sized to hold the anchors securely. The brackets may not provide adequate stability if the holes are uneven or too large. Once the holes are drilled, clean out dust and debris using a soft brush or air blower. This step ensures a clean surface for the anchors and prevents debris from compromising the screws or bolts during installation. Properly prepared holes are key to a sturdy attachment.
Attaching the Pipe with Brackets or Straps
After the holes are prepared, position the pipe brackets, straps, or flanges over the drilled holes. Align them carefully with the marked placement to ensure optimal support and positioning of the pipe. Using the appropriate screws or anchors, secure the brackets or straps to the wall by tightening them firmly with a screwdriver or wrench. If the installation involves heavy-duty pipes, make sure to use high-strength anchors and screws that can bear the weight.
Once the brackets are attached, place the iron pipe into position, securing it with the straps or clamps. Tighten the screws or bolts evenly but avoid over-tightening, which could damage the pipe or wall material. Adjust the pipe as needed to ensure it is properly aligned before fully tightening the fixtures. A final check with a level can confirm the pipe’s alignment. This careful process guarantees a secure and durable installation.
Securing the Iron Pipe in Place
Tightening Pipe Clamps or Brackets
With the pipe positioned in the brackets or clamps, the next step is to ensure it is securely fastened to the wall. Using a wrench or screwdriver, tighten the pipe clamps or brackets evenly. Make sure the pipe is held firmly in place without movement, but be cautious not to over-tighten as this could damage the pipe or weaken the brackets. Gradually tighten each screw or bolt, alternating sides if necessary, to maintain even pressure. Properly tightened clamps or brackets will ensure that the pipe remains stable and securely mounted to its intended location.
Checking for Stability
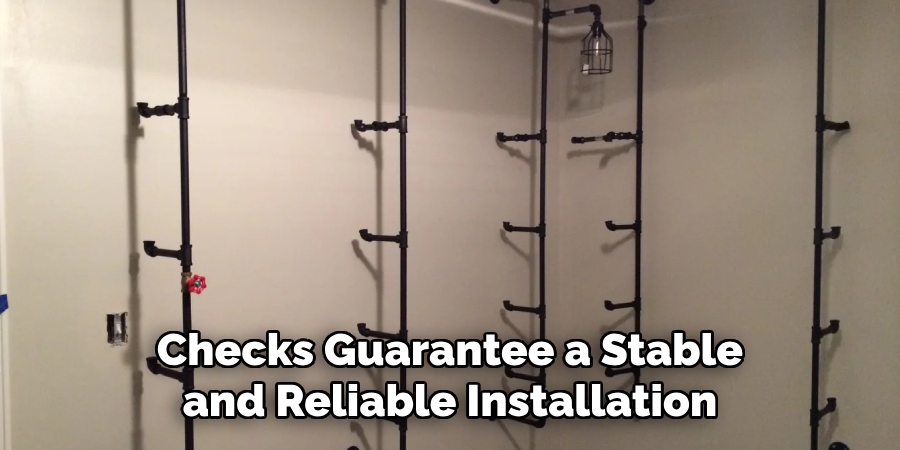
Once the pipe is fastened, it’s essential to check for stability before considering the installation complete. Gently test the pipe by applying light pressure or moving it slightly to confirm that there is no wobbling or shifting. If any movement is detected, carefully inspect the brackets or clamps to ensure they are properly aligned and tightened. Adjust or re-tighten the supports if necessary to achieve a secure fit. Additionally, verify that the pipe is still level after any adjustments. These final checks guarantee a stable and reliable installation that will hold up under normal use.

Troubleshooting Common Issues
Dealing with Pipe Misalignment
If the installed pipe appears out of alignment or uneven, addressing the issue promptly is essential to maintain functionality and aesthetics. Begin by loosening the brackets or clamps slightly, allowing you to adjust the pipe’s position. Use a spirit level to realign the pipe horizontally or vertically, as required. Retighten the brackets or clamps evenly once the pipe is correctly positioned to ensure a secure hold. If shifting or misalignment persists, inspect the wall anchors and screws for any signs of loosening or inadequacy. Replace worn or loose fasteners with sturdier alternatives if necessary, ensuring the brackets remain tightly secured to the wall. Regularly checking alignment throughout the installation process can prevent this issue from arising.
Ensuring Proper Support for Heavy Pipes
Additional support brackets or hangers may be required for longer or heavier iron pipes to prevent sagging and ensure stability. Install these supports at closer intervals to distribute the weight more evenly along the pipe’s length. Additionally, confirm that the chosen wall anchors are rated to handle the pipe’s combined weight and contents. If working with particularly heavy materials, consider using industrial-grade anchors or expanding bolts for enhanced support. Taking these precautions guarantees that the pipe remains securely fastened and reduces the risk of structural damage over time.
Maintenance and Safety Tips
Regular Inspection
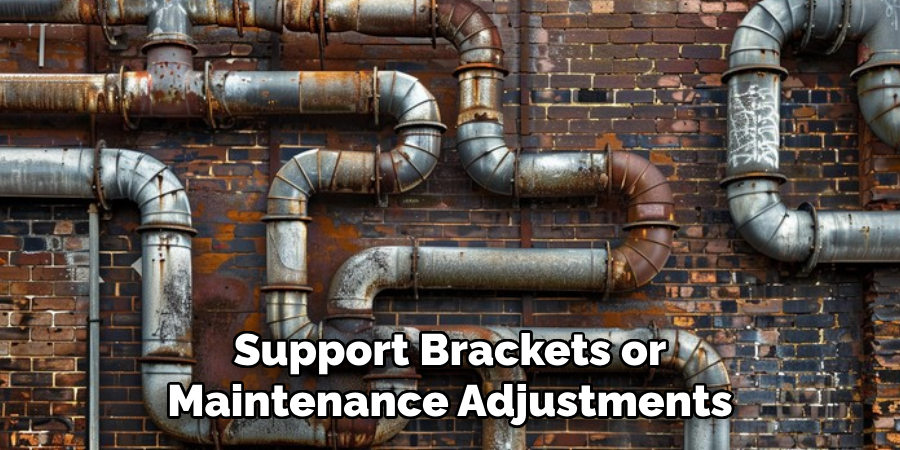
To ensure the longevity and effectiveness of the installation, perform periodic checks for any loosening of screws, bolts, or brackets. Over time, vibrations, weight, or environmental factors can cause hardware to shift or degrade. Inspect the mounting hardware for signs of wear, such as rust, corrosion, or cracks, particularly on iron pipes and their supports. Address any issues promptly by tightening loose fasteners or replacing damaged components to avoid potential structural failures. Additionally, check for any sagging or misalignment of the pipe, which could indicate the need for additional support brackets or maintenance adjustments.

Safety Precautions
When performing installation or maintenance, always prioritize safety by wearing appropriate protective gear, such as safety goggles and gloves, to prevent injuries from sharp edges or flying debris. If working at a height, make use of a stable step ladder or scaffolding to reach the installation area safely. Ensure the ladder is positioned on a secure, level surface, and have a spotter present if possible. Avoid overreaching or sudden movements while on the ladder to prevent accidents. Following these safety measures helps minimize risks and ensures a safe working environment during the installation or maintenance of iron pipes.
When to Seek Professional Help
Complex Installations
Consulting a professional plumber or contractor is highly recommended for intricate or large-scale pipe installations. Complex setups, such as those involving multiple connections, heavy-duty piping, or specialized materials, may require expert tools and skills. Hiring a professional ensures the installation is done accurately and safely, minimizing potential issues.
Ensuring Proper Fittings and Connections

Installing pipe fittings and connections is crucial to prevent leaks and damage. Professionals have the expertise to securely fasten and seal fittings, ensuring the system operates efficiently. Their knowledge and experience help safeguard against costly repairs or malfunctions over time.
Conclusion
Learning how to set iron pipe to wall securely involves careful preparation, proper tool usage, and attention to detail. You can achieve a stable and long-lasting installation by following the outlined steps—starting with wall preparation, precise positioning, and securely fastening the pipe. Ensuring proper alignment and using the right brackets and anchors are vital for both functionality and safety. Regular inspections and maintenance will help preserve the integrity of the installation, preventing wear or misalignment over time. With these practices, you can confidently maintain a durable and reliable iron pipe setup for years to come.
Edmund Sumlin is a skilled author for Metal Fixes, bringing 6 years of expertise in crafting a wide range of metal fixtures. With a strong background in metalwork, Edmund’s knowledge spans various types of fixtures, from decorative pieces to functional hardware, blending precision with creativity. His passion for metalworking and design has made him a trusted resource in the industry.
Professional Focus:
- Expert in Metal Fixtures : Edmund aesthetic specializes in creating durable and innovative metal fixtures, offering both appeal and functionality. His work reflects a deep understanding of metalworking techniques and materials.
- Sustainability Advocate : He is dedicated to using sustainable practices, ensuring that every fixture is crafted with eco-friendly methods while maintaining high-quality standards.
In his writing for Metal Fixes, Edmund provides valuable insights into the latest trends, techniques, and practical advice for those passionate about metal fixtures, whether they are professionals or DIY enthusiasts. His focus on combining artistry with engineering helps others discover the true potential of metal in design.


