

A shear bolt is a critical component designed to fail at a specific level of force to protect machinery from damage. Over time or during maintenance, you might need to remove a broken or damaged shear bolt. Proper removal is essential to ensure the equipment functions correctly and to prevent further issues. This guide will provide step-by-step instructions on how to remove a shear bolt safely and effectively.
What is a Shear Bolt and Its Purpose?
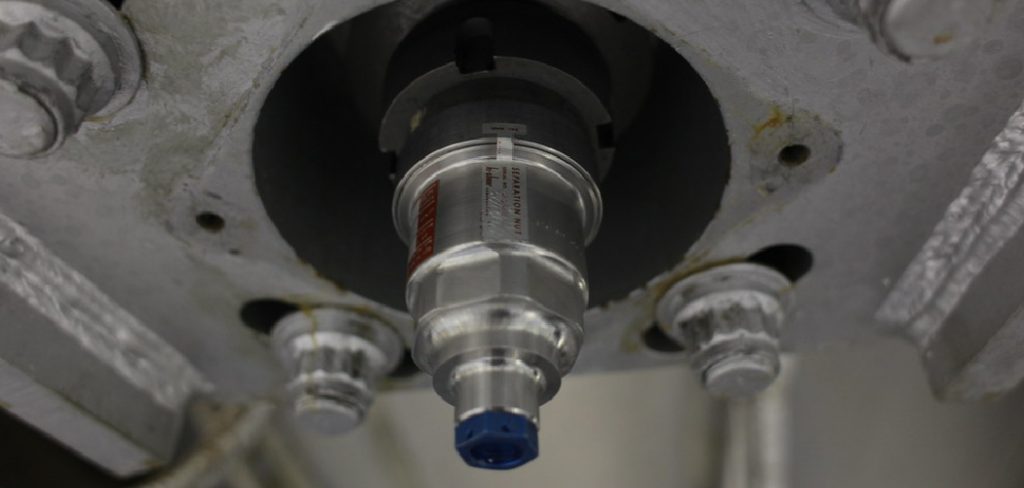
A shear bolt is a specially designed fastener that acts as a mechanical fuse within machinery. Its primary purpose is to prevent extensive damage to equipment by breaking or shearing off when a pre-determined level of force or torque is exceeded. This intentional failure point helps protect more critical and expensive components from being damaged under stress, such as during unexpected jams or overloading. By absorbing excessive force, shear bolts play a vital role in maintaining the longevity and operational safety of machinery.
Tools and Materials Needed
Before you begin the process of removing a shear bolt, gather the necessary tools and materials to ensure a smooth and efficient removal. Here’s a list of what you’ll need:
- Wrenches or Sockets: Select the appropriate size to match the bolt and any retaining nuts.
- Hammer or Mallet: Useful for gently tapping out a stubborn bolt if necessary.
- Pliers: Can assist in gripping and extracting the bolt, especially if it’s partially broken.
- Penetrating Oil: Helps loosen rusted or stuck bolts for easier removal.
- Safety Gloves: Protect your hands from sharp edges or debris during the process.
- Protective Eyewear: Shields your eyes from small particles or unexpected debris.
- Replacement Shear Bolt: Ensure you have a new bolt on hand to install once the old one is removed.
Having these tools and materials prepared beforehand will make the procedure more efficient and reduce the risk of delays or potential mistakes.
10 Methods How to Remove a Shear Bolt
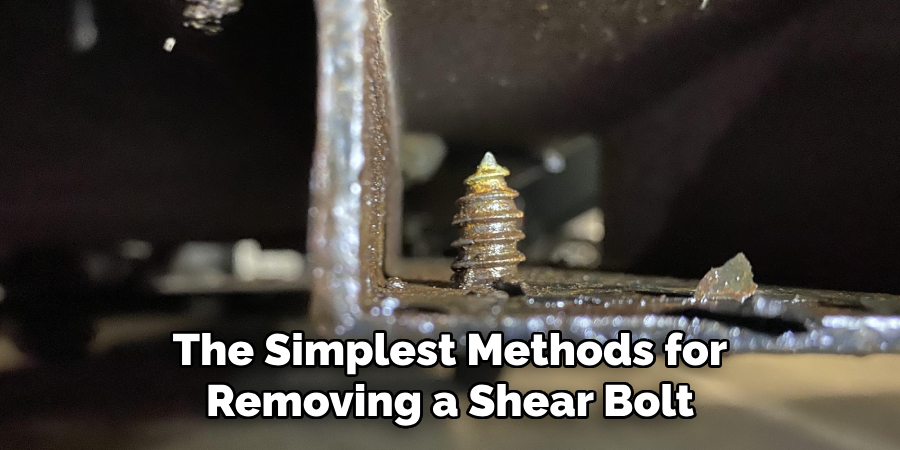
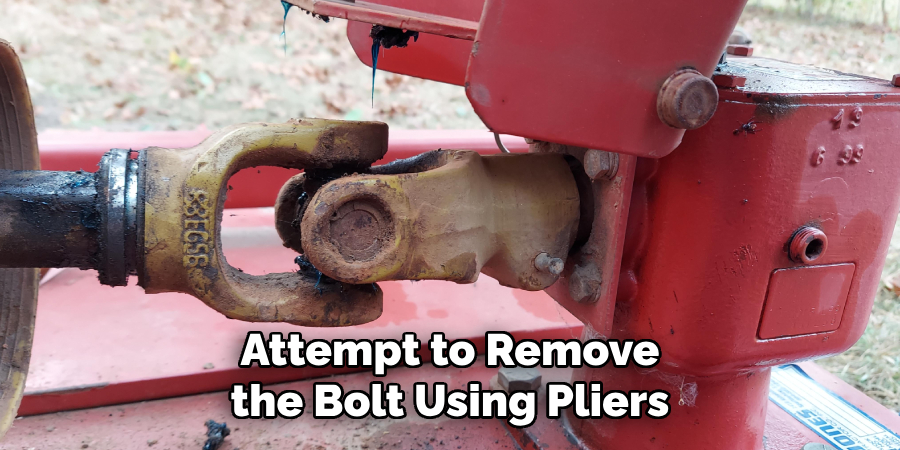
1. Use Pliers or Vice Grips to Grip the Bolt
One of the simplest methods for removing a shear bolt is to use pliers or vice grips to grip the exposed end of the bolt. If there is enough of the bolt protruding from the surface, simply clamp the pliers or vice grips tightly around the head of the bolt. Once you have a firm grip, twist the pliers to unscrew the bolt. In some cases, this method works well, especially if the bolt isn’t deeply embedded or corroded. If the bolt is stuck, applying a penetrating lubricant to the joint before attempting to grip it will help loosen it up.
2. Drill Out the Shear Bolt
If the shear bolt is too damaged or stripped to remove with standard tools, drilling it out may be necessary. Use a drill bit slightly smaller than the diameter of the bolt, and drill directly into the center of the bolt. Be sure to drill carefully to avoid damaging the surrounding components. Once the center is drilled out, the bolt will often become loose enough to be removed with pliers or a small punch. This method requires patience and precision, as drilling too aggressively can cause collateral damage to the surrounding parts.
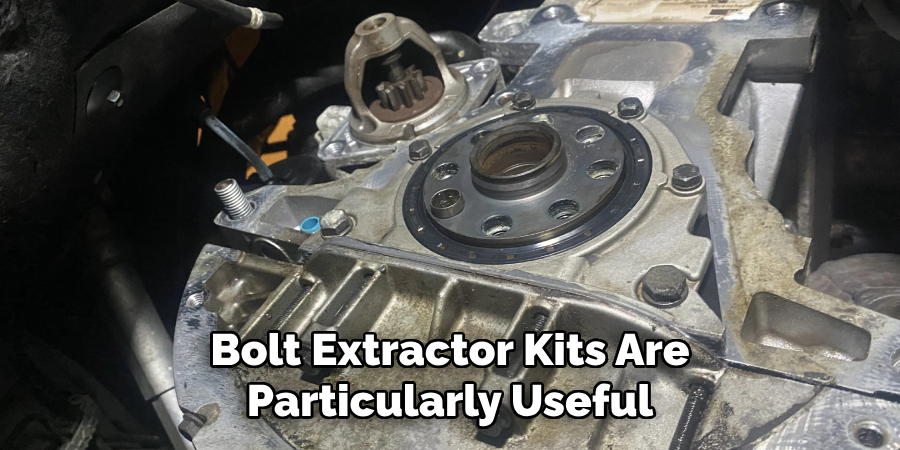
3. Use a Bolt Extractor Kit
A bolt extractor kit is a set of tools specifically designed to remove stubborn or damaged bolts, including shear bolts. These kits typically contain spiral extractor bits that are designed to bite into the bolt and allow for removal. To use a bolt extractor, select the correct size bit from the kit and attach it to a drill. Begin by drilling a small pilot hole in the center of the shear bolt. Then, switch to the extractor bit and turn the drill in reverse. The spiral threads on the extractor will grip the bolt and allow it to be removed. Bolt extractor kits are particularly useful when the shear bolt is flush with the surface and hard to grip.
4. Use Heat to Loosen the Bolt
Applying heat to a shear bolt can help loosen it, especially if the bolt is corroded or stuck due to rust. Use a heat gun, torch, or even a propane torch to apply heat directly to the bolt. The expansion caused by the heat can break the bond between the bolt and the surrounding material. Once the bolt has been heated for a few minutes, try using pliers or a wrench to turn the bolt. Be cautious with this method, as excessive heat can damage the surrounding material or parts, so always keep the flame or heat source under control.
5. Apply Penetrating Oil
Penetrating oil, such as WD-40 or PB Blaster, is a great tool for loosening stuck shear bolts. If the bolt has become rusted or is difficult to turn, spraying penetrating oil on the threads can break the rust bond and make it easier to remove. Apply the oil generously to the area around the shear bolt and let it sit for several minutes, or even hours, depending on the severity of the rust. After allowing the oil to penetrate, attempt to remove the bolt using pliers, vice grips, or a wrench. This method is particularly effective when dealing with bolts that are stuck due to corrosion.
6. Use a Punch to Drive the Bolt Out
In cases where the shear bolt is completely broken off or flush with the surface, you can use a punch tool to drive the bolt out from behind. Start by selecting a punch that is slightly smaller in diameter than the bolt. Place the punch against the edge of the bolt and use a hammer to tap it gently, driving the bolt out of the hole. This method works best if the bolt is not too deeply embedded and if there is enough space to access the back of the bolt. Be careful not to damage the surrounding area as you apply force to the punch.
7. Cut the Shear Bolt with a Hacksaw
If the shear bolt is protruding enough to allow access with a hacksaw, you can try cutting through it. A hacksaw will allow you to cut the bolt in half, which will then allow you to remove the broken pieces. This method can be time-consuming but effective when the bolt is too damaged to be gripped or drilled. After cutting through the bolt, use pliers or a punch to remove the remaining pieces of the bolt. If the bolt is hardened or difficult to cut, be sure to use a blade designed for cutting metal.
8. Use a Screwdriver to Twist the Bolt Out
In some cases, a shear bolt may be embedded enough that there is no protruding head or grip available for pliers. However, if you can see the top of the bolt, a flathead screwdriver might work to twist it out. Place the edge of the screwdriver into the slot of the bolt and gently twist while pulling upward. If the bolt is just slightly loosened or broken, this method can help lift it out of place. This technique may require some force, but it works best if the shear bolt is not too tightly seated.

9. Tap the Bolt with a Hammer
When the shear bolt is difficult to remove or is stuck in place, tapping the bolt with a hammer can sometimes help loosen it. Using a hammer, tap around the edges of the bolt to break any corrosion or rust holding it in place. By creating vibrations with the tapping, you can help loosen the bolt enough to turn it with pliers or a wrench. While this method is often used in combination with other techniques like applying penetrating oil or heat, the tapping motion can help release any stuck bonds and free the bolt.
10. Use an Impact Driver
An impact driver is a tool that delivers rapid, high-torque rotational force, often used to loosen stubborn bolts. If a shear bolt is particularly difficult to remove, an impact driver can be an effective tool. Attach the appropriate size socket or bit to the impact driver and place it onto the bolt. Engage the driver, applying short bursts of torque until the bolt loosens. The combination of rotational force and impacts can help break the bond between the bolt and the surrounding material. Impact drivers are particularly useful if the bolt is heavily rusted or if you cannot achieve sufficient torque with hand tools.
Conclusion
Removing a stuck or damaged shear bolt can be a challenging task, but with the right tools and techniques, it is entirely manageable. Whether you choose to drill, use an extractor kit, apply heat, or utilize penetrating oil, each method offers unique advantages depending on the situation. Patience and precision are key to avoiding unnecessary damage to surrounding components. By assessing the condition of the bolt and selecting the appropriate approach, you can successfully extract even the most stubborn shear bolts and restore functionality to your equipment. So, there you have it – a quick and easy guide on how to remove a shear bolt.
Edmund Sumlin is a skilled author for Metal Fixes, bringing 6 years of expertise in crafting a wide range of metal fixtures. With a strong background in metalwork, Edmund’s knowledge spans various types of fixtures, from decorative pieces to functional hardware, blending precision with creativity. His passion for metalworking and design has made him a trusted resource in the industry.
Professional Focus:
- Expert in Metal Fixtures : Edmund aesthetic specializes in creating durable and innovative metal fixtures, offering both appeal and functionality. His work reflects a deep understanding of metalworking techniques and materials.
- Sustainability Advocate : He is dedicated to using sustainable practices, ensuring that every fixture is crafted with eco-friendly methods while maintaining high-quality standards.
In his writing for Metal Fixes, Edmund provides valuable insights into the latest trends, techniques, and practical advice for those passionate about metal fixtures, whether they are professionals or DIY enthusiasts. His focus on combining artistry with engineering helps others discover the true potential of metal in design.