

TIG welding, or Tungsten Inert Gas welding, is a precise and versatile welding process used in various industries for its ability to produce high-quality and clean welds. This method utilizes a non-consumable tungsten electrode to create the weld, while an inert gas, typically argon, shields the weld area from contamination. Learning how to lift TIG weld is an important technique that allows welders to initiate the welding process without causing damage to the workpiece, ensuring smooth starts and improving overall weld quality.

What is TIG Welding?
TIG welding, also known as Gas Tungsten Arc Welding (GTAW), is a welding technique that employs a tungsten electrode to deliver heat and create a secure bond between metals. Unlike other methods, TIG welding stands out for its precision and ability to work with a wide range of materials, including stainless steel, aluminum, and titanium. The process utilizes an inert gas, such as argon or helium, to protect the weld area from atmospheric contamination, resulting in a clean and strong weld. This method is frequently chosen for applications requiring high-quality, detailed work, such as in the aerospace, automotive, and construction industries.
Importance of Mastering Lift TIG
Mastering the lift TIG technique is essential for welders looking to enhance their skills and produce superior results. Unlike the scratch start method, lift TIG allows for a controlled and smooth arc initiation, which minimizes the risk of contaminating the tungsten electrode or damaging the surface of the workpiece. This technique reduces the creation of sparks and spatter, making it ideal for applications that demand precision and cleanliness. Additionally, lift TIG welding is particularly beneficial when working in environments without a high-frequency start system, as it provides an efficient and reliable alternative.
Tools and Equipment Needed
To successfully perform lift TIG welding, having the right tools and equipment is crucial. Here is a list of essential items required for the task:
- TIG Welder: A reliable TIG welding machine with lift start capability is necessary for this technique. Ensure it is suited for the materials being welded.
- Tungsten Electrodes: Non-consumable tungsten electrodes, typically in 1/16″ or 3/32″ diameters, depending on the material and thickness.
- Shielding Gas and Regulator: Argon or an argon-helium mix is commonly used to shield the weld area. A quality gas regulator is needed to maintain a steady flow of gas.
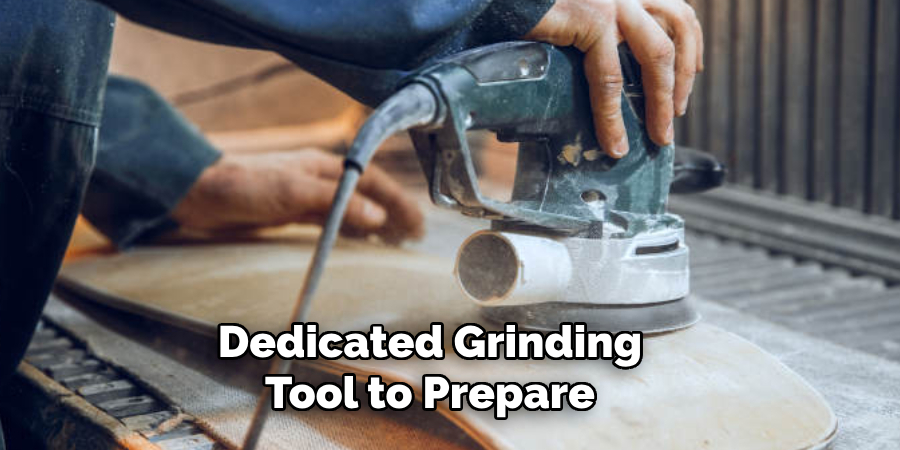
- Electrode Grinder: A dedicated grinding tool to prepare and shape tungsten electrodes for optimal performance.
- Welding Torch with Lift Start Functionality: A TIG torch equipped with a lift start feature for controlled arc initiation.
- Welding Gloves and Protective Gear: Heat-resistant gloves, a welding helmet with the appropriate shade lens, and protective clothing to ensure safety.
- Workpiece Clamps: Clamps or a welding table to securely hold the workpieces in place during welding.
- Filler Rods: Suitable filler material based on the type of metals being welded.
10 Methods How to Lift Tig Weld
1. Control the Torch Angle and Position
One of the fundamental ways to lift a TIG weld is by adjusting the torch angle and its positioning. The angle of the torch plays a significant role in how the heat is applied to the workpiece and the filler metal. A consistent torch angle, usually between 15 and 30 degrees, will help maintain a steady and controlled weld pool. Tilting the torch too much will cause the heat to be concentrated on one side, leading to uneven bead formation. Conversely, tilting the torch too little will hinder proper penetration. By practicing and adjusting the torch position relative to the workpiece, you can efficiently lift the weld pool and control the bead formation.
2. Use the Right Tungsten Electrode
The choice of tungsten electrode can significantly affect your TIG welding performance. Tungsten comes in various alloys, including pure tungsten, thoriated, ceriated, and lanthanated. Each type of tungsten offers specific benefits depending on the material being welded and the type of current being used (AC or DC). For instance, pure tungsten is ideal for welding non-ferrous metals like aluminum, while thoriated tungsten is suitable for DC welding on steel. Ensuring you’re using the correct tungsten type will allow for a more stable arc and smoother control over the weld pool, which is essential for lifting the TIG weld effectively.
3. Maintain a Steady Hand
Lifting a TIG weld requires a steady hand to ensure precision and consistency. A shaky hand can cause the arc to wander, leading to inconsistent welds and a poor bead appearance. Practicing hand stability, possibly by resting your arm on the workbench or using a welding glove to provide additional support, will help prevent unintentional movement. A steady hand allows for better heat control, smoother filler metal application, and an even weld pool, all of which contribute to lifting the weld successfully.

4. Adjust the Welding Amperage
Welding amperage is crucial when it comes to controlling heat input and the size of the weld pool. When lifting a TIG weld, you want to adjust the amperage to suit the material thickness and the type of joint being welded. Higher amperage generally results in a larger weld pool and deeper penetration, while lower amperage gives a smaller weld pool. However, too much amperage can lead to overheating, while too little can result in poor fusion.
5. Control the Filler Rod Feeding Technique
The technique used to feed the filler rod into the weld pool is integral to controlling the weld’s quality. When lifting a TIG weld, the filler rod should be added to the weld pool at the right moment—not too early or too late. You can use a push or pull technique to control the filler rod’s flow. The push technique involves feeding the filler rod ahead of the torch, while the pull technique involves feeding it behind the torch. Mastering the filler rod feeding technique will ensure smooth integration into the weld pool and a clean, consistent bead.
6. Maintain Proper Torch Distance
The distance between the tungsten electrode and the workpiece significantly affects the weld’s appearance and quality. When lifting a TIG weld, it’s essential to keep a consistent gap between the tungsten and the workpiece. This gap typically ranges from 1/16 inch to 1/8 inch, depending on the welding material and the type of joint. A too-long gap can cause an erratic arc and difficulty controlling the weld pool, while a too-short gap may result in arc instability or tungsten contamination. By maintaining the correct torch distance, you can effectively lift the weld and achieve a smoother, more precise weld bead.

7. Master the “Weaving” Technique
The weaving technique involves moving the torch back and forth in a pattern to create wider beads and fill larger joints. Weaving is especially useful when welding thick materials or making multi-pass welds. When lifting a TIG weld, weaving helps distribute heat more evenly across the weld pool, which is essential for maintaining a consistent bead profile. A steady, controlled weave motion will also ensure that the filler metal is evenly distributed across the joint, leading to stronger and more aesthetically pleasing welds. However, over-weaving can result in uneven bead sizes, so practice is key to mastering this technique.
8. Use Pulsed TIG Welding
Pulsed TIG welding is a technique that alternates between high and low current, allowing for better control over the heat input and the formation of the weld pool. When lifting a TIG weld, pulsing the current can help reduce heat buildup, minimize distortion, and improve penetration, especially when working with thin materials. The pulse also allows for better control of the filler metal, preventing it from overheating or becoming too fluid.
9. Optimize Shielding Gas Flow
Shielding gas protects the weld pool from contaminants and oxidation, ensuring a clean and high-quality weld. The correct flow rate of shielding gas is essential for controlling the weld environment. Too high of a gas flow can cause turbulence, leading to poor weld penetration, while too low of a flow can result in contamination and porosity. A typical flow rate for TIG welding ranges from 15 to 25 cubic feet per hour (CFH), but it should be adjusted based on the material being welded. Proper shielding gas flow will help maintain an inert atmosphere around the weld pool, allowing for better control when lifting the weld.
10. Practice Consistent Travel Speed
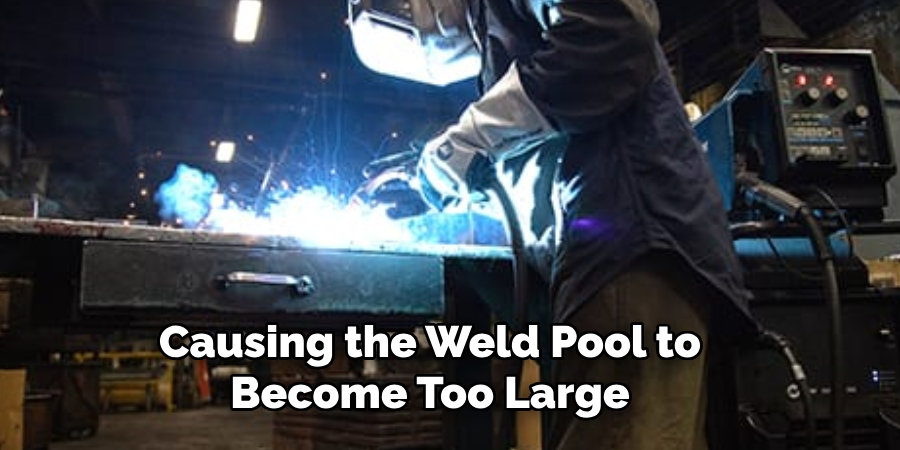
Travel speed refers to the rate at which the torch is moved along the joint. The speed at which you travel affects the amount of heat applied to the workpiece and the final bead profile. Too slow of a travel speed can result in excessive heat input, causing the weld pool to become too large or cause burn-through, while too fast of a speed can lead to inadequate fusion and weak welds. By practicing a consistent travel speed, you can maintain a steady heat input, which is essential for lifting the TIG weld correctly.
Conclusion
Mastering the art of lifting a TIG weld is a combination of skill, technique, and equipment setup. From controlling the torch angle and adjusting amperage to mastering filler rod feeding and travel speed, each method contributes to the quality and precision of the weld. By consistently practicing these techniques and paying attention to every detail of the welding process, you can improve your ability to lift and control TIG welds, ultimately producing high-quality and professional results in your welding projects. So, there you have it – a quick and easy guide on how to lift tig weld.
Edmund Sumlin is a skilled author for Metal Fixes, bringing 6 years of expertise in crafting a wide range of metal fixtures. With a strong background in metalwork, Edmund’s knowledge spans various types of fixtures, from decorative pieces to functional hardware, blending precision with creativity. His passion for metalworking and design has made him a trusted resource in the industry.
Professional Focus:
- Expert in Metal Fixtures : Edmund aesthetic specializes in creating durable and innovative metal fixtures, offering both appeal and functionality. His work reflects a deep understanding of metalworking techniques and materials.
- Sustainability Advocate : He is dedicated to using sustainable practices, ensuring that every fixture is crafted with eco-friendly methods while maintaining high-quality standards.
In his writing for Metal Fixes, Edmund provides valuable insights into the latest trends, techniques, and practical advice for those passionate about metal fixtures, whether they are professionals or DIY enthusiasts. His focus on combining artistry with engineering helps others discover the true potential of metal in design.