

Are you looking to measure aluminum trim for your next home renovation project? Accurately measuring aluminum trim is essential to ensure a perfect fit and a professional finish.
Whether you’re working on a home improvement project or a professional installation, getting precise measurements ensures a proper fit and a polished end result. In this guide on how to measure aluminum trim, we’ll walk you through the step-by-step process, including the tools you’ll need and helpful tips to ensure accuracy. As a bonus, we’ll also provide some additional information on selecting the correct type of aluminum trim for your project.

With this knowledge, you’ll be able to confidently tackle your trim installation and achieve a seamless and professional finish. Let’s dive in and explore the art of measuring aluminum trim.
What Will You Need?
Before delving into the measurement process, gathering all the necessary tools and materials is important. Here are some essential items that you’ll need for measuring aluminum trim:
- Measuring Tape: A standard measuring tape is necessary for any home improvement project. Make sure to use one with a locking mechanism to ensure accurate measurements.
- Pencil or Marker: These will come in handy when marking your measurements on the trim.
- Saw: You’ll need a saw to cut the trim to your desired length.
- Protective Gear: Safety should always be a priority, so make sure to wear gloves and safety glasses while handling the trim and using power tools.
Now that you have all your tools and materials ready, it’s time to measure your aluminum trim.
9 Easy Steps on How to Measure Aluminum Trim
Step 1. Start with the Length
Begin by measuring the length of the area where you plan to install the trim. This will determine how much trim you’ll need to purchase. Use your measuring tape to get an accurate measurement. Be careful, as even a slight error can lead to wasted material and an ill-fitting end result. If your trim comes in longer pieces, it’s always better to err on caution and purchase more than you need.
Step 2. Determine the Width
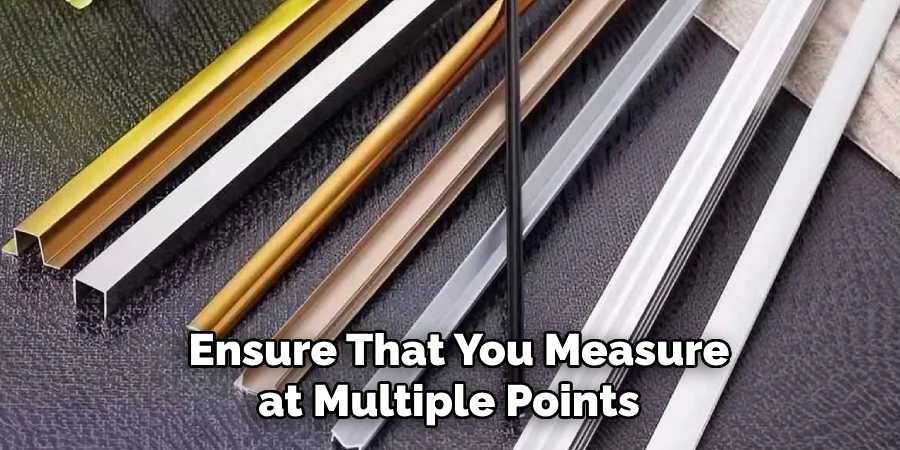
After measuring the length, the next step is determining the aluminum trim’s width. Use your measuring tape to measure the width from one edge to the opposite edge of the trim. Ensure that you measure at multiple points along the trim to account for any variations.
You can take a single measurement if the trim has a uniform width. However, if the width varies, take multiple measurements and note down the most comprehensive and narrowest points. This will help you ensure that you cut the trim accurately to fit your specific needs.
Once you have determined the width, you can proceed to the next step in measuring your aluminum trim.
Step 3. Cut the Trim to Length
Once you have obtained accurate measurements for the length and width of the aluminum trim, it’s time to cut it to the desired length. Using a miter saw or a metal-cutting blade, carefully trim the aluminum to the required size. When handling sharp tools and materials, remember to wear appropriate safety gear, such as safety glasses and gloves.
After cutting the trim, double-check the measurements to ensure accuracy. It’s always better to measure twice and cut once to avoid errors or waste. With the trim cut to the correct length, you are now ready to install it and add the finishing touches to your project.
Step 4. Selecting the Right Aluminum Trim
Before purchasing your aluminum trim, it’s important to consider the type that will best suit your project. Different types of aluminum trim are designed for different purposes and applications. For example, if you’re installing trim in a high-moisture area, such as a bathroom or kitchen, you may want to opt for anodized aluminum, which is more resistant to water damage.
Additionally, consider the style and design of your project when selecting the right trim. Choose a more decorative trim for a focal point or a simpler one for a clean and modern look.
Step 5: Calculating the Required Amount of Trim
Now that you have determined the length and width for your aluminum trim and selected the appropriate type, it’s time to calculate how much trim you’ll need. Multiply the length by the width to get the trim area in square inches. For example, if your trim is 2 inches wide and 10 feet long (120 inches), then its area would be 240 square inches (2 x 120 = 240).
Next, divide this number by 144 (square inches in a square foot) to convert it to square feet. In this example, we are dividing 240 by 144 resulting in approximately 1.67 square feet of trim needed.
Step 6: Adding Extra for Waste and Mistakes
It’s always a good idea to add a little extra to your trim calculations to account for any waste or mistakes during installation. This is especially crucial if the trim you’re using has complex corners or angles, which may require multiple cuts.

A general rule of thumb is to add an additional 10% to your total square footage calculation for waste and mistakes. In our previous example, we calculated that we needed approximately 1.67 square feet of trim, so adding 10% would bring it up to around 1.84 square feet.
Step 7: Consider the Direction of Installation
When measuring your aluminum trim, consider the direction of installation. This will determine how you measure and cut the trim to ensure a seamless fit.
For horizontal installations, such as along the top or bottom of a wall, measure from edge to edge horizontally. For vertical installations, such as on the sides of windows or doors, measure from top to bottom vertically.
Step 8: Marking Your Measurements
Once you have determined the correct measurements for your aluminum trim, it’s time to mark those measurements on the trim itself. Here’s how to do it:
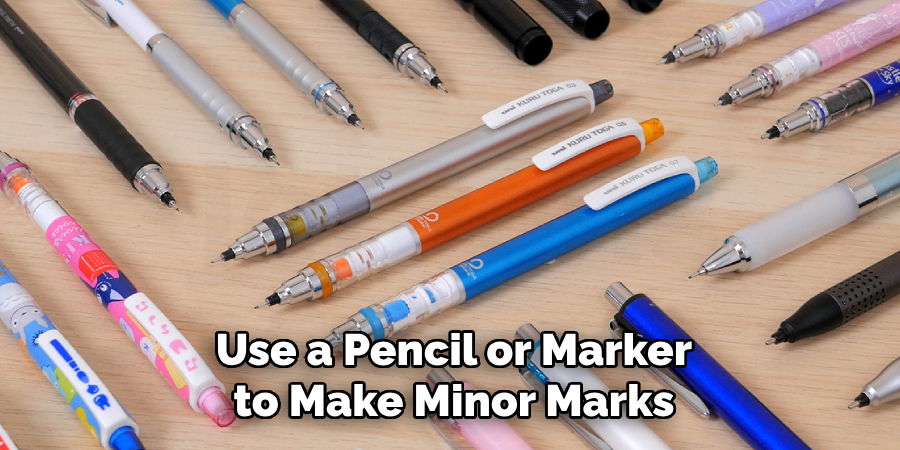
- Use a pencil or marker to make minor marks on the trim where you need to make your cuts. These marks will guide you when you’re ready to trim the aluminum.
- Double-check your measurements and marks to ensure accuracy before cutting the trim. It’s always better to be precise from the beginning to avoid unnecessary mistakes or wasted materials.
Remember, taking the time to mark your measurements correctly will help you achieve a professional and seamless installation of your aluminum trim.
Step 9: Cutting Your Aluminum Trim
With your measurements marked and double-checked, it’s time to cut your aluminum trim to the desired lengths. Follow these steps for accurate and clean cuts:
- Use a sharp utility knife or a fine-toothed saw to cut along the marked lines on the trim.
- Apply even pressure as you cut to ensure a smooth and precise edge.
- Make sure to wear appropriate safety gear, such as gloves and goggles, when handling the trim and cutting tools.
- After cutting, inspect the edges for any roughness or burrs. Use a file or sandpaper to smooth out any imperfections.
By following these steps, you’ll be able to trim your aluminum with precision and achieve a clean and professional finish. Remember to measure twice and cut once for the best results!
5 Things You Should Avoid
- Guesswork: Avoid estimating or eyeballing the dimensions of aluminum trim. Guessing can lead to inconsistent measurements and inaccurate cuts, resulting in improper fittings and wasted materials.
- Using Incorrect Tools: Ensure that you use proper measuring tools, such as a tape measure or a digital caliper, specifically designed for precise measurements. Avoid using tools that are not suitable for measuring trim, as they may yield inaccurate results.
- Neglecting to Account for Overlaps: When measuring aluminum trim for installation, it’s essential to account for any overlaps or gaps that may be required for a proper fit. Failure to consider these allowances can result in ill-fitting trim and compromises the overall aesthetic and functionality.
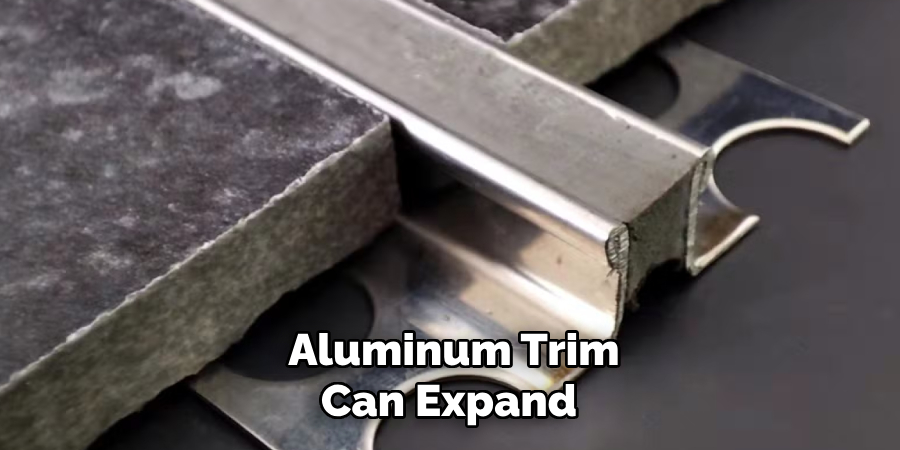
- Ignoring Expansion and Contraction: Aluminum trim can expand or contract due to temperature changes. It’s crucial to consider this factor when measuring, especially for exterior applications. Failure to account for expansion and contraction can lead to trim that warps or becomes misaligned over time.
- Skipping Double-Checking and Verification: To ensure accuracy, double-check your measurements before making any cuts or finalizing your trim installation. Mistakes can happen, so taking the extra time for verification can save you from costly rework or replacement.
By avoiding these common mistakes, you can ensure that your measurements for aluminum trim are precise, resulting in a professional and seamless installation.
Conclusion
In conclusion, how to measure aluminum trim accurately is crucial for a successful installation.
By avoiding guesswork, using the correct tools, accounting for overlaps and expansion/contraction, and double-checking your measurements, you can achieve precise and consistent results. This not only enhances the overall look of your installation but also saves time and money by reducing the need for rework or replacement.
So remember to follow these important tips when measuring aluminum trim to ensure a professional finish every time. Happy measuring!
Edmund Sumlin is a skilled author for Metal Fixes, bringing 6 years of expertise in crafting a wide range of metal fixtures. With a strong background in metalwork, Edmund’s knowledge spans various types of fixtures, from decorative pieces to functional hardware, blending precision with creativity. His passion for metalworking and design has made him a trusted resource in the industry.
Professional Focus:
- Expert in Metal Fixtures : Edmund aesthetic specializes in creating durable and innovative metal fixtures, offering both appeal and functionality. His work reflects a deep understanding of metalworking techniques and materials.
- Sustainability Advocate : He is dedicated to using sustainable practices, ensuring that every fixture is crafted with eco-friendly methods while maintaining high-quality standards.
In his writing for Metal Fixes, Edmund provides valuable insights into the latest trends, techniques, and practical advice for those passionate about metal fixtures, whether they are professionals or DIY enthusiasts. His focus on combining artistry with engineering helps others discover the true potential of metal in design.