Creating a metal sign can be a rewarding and creative project, whether for personal use, business, or decoration. Metal signs are known for their durability and appeal, offering a rustic or industrial look that enhances their surroundings.

This guide on how to make metal sign will take you through the process of crafting your own metal sign, from selecting the right materials to putting the finishing touches on your creation. With the right tools and techniques, you can produce a piece that is both functional and artistic, reflecting your unique style and intent.
Why Make a Metal Sign
Metal signs have been used for centuries to convey important messages, advertise businesses, and add character to homes or establishments. There are various reasons why you may want to make your own metal sign:
Personalization:
Making your own sign allows you to create a custom design that reflects your personality and style. You can choose the font, color, and size that best suits your vision and purpose.
Creativity:
Crafting a metal sign also allows you to express your creativity and artistic skills. With different tools and techniques, you can experiment with various designs, textures, and finishes to create a one-of-a-kind piece.
Cost-effective:
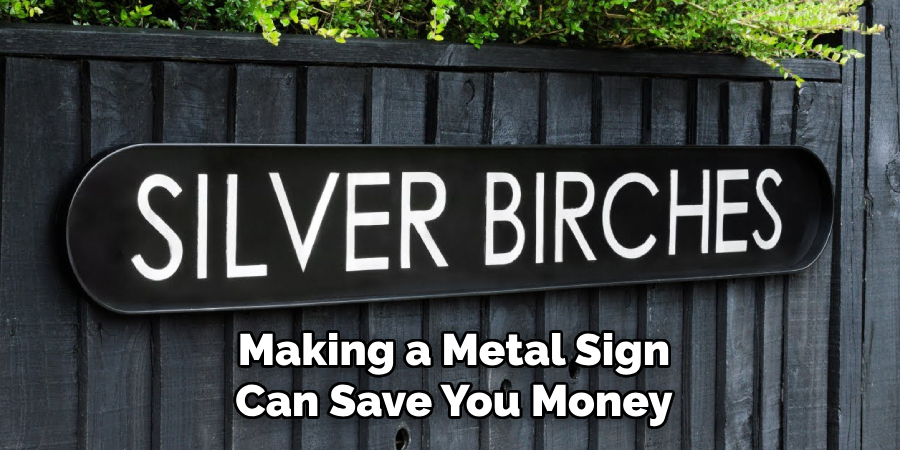
Making your own metal sign can be more cost-effective compared to purchasing one from a store or online. Depending on the materials you choose, making a metal sign can save you money in the long run while providing a unique piece for your space.
Materials Needed
Before starting your project, it is important to gather all the necessary materials. Some of the basic materials you will need for making a metal sign include:

- Sheet Metal (Aluminum, Copper, or Steel)
- Metal Letter Stamps or Stencils
- Hammer and Anvil or Stamping Machine
- Safety Gear (Gloves, Goggles, Earplugs)
- Drill and Drill Bits
- Sandpaper or Sanding Block
- Paint or Sealant for Finishing
- Optional Materials: Metal Primer, Spray Paint, Rust Converter
- Hanging Hardware (Screws, Nails, or Hooks)
9 Step-by-step Guidelines on How to Make Metal Sign
Step 1: Choose the Type of Metal
The first step in making a metal sign is selecting the right type of metal for your project. The choice of metal can significantly impact the look, feel, and longevity of your sign. Common options include aluminum, copper, and steel, each offering unique qualities. Aluminum is lightweight and resistant to rust, making it ideal for outdoor signs.
Copper offers a warm aesthetic with its natural patina, while steel provides a robust and industrial appearance. Consider the environment in which your sign will be placed, as well as the desired aesthetic and budget, to ensure that you select a metal that meets your needs.
Step 2: Measure and Cut the Metal
Once you have selected your metal, measure and mark out the dimensions for your sign. Use a ruler or measuring tape to ensure precise measurements. Next, use a saw or tin snips to cut the metal along the marked lines. For more intricate designs, you may need to use a jigsaw with fine blades.
But remember to take extra caution and wear protective gear while cutting the metal.
Step 3: Sand Down the Edges
After cutting your metal, use sandpaper or a sanding block to smooth out any rough edges. This will prevent injuries and give your sign a more polished appearance. It is recommended to use gloves while sanding, as the edges of the metal can be sharp.

You can also use a metal file for more precise and even sanding.
Step 4: Design and Layout
Now comes the fun part – designing your sign! Using a pencil, sketch out your desired design on the metal sheet. You can also use stencils or tracing paper to create more intricate designs. Pay attention to spacing and alignment to ensure that your letters or images are evenly placed.
If you are using metal letter stamps, lay them out on the metal sheet to preview your design before stamping.
Step 5: Stamping or Engraving
Once you have your design in place, it’s time to start stamping or engraving. Use a hammer and anvil or a stamping machine to emboss letters or designs onto the metal. Take your time and use consistent force when striking the stamps to ensure clean and even imprints.
For engravings, use a rotary tool with specific bits for metal engraving. Again, take caution while handling these tools and wear appropriate safety gear.
Step 6: Drill Holes (Optional)
If you plan on hanging your metal sign, it is necessary to drill holes for the mounting hardware. Use a drill and appropriate-sized drill bit to make evenly spaced holes along the top of your sign. You can also use a center punch to create starter holes for more precise drilling.
You can also skip this step if you plan on displaying your sign without mounting it.
Step 7: Add Finishing Touches
Once the design and stamping/engraving are complete, you can add some finishing touches to your metal sign. Depending on your preference, you can choose to leave the natural patina of the metal or apply a coat of paint or sealant for a more polished look.
If you want a painted sign, use a metal primer before applying spray paint for better adhesion and durability. You can also use a rust converter to prevent further rusting.
Step 8: Mounting (Optional)
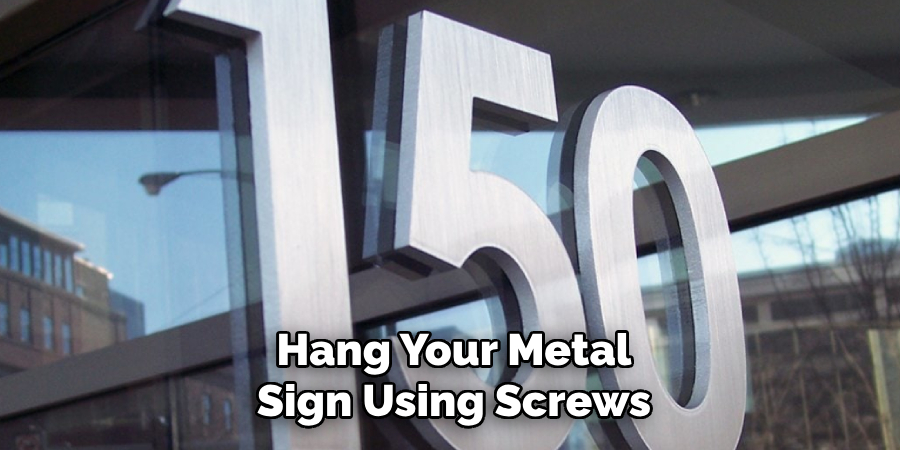
After completing the finishing touches on your metal sign, you may choose to mount it to enhance its display. If you’ve already drilled holes in Step 6, use screws or bolts to affix the sign to its designated location. Choose hardware appropriate for the surface material, such as wood, brick, or metal.

For heavier signs, consider using anchors to provide additional support and stability. Alternatively, for a temporary mounting solution, you can use adhesive strips or hooks suitable for the weight of your sign. Always ensure that the mounting method you choose will securely hold the sign in place and withstand environmental conditions if placed outdoors.
Step 9: Display and Enjoy Your Metal Sign
Congratulations on finishing your metal sign! Now, it’s time to display it and enjoy the fruits of your labor. Whether it’s in your home, business, or outdoors, your custom-made metal sign is sure to add character and personality to any space.
Don’t be afraid to experiment with different techniques and designs for future projects! Following these guidelines on how to make metal sign, you can create unique and personalized metal signs that will stand the test of time. So go ahead and have fun making your own metal sign!
Frequently Asked Questions
Q: Can I Use Any Type of Metal for Making a Sign?
A: It is recommended to use aluminum, copper, or steel for making a metal sign as they are easy to work with and offer different aesthetic and durability properties. It is best to avoid using soft metals like lead or tin, as they can be difficult to cut and shape.
Q: Do I Need Any Special Tools for Making a Metal Sign?
A: While there are specific tools designed for metalworking, you can also use basic tools such as a saw, hammer, drill, and sandpaper. However, it is essential to wear protective gear when working with metal to prevent injuries.
Q: Can I Paint My Metal Sign Any Color?
A: Yes, you can paint your metal sign in any color of your choice. Remember to use a metal primer before applying the paint for better adhesion and durability. You can also experiment with different finishes, such as matte, glossy, or metallic, to achieve different looks.
Q: How Do I Hang My Metal Sign?
A: You can hang your metal sign using screws or bolts if you have drilled holes in the metal sheet. Alternatively, you can use adhesive strips or hooks suitable for the weight of your sign for a temporary mounting solution. Always ensure that the method you choose will securely hold the sign in place and withstand environmental conditions if placed outdoors.

Q: Is It Necessary to Wear Protective Gear When Making a Metal Sign?
A: Yes, it is highly recommended to wear protective gear, such as gloves and safety glasses, when handling metal and working with tools. This will prevent injuries from sharp edges and flying debris. Remember to also work in a well-ventilated area when using paint or sealant products. Safety should always be a top priority when undertaking any DIY project.
Conclusion
Making a metal sign may seem intimidating at first, but with the right materials and steps, anyone can create a unique piece of art. Remember to take precautions when handling tools and wear appropriate safety gear, especially when working with metal.
Let your creativity run wild and have fun making your custom metal sign! So go ahead, pick up those materials, and get started on your next DIY project today. Thanks for reading an article on how to make metal sign.
You can also check : Weld Cast Aluminum
Edmund Sumlin is a skilled author for Metal Fixes, bringing 6 years of expertise in crafting a wide range of metal fixtures. With a strong background in metalwork, Edmund’s knowledge spans various types of fixtures, from decorative pieces to functional hardware, blending precision with creativity. His passion for metalworking and design has made him a trusted resource in the industry.
Professional Focus:
- Expert in Metal Fixtures : Edmund aesthetic specializes in creating durable and innovative metal fixtures, offering both appeal and functionality. His work reflects a deep understanding of metalworking techniques and materials.
- Sustainability Advocate : He is dedicated to using sustainable practices, ensuring that every fixture is crafted with eco-friendly methods while maintaining high-quality standards.
In his writing for Metal Fixes, Edmund provides valuable insights into the latest trends, techniques, and practical advice for those passionate about metal fixtures, whether they are professionals or DIY enthusiasts. His focus on combining artistry with engineering helps others discover the true potential of metal in design.


