

Draining a metal heating system is an essential maintenance task to ensure the system operates efficiently and avoids potential damage from debris or corrosion buildup. Over time, sediment and impurities can accumulate within the system, reducing its effectiveness and increasing the risk of costly repairs. Performing this process correctly requires proper tools, a clear understanding of the system’s layout, and adherence to safety precautions. This guide will walk you through how to drain metal heating system effectively and safely.
Why You Need to Drain Your Metal Heating System
Regularly draining your metal heating system is critical to maintaining its performance and longevity. Over time, mineral deposits, rust, and sludge can accumulate inside the system’s pipes and radiator, leading to blockages that restrict water flow. This buildup can reduce the system’s efficiency, causing it to work harder and consume more energy, which ultimately increases your utility bills.
Additionally, standing water within the system can lead to corrosion, weakening the metal components and risking leaks or failures. By draining the system periodically, you remove these harmful deposits, protect the heating components, and ensure consistent and efficient heating throughout your home or building. Beyond the practical benefits, regular maintenance helps to avoid costly repairs or replacements in the future.
Tools and Materials Needed
Before you begin draining your metal heating system, gather the necessary tools and materials to ensure the process goes smoothly. Here’s what you will need:
- Adjustable Wrench – To loosen and tighten nuts, valves, or connectors.
- Screwdrivers – Various types might be needed to access panels or open system components.
- Drain Hose – For directing the drained water safely to a suitable disposal area.
- Bucket or Drain Pan – To collect water if a drain hose isn’t used or accessible.
- Towels or Rags – Helpful for cleaning up spills and protecting surfaces.
- Protective Gloves – To prevent contact with potentially hot or dirty water.
- Plumber’s Tape – For resealing threaded connections after the process.
- Flashlight – To see inside low-lit or confined spaces where components are located.
Having all these tools and materials ready before starting will save time and prevent unnecessary interruptions during the draining process.
10 Methods How to Drain Metal Heating System
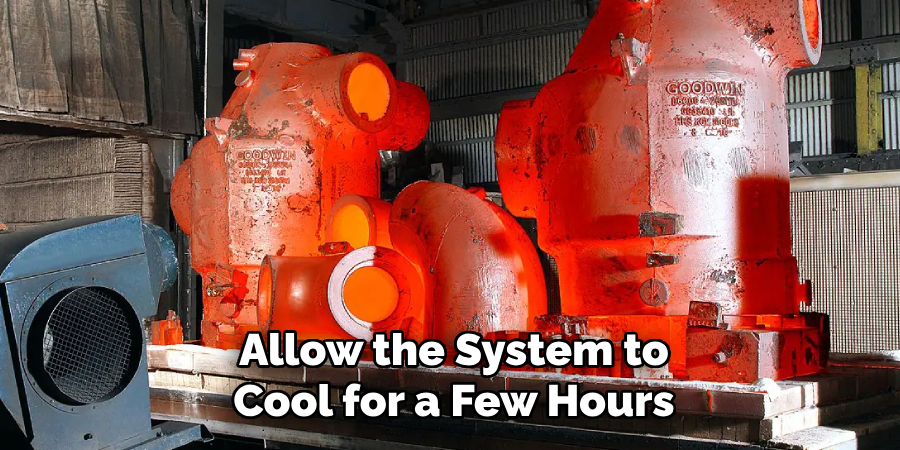
1. Turn Off the Heating System and Allow it to Cool
Before starting any work on a heating system, the first and most important step is to ensure that the system is turned off and has cooled down. Working with a hot system can cause burns or other injuries. Turn off the thermostat and shut down the boiler or heating unit. If the system operates on gas or electricity, disconnect the power supply to avoid any risk of accidental heating or damage. Allow the system to cool for a few hours or as per the manufacturer’s instructions before beginning the draining process. This ensures that you’re working safely, preventing any risk of hot water scalding you during the draining process.
2. Turn Off the Water Supply to the Heating System
Once the system has cooled, the next step is to turn off the water supply that feeds the heating system. Locate the water valve and shut it off to prevent any additional water from entering the system during the draining process. In many systems, the water supply valve is located near the boiler or at the main water inlet. By cutting off the water supply, you ensure that only the water already within the system will be drained, making the process more efficient.
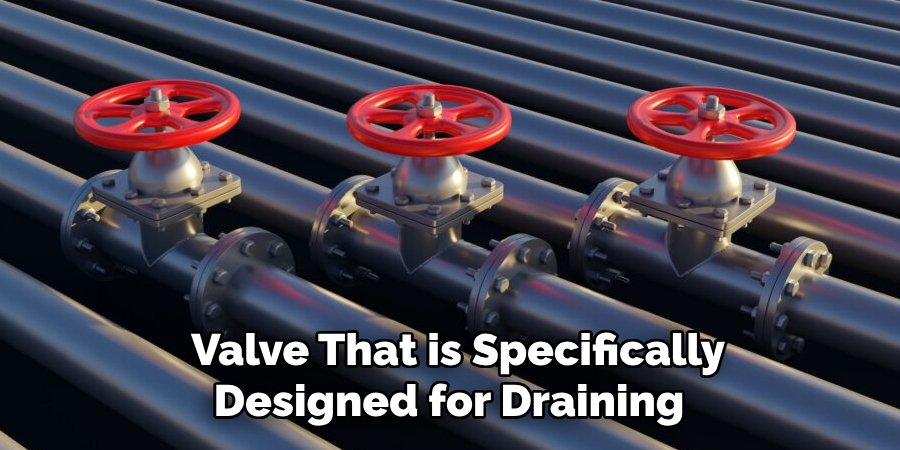
3. Locate the Drain Valve on the Heating System
Every metal heating system typically has a drain valve that is specifically designed for draining the system. This valve is often located near the lowest point of the system, usually at the bottom of the boiler or one of the radiators. If you are working with a radiator system, it may be necessary to find the closest drain valve to the furthest radiator. This valve can usually be opened with a wrench, or in some cases, by hand, depending on the model. Familiarizing yourself with the drain valve location before starting the process is critical for an efficient and successful drainage.
4. Attach a Hose to the Drain Valve
To make draining the system easier and to prevent water from spilling onto the floor, attach a garden hose or a drainage hose to the drain valve. Make sure the hose is long enough to reach a floor drain or outside the building. Secure the hose tightly to the valve to prevent leaks during the draining process. In some systems, you may need a special adapter to fit the hose to the valve, so check the system’s manual for specific instructions. Using a hose ensures that you can direct the water safely away from sensitive areas, like floors and walls.
5. Open the Drain Valve Slowly
After attaching the hose, slowly open the drain valve to begin the draining process. The water will flow out under gravity, so be patient as the system empties. Depending on the size of the system, draining can take anywhere from several minutes to an hour. Avoid opening the valve too quickly as it could cause splashing or potential damage to the system. Keep an eye on the water flowing out to make sure it’s draining properly, and check for any leaks around the valve or hose connection.
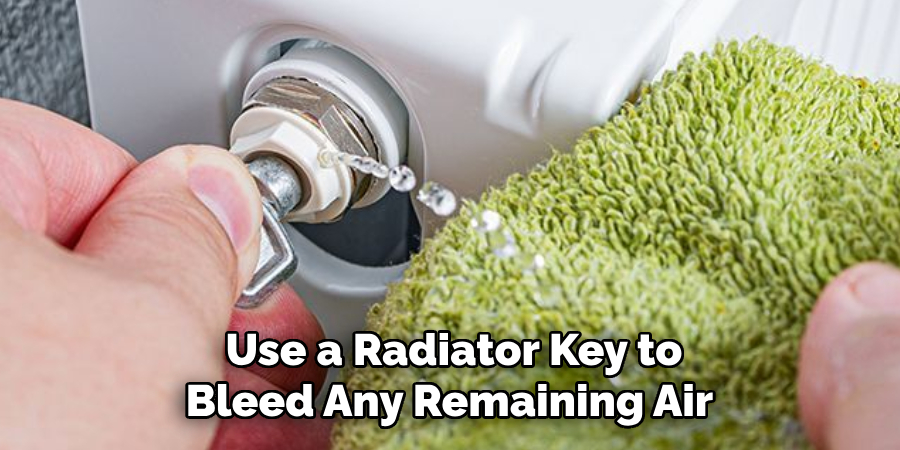
6. Bleed the Radiators (If Applicable)
In a radiator-based heating system, air can become trapped within the radiators, preventing water from draining effectively. Before draining the system completely, use a radiator key to bleed any remaining air from the radiators. Start with the radiator furthest from the boiler and work your way back to the nearest radiator. Place a container or towel under the valve to catch any water that may escape during the process. Bleeding the radiators ensures that there is no air trapped inside, which could hinder the draining process and potentially damage the system.
7. Flush the System with Fresh Water (Optional)
Once the system has been drained, it’s a good idea to flush it with fresh water to remove any dirt, sediment, or debris that may have built up over time. To do this, turn on the water supply and let fresh water flow into the system while the drain valve is still open. Allow the water to run through the system for several minutes to rinse out the pipes, boiler, and radiators. This step is especially beneficial for older systems that have accumulated scale or rust deposits. After flushing, drain the system again to remove the clean water.
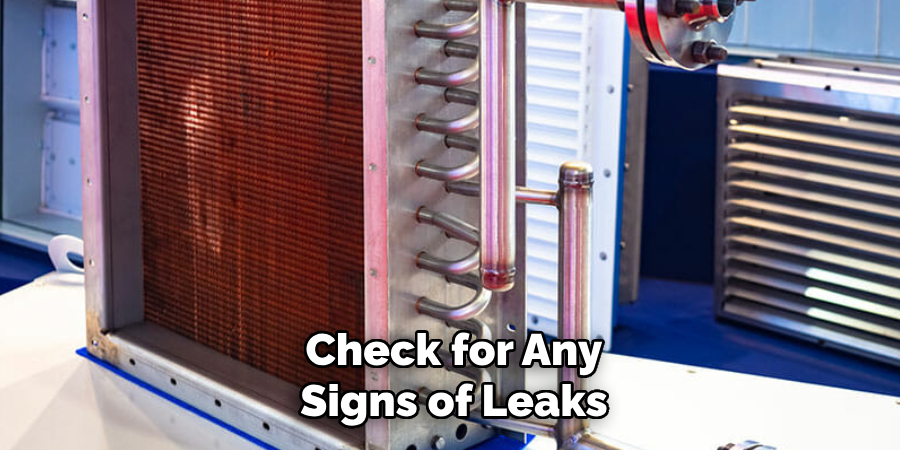
8. Check for Leaks and Clogs
While the system is draining, take the opportunity to inspect it for any signs of leaks or clogs. Check the connections around the drain valve, radiator valves, and pipe fittings for any water escaping. Leaks can be an indication of damaged seals or worn-out parts, which may need replacing. You should also inspect the drain valve itself for any blockages or debris that could affect the draining process. If you encounter any serious issues, consider addressing them before refilling the system.
9. Close the Drain Valve and Disconnect the Hose
Once the system has completely drained and you’re confident there are no leaks, close the drain valve securely. If you attached a hose, disconnect it carefully and ensure that any remaining water drains out of the hose. This step is important to prevent any trapped water from leaking onto the floor. Make sure the valve is completely shut to prevent water from escaping when the system is refilled. This also ensures that the system is sealed and ready for operation once it is refilled.
10. Refill the System and Test for Functionality
Once the system is fully drained and the valve is securely closed, it’s time to refill the heating system with water. Open the water supply valve to allow fresh water to enter the system. As the water fills the system, check for any signs of leaks. You may need to turn the system on briefly to help it pressurize and ensure that everything is functioning correctly. If your heating system uses an expansion tank, check the pressure gauge and adjust if necessary to maintain the proper system pressure. Once the system is filled, turn on the heating and check for any irregularities in operation, such as uneven heating or airlocks in the pipes.
Conclusion
Properly draining a metal heating system is an essential maintenance task that can extend the lifespan of your system and improve its efficiency. By following the outlined steps, you can safely and effectively drain, inspect, and refill your system without causing damage or unnecessary complications. Regular maintenance, including draining and flushing the system, ensures that dirt, debris, and trapped air do not hinder its performance. Hopefully, this article gave you some helpful tips about how to drain metal heating system successfully, so now that you have the proper knowledge on how to get the job done, why not give it a try today?
Edmund Sumlin is a skilled author for Metal Fixes, bringing 6 years of expertise in crafting a wide range of metal fixtures. With a strong background in metalwork, Edmund’s knowledge spans various types of fixtures, from decorative pieces to functional hardware, blending precision with creativity. His passion for metalworking and design has made him a trusted resource in the industry.
Professional Focus:
- Expert in Metal Fixtures : Edmund aesthetic specializes in creating durable and innovative metal fixtures, offering both appeal and functionality. His work reflects a deep understanding of metalworking techniques and materials.
- Sustainability Advocate : He is dedicated to using sustainable practices, ensuring that every fixture is crafted with eco-friendly methods while maintaining high-quality standards.
In his writing for Metal Fixes, Edmund provides valuable insights into the latest trends, techniques, and practical advice for those passionate about metal fixtures, whether they are professionals or DIY enthusiasts. His focus on combining artistry with engineering helps others discover the true potential of metal in design.