

Are you looking to tighten a steel cable for your next DIY project? Well, you’ve come to the right place! In this guide, we’ll walk you through how to tighten a steel cable.
Tightening a steel cable ensures structural integrity, stability, and safety in various applications. Properly tensioned steel cables are crucial when working with a suspension bridge, a zip line, or even a clothesline. As steel cables age, they can stretch and become loose over time, compromising your structure’s overall strength and stability.
This guide will provide you with step-by-step instructions and best practices for effectively tightening steel cables, allowing you to achieve optimal performance and longevity in your cable-based systems. So, let’s dive in and learn the art of tightening steel cables!
What Will You Need?
Before getting started, ensure you have all the necessary tools and materials. This will save you time and ensure a smooth tightening process.
- Adjustable wrench or cable tensioning tool
- Wire cutters
- Gloves for hand protection
- Safety goggles for eye protection
- Replacement cable clamps (if needed)
Once you have gathered all the necessary items, it’s time to get down to business.
10 Easy Steps on How to Tighten a Steel Cable
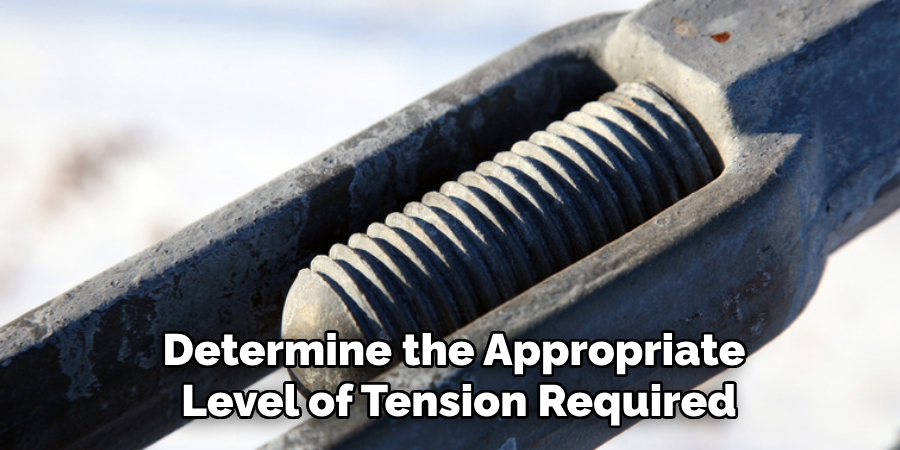
Step 1: Determine the Desired Tension
The first step in tightening a steel cable is to determine the appropriate level of tension required for your specific application. Consider the type of structure or project you are working on and how much weight or pressure the cable will need to support. Refer to manufacturer guidelines or project specifications to ensure you stay within the cable’s capacity. Proper tension will help maintain safety and effectiveness while avoiding unnecessary stress on the cable or connected components.
Step 2: Inspect the Cable
Before you begin tightening, inspect the steel cable closely for signs of wear, fraying, or corrosion. Damaged portions of the cable can compromise its strength and reliability. Consider replacing the cable entirely before proceeding if you notice significant wear or damage. This inspection will help you avoid safety risks during and after the tightening process.
Step 3: Release the Existing Tension
If the cable is installed but has become loose, you must release any remaining tension before retightening. Use your adjustable wrench to loosen any cable clamps or tensioning devices holding the cable in place. Securely grip the cable to prevent it from snapping or recoiling unexpectedly. Always prioritize safety during this step by wearing gloves and safety goggles. Remember to release any attached components that may interfere with the tightening process.
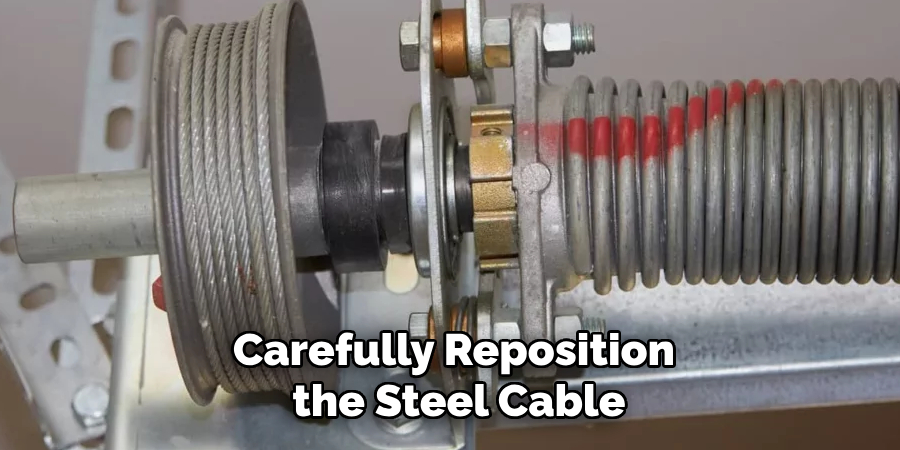
Step 4: Reposition the Cable
Carefully reposition the steel cable to ensure it is aligned correctly with the anchor points or pulleys in your system. Misalignment can cause uneven tension and reduce the effectiveness of the tightening process. Ensure that the cable sits appropriately in any guides, grooves, or designated slots to prevent slippage during use. Double-check that the anchor points are secure and capable of handling the applied tension. Taking the time to reposition the cable correctly will help avoid long-term wear and potential damage to your setup. If necessary, refer to any manufacturer instructions or diagrams.
Step 5: Attach the Tensioning Tool
Once the cable is positioned correctly, attach your cable tensioning tool or adjustable wrench to the cable. This tool will help you gradually apply tension with precision and control. If you’re using a cable winch or turnbuckle, ensure it is securely connected to the cable and the anchor point. Ensure the tool is in good working condition and appropriate for the size and type of cable you’re working with. Improper tools may damage the cable or fail to provide the necessary tension. Remember to put on gloves and safety goggles before proceeding.
Step 6: Begin Tightening the Cable
With the tensioning tool in place, slowly begin tightening the steel cable. Turn the tool in small, steady increments to apply even tension throughout the length of the cable. Avoid over-tightening, as this can cause excessive stress on the cable and its anchor points, potentially leading to failure. Periodically stop to check the tension using a tension gauge or by assessing the stability of the cable under expected load conditions. Progress gradually to ensure an even and controlled tightening process. Avoid sudden jerks or abrupt movements that can cause shock loading on the cable.
Step 7: Trim Any Excess Cable
After achieving the desired tension, wire cutters trim any excess cable extending beyond the anchor points or clamps. Leaving excess cable can pose a safety hazard, as it may snag or interfere with nearby components. Ensure the cut is clean and precise to prevent fraying at the ends. Always wear gloves and safety goggles to protect yourself from stray wire strands during this step. Secure the trimmed end using a cable clamp or end cap to maintain a polished and tidy finish. Use caution when handling and disposing of trimmed cable ends, as they may still contain sharp edges.
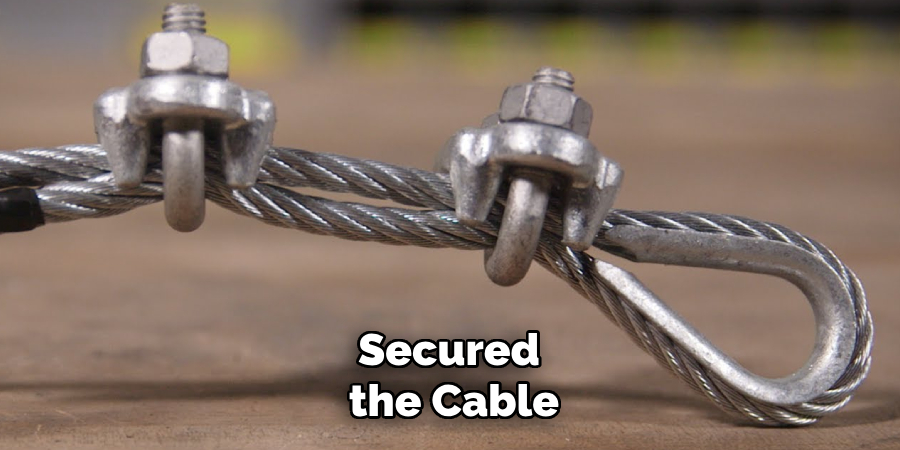
Step 8: Secure the Cable Clamps
With the cable now tightened and trimmed, tighten all cable clamps or fasteners securely. Use your adjustable wrench to ensure the clamps are snug and there is no movement in the connection points. Properly fastening the clamps will prevent the cable from loosening over time and maintain its stability under load. Double-check that each clamp is evenly tightened to distribute tension across the cable system. Remember, over-tightening the clamps may cause damage to the cable or its associated components.
Step 9: Test the Tension
Once you have tightened and secured the cable, testing the tension to ensure it meets your project’s requirements is essential. Apply a small amount of pressure to the cable or test it under the anticipated load conditions to verify its stability and performance. If the cable feels too loose or tight, you may need to make minor adjustments to achieve the required precise tension. This step is crucial for ensuring the cable installation’s safety and effectiveness.
Step 10: Perform a Final Inspection
Before considering the job complete, conduct a final inspection of the cable and all associated components. Check that all clamps, fasteners, and anchor points are tight and secure, with no signs of wear or instability. Ensure the cable is appropriately aligned and free from twists or kinks. This last inspection will assure you that your steel cable is fully tightened and ready for use in its designated application.
And there you have it—a fully tightened steel cable ready to support your project with stability and safety! By following these steps carefully, you can ensure a reliable cable system that stands the test of time.
5 Things You Should Avoid
- Using the Wrong Tools: When tightening a steel cable, using the wrong tools can lead to serious damage or injury. Avoid using pliers, wrenches, or other makeshift tools, as they may not provide enough grip or torque to tighten the cable properly. Instead, use proper cable cutters and tensioners designed explicitly for steel cables.
- Over-tightening: It may seem like tightening a steel cable as much as possible will ensure its strength and stability, but over-tightening can weaken the cable and cause it to break prematurely. This is because over-tightening puts excessive strain on the individual strands of the cable, causing them to stretch and eventually snap.
- Not Inspecting for Wear and Tear: Like any other material, Steel cables can wear out over time due to constant use or exposure to harsh elements. Before tightening a steel cable, it’s important to thoroughly inspect it for any signs of wear and tear, such as fraying, kinks, or corrosion. If any damage is found, the cable should be replaced instead of tightened.
- Ignoring Proper Technique: Tightening a steel cable may seem like a simple task, but proper techniques should be followed to ensure its effectiveness and safety. For example, when using a cable tensioner, it’s important to evenly distribute the tension along the entire length of the cable instead of focusing on one spot.
- Not Following Manufacturer’s Guidelines: Every steel cable is designed differently and has unique properties and capabilities. Following the manufacturer’s guidelines for tightening a specific type of steel cable is crucial as they will provide important information, such as recommended tension levels and any special instructions for tightening.
By avoiding these common mistakes, you can ensure a safe, reliable steel cable installation that lasts years.
Conclusion
Tightening a steel cable is an essential step in ensuring the safety and stability of any project.
By following these steps carefully and avoiding common mistakes, you can achieve an evenly tensioned and secure cable system that will withstand the test of time. Always use the proper tools, check for wear and tear, and follow the manufacturer’s guidelines for the best results.
Hopefully, the article on how to tighten a steel cable has provided you with the necessary knowledge and skills to tackle this task confidently.With a properly tightened steel cable, you can be confident in the strength and durability of your project. So go ahead, tighten those cables with ease and precision! Happy building!
Edmund Sumlin is a skilled author for Metal Fixes, bringing 6 years of expertise in crafting a wide range of metal fixtures. With a strong background in metalwork, Edmund’s knowledge spans various types of fixtures, from decorative pieces to functional hardware, blending precision with creativity. His passion for metalworking and design has made him a trusted resource in the industry.
Professional Focus:
- Expert in Metal Fixtures : Edmund aesthetic specializes in creating durable and innovative metal fixtures, offering both appeal and functionality. His work reflects a deep understanding of metalworking techniques and materials.
- Sustainability Advocate : He is dedicated to using sustainable practices, ensuring that every fixture is crafted with eco-friendly methods while maintaining high-quality standards.
In his writing for Metal Fixes, Edmund provides valuable insights into the latest trends, techniques, and practical advice for those passionate about metal fixtures, whether they are professionals or DIY enthusiasts. His focus on combining artistry with engineering helps others discover the true potential of metal in design.