

Silver plating is a process used to coat objects with a thin layer of silver, enhancing both their appearance and durability. This technique is commonly employed in jewelry making, decorative arts, and even in industrial applications to provide corrosion resistance and conductivity.
Whether for aesthetic purposes or functional use, silver plating adds value to a wide range of items, making it a time-honored and versatile practice. In this blog post on how to silver plate, we will go through the process step by step and provide some tips and tricks for achieving a professional-looking finish.
Why Silver Plate?
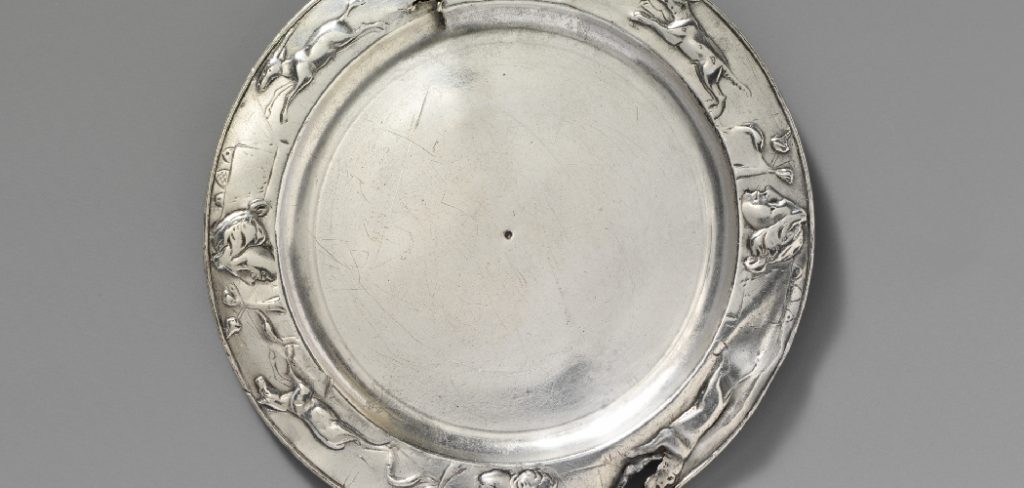
The allure of silver plating dates back to ancient civilizations, where it was used to decorate precious objects and utensils. Today, the reasons for silver plating are just as varied, ranging from decorative purposes to functional benefits such as increased durability and conductivity.
Some common items that are silver-plated include jewelry, flatware, musical instruments, and electrical components. Silver plating can also be applied to larger objects such as car parts or even entire pieces of furniture.
While solid silver items can often be expensive due to the high cost of raw materials, silver plating offers a more affordable option while still providing the desired benefits and aesthetic appeal.
8 Step by Step Guides on How to Silver Plate
Step 1: Prepare the Object for Plating
The first step in the silver plating process is preparing the object to ensure a smooth and durable finish. Start by thoroughly cleaning the item to remove any dirt, grease, or oils that could interfere with the plating process. Use a mild detergent or degreaser and warm water for this purpose, scrubbing gently with a soft brush or cloth. After cleaning, rinse the item thoroughly and allow it to dry completely.
For metal surfaces, use fine-grit sandpaper or a polishing compound to remove any imperfections or oxidation, creating an even surface that will hold the silver plating effectively. Finally, wipe the object with a lint-free cloth to remove any remaining residue before moving on to the next step. Proper preparation is crucial for achieving a high-quality, long-lasting silver plate.

Step 2: Set Up Your Workstation
Before starting the plating process, it is essential to set up a dedicated workstation that is well-ventilated and free from dust and other contaminants. Ideally, this should be in an area with good lighting and a stable temperature. Gather all necessary materials, including your silver plating solution, a power source (either a rectifier or battery), and any specialized equipment such as tweezers or cotton gloves.
You may also want to protect your work surface with a plastic or rubber mat and have a sink nearby for rinsing between steps.
Step 3: Prepare the Plating Solution
Silver plating solutions are readily available in hardware stores and online, and they typically come in two parts – the silver salt solution and the reducing agent. Follow the instructions provided by the manufacturer to mix these components together in the correct ratio. It is essential to wear appropriate protective gear, such as gloves and goggles, when handling chemicals.
The plating solution should be prepared immediately before use and discarded after each session, as it can lose its effectiveness over time.
Step 4: Set Up the Power Source
For silver plating to occur, a direct current (DC) power source is required. This can either be a rectifier or a battery connected to an anode and cathode. The anode is the object that will provide the silver ions for plating, while the cathode is the object that will receive the plated layer.
Attach your workpiece to the cathode using clips or wires, ensuring there is a good contact for electricity to flow between them. Next, attach the anode (typically made of pure silver) to the positive terminal of your power source. The negative terminal should be connected to the cathode.
Step 5: Start Plating
Once everything is set up, it’s time to start plating! Submerge the workpiece and the anode in the plating solution, making sure they do not touch each other. Turn on the power source and adjust the voltage according to the manufacturer’s instructions for your specific plating solution.
The duration of plating depends on various factors, such as desired thickness, current density, and surface area of the object. It can range from a few minutes to several hours. Keep an eye on the progress and check occasionally by removing the object from the solution and inspecting it.

Step 6: Rinse and Dry
After the desired plating has been achieved, turn off the power source and carefully remove the object from the plating solution using tweezers or gloves. Immediately rinse it with water to remove any excess solution, then dry it thoroughly with a soft cloth. Avoid touching the plated surface with your bare hands as oils from your skin can affect its appearance and durability.
But if you do make a mistake or are not satisfied with the results, don’t worry! The silver plating process is entirely reversible, and you can always start over.
Step 7: Buff and Polish
To achieve a smooth, shiny finish, buff the plated object with a soft cloth or polishing wheel. This will also help to remove any small imperfections that may have occurred during the plating process.
If desired, you can also apply a protective coating over the silver plate to prevent it from tarnishing in the future. There are various options for this, including clear lacquer or specialized metal coatings.
Step 8: Enjoy Your Newly Silver Plated Object!
Congratulations, your item is now silver-plated and ready to be enjoyed! Whether it’s a cherished piece of jewelry or a functional household item, the added layer of silver will provide both aesthetic appeal and practical benefits.
With proper care and maintenance, your silver plate can last for many years to come. Thanks for reading this article on how to silver plate.
Additional Tips
Maintain Cleanliness:
Always ensure your tools, workstation, and hands are clean before working with the silver plating process. Contamination can impact the quality of the plating.
Practice Safety Measures:
As mentioned, it is crucial to wear protective gear and follow safety precautions when handling chemicals and working with electricity. Always read and follow the instructions provided by the manufacturer.
Experiment with Different Finishes:
Silver plating can be done using various finishes, such as satin or brushed finishes. Consider experimenting with different techniques to achieve your desired look.
Seek Professional Help if Needed:
If you are unsure about the process or feel uncomfortable handling chemicals or electricity, consider seeking professional help for silver plating. There are many experienced professionals who can assist with this process and ensure a high-quality finish. Additionally, they may also offer services such as restoration or maintenance of your silver plated items.
Remember, silver plating is a delicate process that requires patience and attention to detail. With the right tools and techniques, you can achieve beautiful results that will last for years to come. Happy plating!
Frequently Asked Questions
Q: Can Any Object Be Silver Plated?
A: Yes, most metals can be silver plated, including copper, brass, and nickel. It is not recommended for non-metal materials such as wood or plastic.
Q: How Thick Is the Silver Layer?
A: The thickness of the silver layer depends on various factors, including the duration and intensity of plating. On average, it can range from 0.5 to 2 microns.
Q: How Do I Maintain My Silver Plated Item?
A: To keep your silver-plated item looking its best, clean it regularly with a mild detergent and warm water, then dry thoroughly with a soft cloth. Avoid using abrasive cleaners or polishing compounds that could scratch the surface. If tarnishing occurs, use a specialized silver polish to restore its shine.
Q: Can I Silver Plate Jewelry with Gemstones?
A: Silver plate jewelry with gemstones is not recommended as the plating process can damage or discolor the stones. Instead, remove any gemstones before plating and have them reset afterward by a professional jeweler.
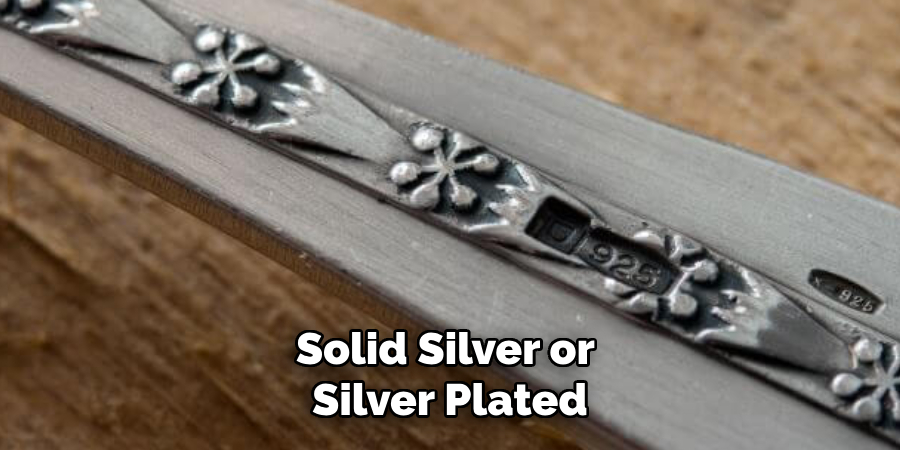
Q: How Can I Tell if an Object is Silver Plated or Solid Silver?
A: There are a few ways to determine if an object is solid silver or silver plated. You can check for hallmarks, which indicate the purity of the silver and whether it is plated or not. Another method is by using a magnet – if the object is attracted to the magnet, it is not solid silver. Additionally, you can test with nitric acid; solid silver will show no reaction, while silver-plated items will produce a green color. If unsure, consult an expert for assistance in identification.
Conclusion
Silver plating is a rewarding and accessible way to enhance the appearance and functionality of your items, adding elegance and value to everyday objects or cherished possessions. By following the steps outlined in this guide on how to silver plate and handling each process with care and precision, you can achieve professional-grade results.
Remember to use the proper tools and safety precautions to ensure both the quality of your work and your safety. Whether you’re restoring an antique or crafting something new; silver plating allows you to give your items a beautiful, long-lasting finish that can be enjoyed for years.
Edmund Sumlin is a skilled author for Metal Fixes, bringing 6 years of expertise in crafting a wide range of metal fixtures. With a strong background in metalwork, Edmund’s knowledge spans various types of fixtures, from decorative pieces to functional hardware, blending precision with creativity. His passion for metalworking and design has made him a trusted resource in the industry.
Professional Focus:
- Expert in Metal Fixtures : Edmund aesthetic specializes in creating durable and innovative metal fixtures, offering both appeal and functionality. His work reflects a deep understanding of metalworking techniques and materials.
- Sustainability Advocate : He is dedicated to using sustainable practices, ensuring that every fixture is crafted with eco-friendly methods while maintaining high-quality standards.
In his writing for Metal Fixes, Edmund provides valuable insights into the latest trends, techniques, and practical advice for those passionate about metal fixtures, whether they are professionals or DIY enthusiasts. His focus on combining artistry with engineering helps others discover the true potential of metal in design.