

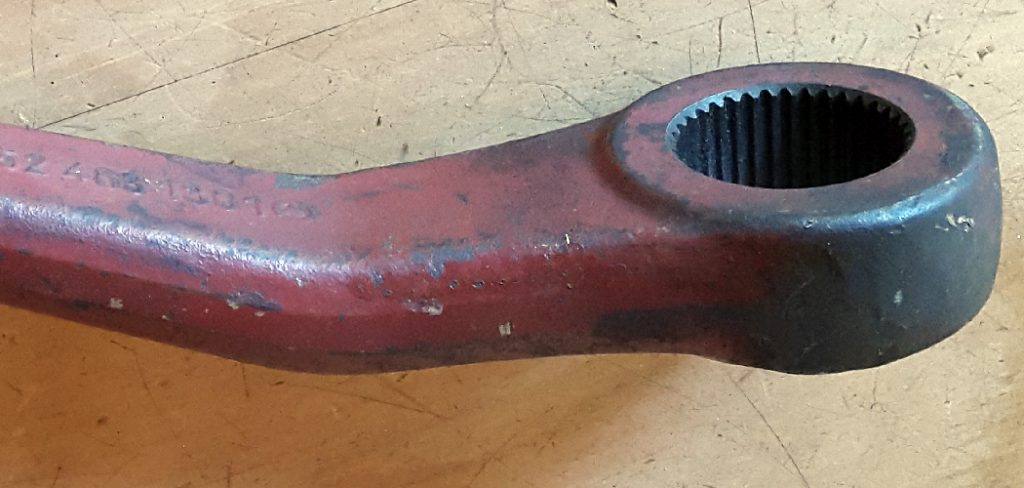
The Pitman arm plays a crucial role in the steering system of vehicles. It connects the steering gearbox and the steering linkage, transmitting the rotational motion from the steering gearbox to the front wheels, thus enabling steering control. A damaged or worn Pitman arm can compromise the steering responsiveness and stability, posing a safety risk. Therefore, it is essential to replace a faulty Pitman arm promptly.
To ensure safe and effective replacement, it is important to understand how to install pitman arm and take necessary precautions. Before starting, consult the vehicle’s service manual for model-specific instructions. The installation typically involves removing the old Pitman arm, properly positioning and aligning the new arm, and securing it with the appropriate torque specifications. Following the recommended procedures and torque specifications is crucial to avoid any issues and ensure optimal performance.
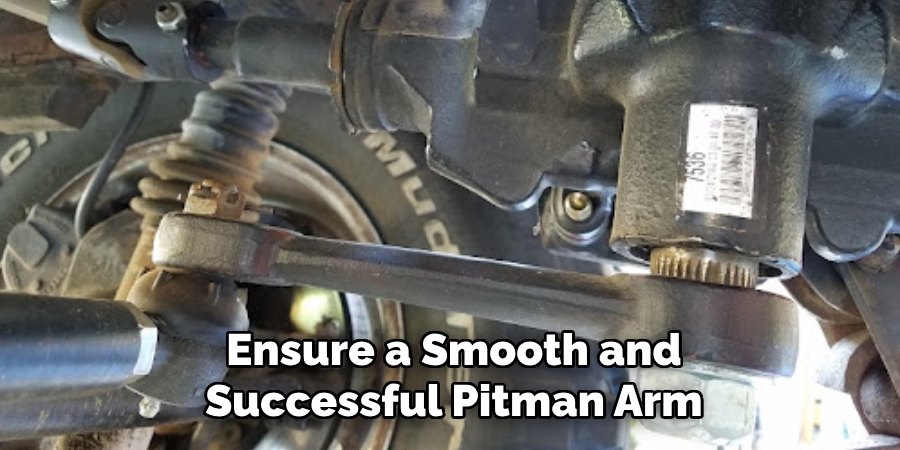
By replacing a damaged or worn Pitman arm and following the correct installation procedures, you can enhance the safety and responsiveness of your steering system. Remember to prioritize safety and consult professional help if needed. In the next sections, we will discuss regular inspections and maintenance tips to prolong the longevity of your Pitman arm and steering system. Stay tuned!
Tools and Materials Required for Pitman Arm Installation
Before you begin replacing the Pitman arm, make sure you have the necessary tools and materials ready. Here’s a list of what you’ll need:
Tools Needed:
- Socket set, wrench, and breaker bar for loosening and tightening bolts.
- A Pitman arm puller is used to remove the old arm.
- Torque wrench for proper tightening of bolts.
- Hammer, pry bar, and possibly a mallet to assist with stuck parts.
Materials:
- Replacement Pitman arm matching your vehicle model.
- Grease for lubrication.
- Thread locker or anti-seize compound as recommended.
Preparing these tools and materials will ensure a smooth and successful Pitman arm installation process. Consider your vehicle’s service manual for any model-specific instructions and follow the recommended procedures to ensure proper alignment and secure installation.
Preparing for the Installation
Before beginning the Pitman arm installation, it’s important to take a few preparatory steps to ensure a smooth and safe process.
Safety Precautions
To ensure your safety and the proper execution of the installation, follow these safety precautions:
- Park on a level surface: Choose a flat and stable surface to park your vehicle. This will provide stability and prevent any accidental movement during the repair.
- Disconnect the battery: Before installing, disconnect the battery to prevent accidental activation of electrical components.
- Use jack stands: Prioritize safety by using jack stands to raise and support the vehicle. This will provide stability and prevent the vehicle from shifting or falling while you work.
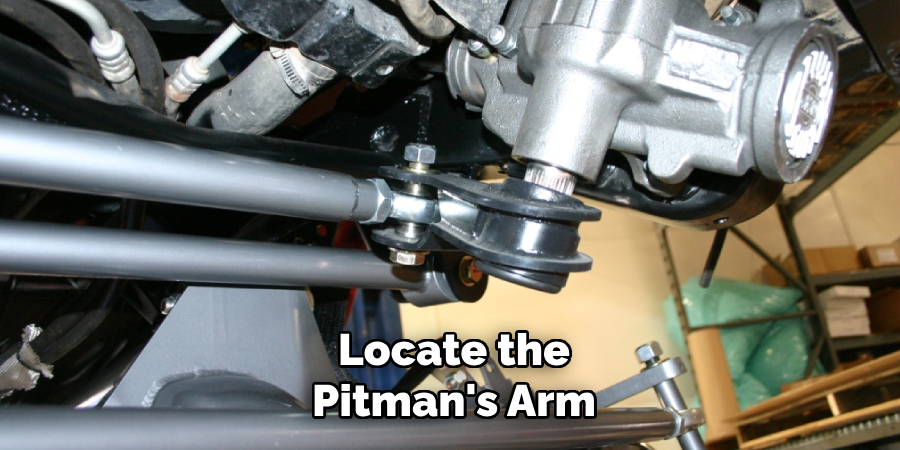
Locating the Pitman Arm
The Pitman arm is an essential component of the steering system. It is connected to the steering gearbox and translates the steering wheel’s rotational movement into lateral movement, allowing the wheels to turn.
To locate the Pitman’s arm, you’ll find it connected to the steering gearbox, typically on the passenger side of the vehicle’s engine compartment. It is crucial to verify that the replacement Pitman arm matches the size and fit of the old arm before proceeding with the installation.
By following these preparatory steps and familiarizing yourself with the Pitman arm’s location, you’ll be confidently prepared to begin the installation process. Remember to refer to your vehicle’s service manual for any specific instructions and recommended procedures to ensure a successful repair.
Removing the Old Pitman Arm
Loosening the Steering Linkage:
To begin removing the old Pitman arm, you’ll first need to disconnect the drag link or steering linkage that is connected to it. Use a wrench and, if necessary, a hammer to loosen any stuck components. Take care not to damage the steering gear, gearbox, or other nearby parts while doing so. This step is crucial to ensure a smooth removal process.
Detaching the Pitman Arm:
Once the steering linkage is disconnected, you can proceed to remove the old Pitman arm. Start by locating the securing nut or bolt that attaches the Pitman arm to the steering gearbox. Use the appropriate wrench or socket to loosen and remove it. Sometimes, the Pitman arm may be tightly secured and difficult to remove. To overcome this, you can employ a Pitman arm puller tool. Attach the puller to the arm and slowly apply pressure, allowing it to separate the arm from the steering gearbox. Take your time and ensure the puller is aligned properly to avoid damage.
Tips for Dealing with Stuck or Rusted Parts:
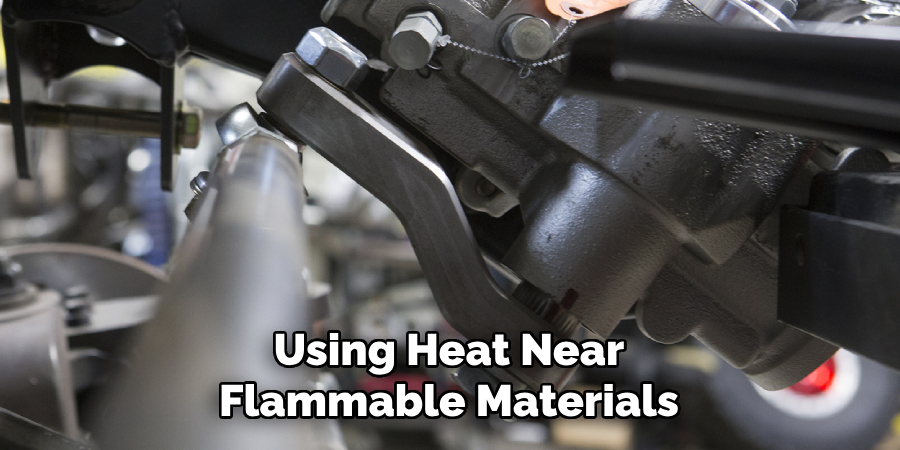
Dealing with stuck or rusted parts during the removal process can be challenging. If you encounter resistance while loosening components, consider using penetrating oil or rust dissolver to help loosen and free up any rusted areas. Applying heat using a propane torch can also help expand metal parts and make them easier to remove. Take caution when using heat near flammable materials or sensitive parts, and always follow proper safety procedures.
Cleaning the Mounting Area:
Before installing the new Pitman arm, thoroughly clean the steering gear shaft and surrounding areas. Use a cloth or brush to remove debris or corrosion that has accumulated over time. Inspect the shaft for any signs of damage or excessive wear. If any issues are detected, it may be necessary to address them before proceeding with the installation. Cleaning the mounting area ensures a proper fit and helps prevent interference or complications during installation.
By following these steps and taking the necessary precautions, you can safely and effectively remove the old Pitman arm from your vehicle’s steering system. Remember to refer to your vehicle’s service manual for any specific instructions or recommended procedures that may apply to your particular make and model.
How to Install Pitman Arm: Installing the New Pitman Arm
To install the new Pitman arm, follow these steps:
Aligning the Pitman Arm
Position the new Pitman arm onto the steering gear shaft, ensuring alignment with the splines. If indexing marks are present on the arm and shaft, match them up to ensure the correct orientation. This helps maintain proper steering geometry and prevents any misalignment issues.
Securing the Pitman Arm
Once aligned, tighten the retaining nut or bolt to secure the Pitman arm onto the steering gear shaft. Use a torque wrench to tighten the nut to the manufacturer’s specified torque value, ensuring proper tightness. To prevent loosening over time, apply thread locker or anti-seize compound as recommended by the manufacturer.
Reconnecting the Steering Linkage
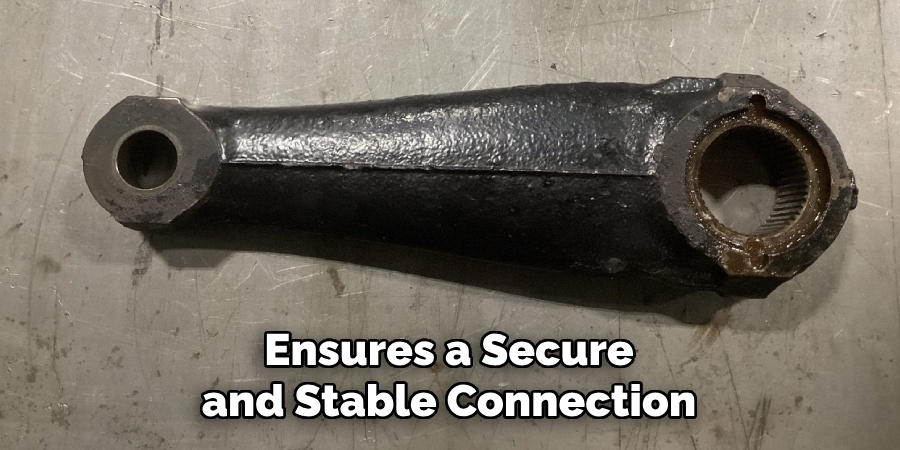
After securing the Pitman’s arm, it’s time to reattach the drag link or steering linkage. Align the connection points and insert the connecting bolts or nuts. Again, refer to the manufacturer’s specifications for the recommended torque value and tighten them accordingly. This ensures a secure and stable connection between the Pitman arm and the rest of the steering system.
By following these installation steps carefully, you can successfully replace the Pitman arm and restore the functionality of your vehicle’s steering system. Remember to consult your vehicle’s service manual for any specific instructions or recommended procedures that may be applicable to your particular make and model.
Testing the Installation
After completing the Pitman arm replacement, it is crucial to test the installation to ensure proper functionality and safe operation of the steering system.
Checking Steering Functionality
Turn the steering wheel in both directions to verify smooth and responsive movement. Pay close attention to any binding, stiffness, or unusual noises, as these may indicate improper installation or other underlying issues. Additionally, observe the steering linkage as you turn the wheel to ensure it moves correctly without any signs of binding.
Road Testing the Vehicle
Take the vehicle for a low-speed test drive to assess the steering performance. Pay attention to how the vehicle responds to your steering inputs and ensure it maintains proper alignment. The steering should feel precise and responsive, with no excessive play or vibrations. Further inspection and adjustments may be necessary to ensure safe handling if any issues are detected during the road test.
By thoroughly testing the installation, you can be confident in the steering system’s proper functioning and enjoy a smooth and controlled driving experience. Remember to exercise caution and prioritize safety during testing procedures.

Troubleshooting Common Installation Issues
When performing a steering system installation, it’s important to be aware of and address common issues that may arise. Here are two common installation issues and troubleshooting steps to resolve them:
Misalignment of the Pitman Arm
Symptoms of misalignment include poor steering response or an off-center steering wheel. To realign the pitman’s arm and correct the issue, follow these steps:
- Ensure the vehicle’s wheels are straight and the steering wheel is centered.
- Loosen the pitman arm retaining nut.
- Use a pitman arm puller tool to carefully realign the arm to the desired position.
- Tighten the retaining nut to the manufacturer’s recommended torque specifications.
- Perform a road test and verify that the steering response and alignment have improved.
Loose Connections
Signs of loose connections include clunking noises or excessive play in the steering. To address this issue, follow these steps:
- Inspect all bolts and nuts related to the steering system for tightness.
- Use a torque wrench to retighten any loose connections to the manufacturer’s recommended torque specifications.
- Ensure all components, such as tie rods and steering shafts, are securely fastened.
- Perform a road test to confirm that the play and noises have been eliminated.
You can ensure proper alignment and secure connections by troubleshooting these common installation issues, promoting safe and reliable steering system performance.
Maintenance and Longevity Tips
Regular Inspections:
Conduct regular inspections to ensure the longevity of your steering system. Periodically check the Pitman arm and other steering components for signs of wear or damage. Look for loose or worn-out joints, excessive play, or leakage. Additionally, lubricate the joints as the manufacturer recommends to prevent premature wear and maintain smooth operation.
Preventing Future Issues:
It is crucial to take preventive measures to avoid future steering system problems. Avoid driving in rough conditions that can put excessive strain on the system, such as off-road terrain or pothole-laden roads. Additionally, use high-quality replacement parts to ensure durability, performance, and compatibility with your specific vehicle. By following these maintenance and longevity tips, you can extend the lifespan of your steering system and enhance its reliability for years to come.
Conclusion
In conclusion, replacing a Pitman arm is a crucial maintenance task that ensures the safety and reliability of your steering system. You can maintain responsive and safe steering by following the steps outlined in this guide, including proper safety precautions, removing the old Pitman arm, installing the new one correctly, and tightening all components to the recommended torque specifications. Remember to consult your vehicle’s service manual for model-specific details during installation.
A functioning Pitman arm plays a vital role in maintaining precise steering control, reducing play, and enhancing overall safety on the road. Prioritizing the replacement of a worn or damaged Pitman arm will contribute to the longevity and optimal performance of your vehicle’s steering system. Stay safe and enjoy the benefits of a well-functioning Pitman arm for smooth and reliable steering. Thanks for reading our post about how to install pitman arm.
Edmund Sumlin is a skilled author for Metal Fixes, bringing 6 years of expertise in crafting a wide range of metal fixtures. With a strong background in metalwork, Edmund’s knowledge spans various types of fixtures, from decorative pieces to functional hardware, blending precision with creativity. His passion for metalworking and design has made him a trusted resource in the industry.
Professional Focus:
- Expert in Metal Fixtures : Edmund aesthetic specializes in creating durable and innovative metal fixtures, offering both appeal and functionality. His work reflects a deep understanding of metalworking techniques and materials.
- Sustainability Advocate : He is dedicated to using sustainable practices, ensuring that every fixture is crafted with eco-friendly methods while maintaining high-quality standards.
In his writing for Metal Fixes, Edmund provides valuable insights into the latest trends, techniques, and practical advice for those passionate about metal fixtures, whether they are professionals or DIY enthusiasts. His focus on combining artistry with engineering helps others discover the true potential of metal in design.