

Spray painting a metal car body is a process that requires both preparation and precision to achieve a professional-looking finish. Whether you’re restoring an old car, covering up scratches, or giving your vehicle a fresh new look, proper technique is essential.
This guide on how to spray paint a metal car body will walk you through the key steps, from prepping the metal surface to applying an even coat of paint, ensuring your car looks flawless and polished when you’re done. With the right tools and attention to detail, anyone can successfully spray paint their car and enjoy a long-lasting result.
What is Spray Painting?
Spray painting is a technique used to apply paint to a surface using an air-powered spray gun. Unlike traditional brush or roller methods, spray painting allows for a smooth and even application of paint, making it ideal for larger surfaces such as cars. This method also saves time and effort compared to other techniques, making it a popular choice among DIY car enthusiasts.
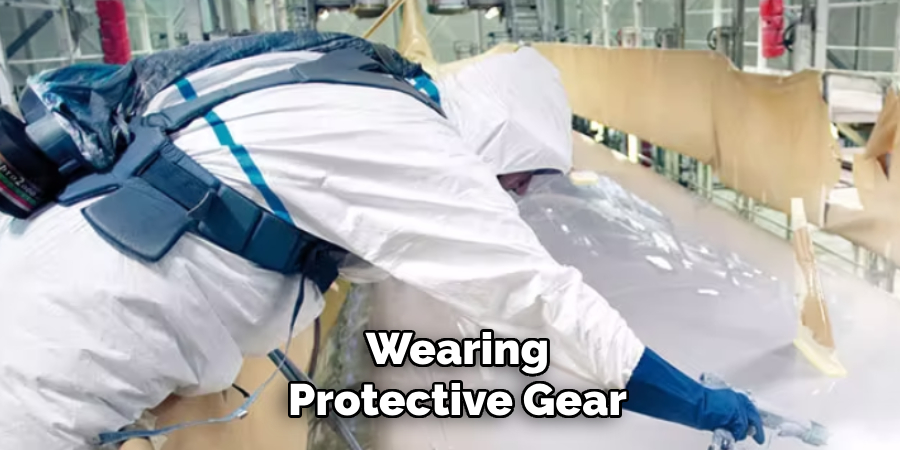
It’s important to note that spray painting should always be done in a well-ventilated area, as the fumes can be harmful if inhaled. Additionally, wearing protective gear such as gloves and a face mask is recommended to protect yourself from any potential overspray.
Materials Needed
Before starting the process, make sure you have the following materials on hand:
- Automotive Spray Paint in Your Desired Color
- Primer
- Sandpaper (120, 240, and 400 grit)
- Wax and Grease Remover
- Masking Tape
- Drop Cloth or Plastic Sheet
- Spray Gun
- Air Compressor
8 Step-by-step Guidelines on How to Spray Paint a Metal Car Body
Step 1: Prep the Car Body
Proper preparation of the car body is crucial to achieving a smooth and durable finish. Begin by washing the car thoroughly to remove any dirt, dust, or debris. Use a wax and grease remover to eliminate any leftover residue that could affect paint adhesion. Next, inspect the surface for scratches, rust, or dents. Sand down the entire car body using 120-grit sandpaper to remove old paint and smooth out imperfections.
For areas with rust, ensure you sand until all rust is gone to prevent it from returning. Once sanding is complete, wipe the surface with a clean cloth to remove dust particles. Finally, use masking tape and a drop cloth or plastic sheet to cover areas you don’t want painted, such as windows, mirrors, and trim. This will ensure a clean and professional-looking finish.
Step 2: Apply Primer
Once the car body is prepped, the next step is to apply a primer to ensure proper paint adhesion and a smooth final finish. Begin by selecting an automotive primer suitable for metal surfaces.
Shake the primer can or mix it well if using a spray gun setup. Holding the spray gun or can 6–8 inches away from the surface, apply a thin and even coat of primer in a sweeping motion. Avoid spraying too much primer in one spot, as this could cause drips or uneven coverage.
Allow the primer to dry completely as per the manufacturer’s instructions, usually around 20–30 minutes. Once the first coat is dry, sand it lightly with 240-grit sandpaper to remove imperfections and create a smooth base for the next layer. Wipe away any dust with a clean cloth and apply a second coat of primer for optimal coverage.
After the final coat is dry, use 400-grit sandpaper to achieve an ultra-smooth surface. Your car body is now primed and ready for the next step in the painting process.
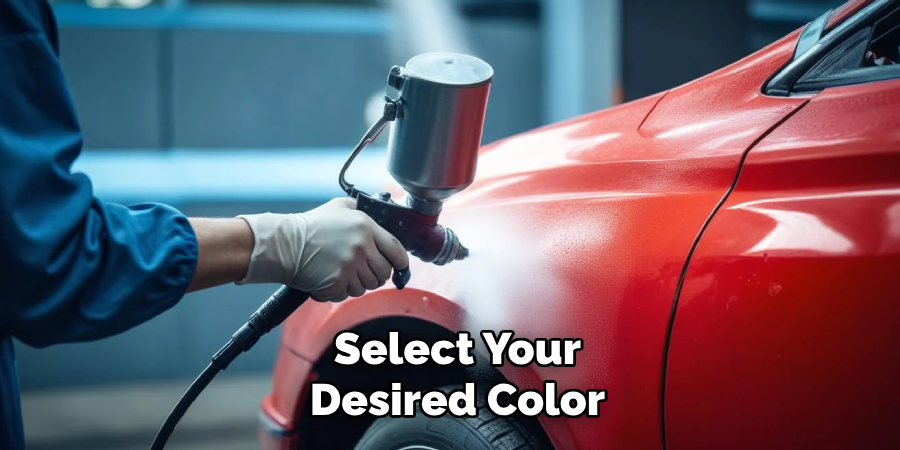
Step 3: Choose Your Paint
When choosing paint for your car, it’s essential to select an automotive spray paint that is specifically designed for metal surfaces. This type of paint will provide the best adhesion and durability, ensuring a long-lasting finish.
Additionally, you’ll need to decide between acrylic or enamel-based paints. Acrylic paints dry quickly and are easy to clean up with water, while enamel-based paints take longer to dry but offer better coverage and durability.
It’s also essential to select your desired color and finish, such as glossy or matte. If you’re unsure about the color or finish, consider purchasing a small can of paint to test on a hidden area of the car before committing to painting the entire body.
Step 4: Prepare the Paint
Before applying the paint, it’s important to strain it through a mesh filter to remove any impurities that could affect the final finish. Mix the paint well, ensuring you follow the manufacturer’s instructions on mixing ratios if using a spray gun setup. It’s also recommended to pour the paint into a paint cup or jar for easier application with a spray gun.
If using spray paint cans, shake them well and test the nozzle on a scrap piece of paper to ensure an even and consistent spray.
Step 5: Start Painting
Once your car body is prepped, primed, and you have your desired color and finish, it’s time to start painting. Begin by holding the spray gun or can at a 6–8 inch distance from the surface and apply the paint in long, sweeping motions. Avoid spraying to close to the surface or staying in one spot for too long, as this could result in drips or uneven coverage.
Apply multiple thin coats of paint rather than one thick coat, allowing each layer to dry before adding the next. This will help achieve a smooth and even finish. It’s also important to overlap each pass by about 50% to avoid any lines or gaps between layers.
Step 6: Let the Paint Dry
After applying all desired coats of paint, allow the car body to dry completely according to the manufacturer’s instructions. Depending on the type of paint used and environmental conditions, this can take anywhere from a few hours to a full day. Make sure you don’t touch or handle the painted surface until it’s completely dry to prevent any smudging or damage.
You can also use a clear coat for added protection and shine. Follow the same process as painting, applying multiple thin coats and allowing each one to dry before adding the next.
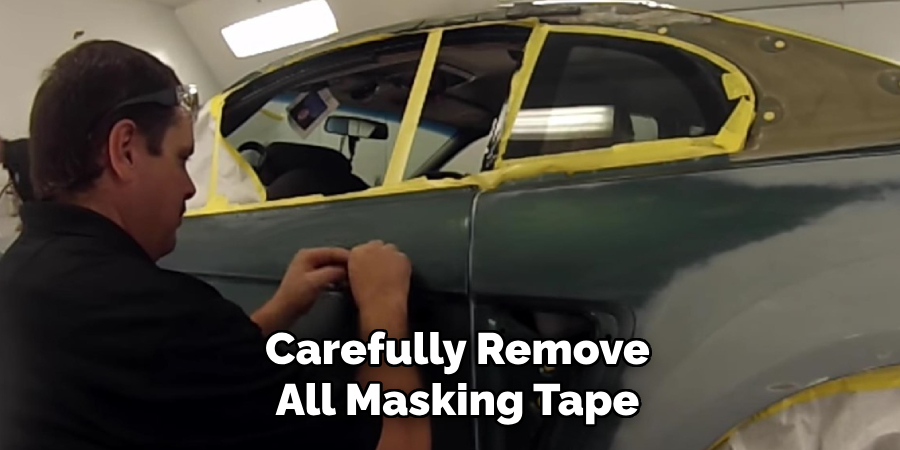
Step 7: Remove Masking Tape
Once the paint is fully dry, carefully remove all masking tape from areas you covered earlier. Check for any overspray or errors and correct them if necessary.
Step 8: Finishing Touches
To achieve a professional finish, use polishing compounds and wax to buff the painted surface lightly. This will help smooth out any imperfections and provide extra shine and protection for your newly painted car body.
Congratulations! You have successfully spray-painted your metal car body and achieved a smooth and professional-looking finish! With proper maintenance and care, your new paint job will last for years to come. Remember to always follow safety precautions on how to spray paint a metal car body and work in a well-ventilated area when using paints and chemicals. Happy painting!
Additional Tips
- Practice makes perfect! If this is your first time painting a car, consider practicing on a small piece of metal or scrap vehicle before tackling your own car.
- Take breaks and step back to assess your progress. It’s important to not rush through the painting process and take your time to ensure a high-quality finish.
- Don’t forget about the wheels! If you want to paint them as well, make sure to thoroughly clean and prep them before applying paint for best results.
- Consider using a spray gun setup rather than spray paint cans for larger areas or more intricate designs. This will provide more control and precision when applying paint.
- Always read and follow manufacturer instructions on all products used during the painting process. This includes paints, primers, clear coats, and any other materials.
Frequently Asked Questions
Q1: How Long Does It Take to Spray Paint a Car Body?
A1: The time it takes to spray paint a car body can vary depending on factors such as the size of the vehicle, the type of paint used, and environmental conditions. Generally, it can take anywhere from a few hours to a full day for the paint to dry completely. However, proper prep work and multiple coats of paint will ensure a longer-lasting finish.
Q2: Can I Paint Over Rust on My Car Body?
A2: It’s not recommended to paint over rust as it could continue to spread under the new paint and affect the overall finish. It’s essential to address any rust issues before starting the painting process by sanding or using a rust converter product.
Q3: Do I Need Special Equipment to Spray Paint a Car Body?
A3: While you don’t necessarily need special equipment, investing in a good quality spray gun setup can make the process easier and provide better results. You will also need safety equipment such as a respirator mask, goggles, and gloves to protect yourself from fumes and chemicals.

Conclusion
Spray painting a metal car body is a rewarding process that allows you to customize your vehicle while saving on professional paint job costs. By following each step on how to spray paint a metal car body carefully—from preparation and priming to applying multiple thin coats of paint and finishing with a clear coat—you can achieve a durable and professional-quality finish.
Remember to prioritize safety, patience, and proper techniques throughout the project. Whether you’re breathing new life into an old vehicle, fixing a damaged surface, or creating a custom design, the effort you invest will be well worth the stunning results. With consistent care and maintenance, your freshly painted car body will shine for years to come. Happy painting!
Edmund Sumlin is a skilled author for Metal Fixes, bringing 6 years of expertise in crafting a wide range of metal fixtures. With a strong background in metalwork, Edmund’s knowledge spans various types of fixtures, from decorative pieces to functional hardware, blending precision with creativity. His passion for metalworking and design has made him a trusted resource in the industry.
Professional Focus:
- Expert in Metal Fixtures : Edmund aesthetic specializes in creating durable and innovative metal fixtures, offering both appeal and functionality. His work reflects a deep understanding of metalworking techniques and materials.
- Sustainability Advocate : He is dedicated to using sustainable practices, ensuring that every fixture is crafted with eco-friendly methods while maintaining high-quality standards.
In his writing for Metal Fixes, Edmund provides valuable insights into the latest trends, techniques, and practical advice for those passionate about metal fixtures, whether they are professionals or DIY enthusiasts. His focus on combining artistry with engineering helps others discover the true potential of metal in design.