

Do you want to learn how to oxy weld? Oxy welding is an invaluable skill that can be used in many hobbies, professions, and everyday activities. You may be surprised that it is not as complicated or intimidating as you would think.

In this blog post, we will walk through the basics of oxy welding, so beginners have all the information they need to get started confidently and safely. With knowledge of the safety measures required for materials for oxygen welding processes like MIG and TIG welding, we’ll also cover different techniques involved in successful oxy welds, such as joining two pieces of metal together with heat from a flame or electricity arc under pressure.
If you’re ready to become an expert at wielding metal objects without fuss using heat generated by oxygen, keep reading!
What Will You Need?
Before we dive into the details, let’s go through what you need to start with oxy welding. We’ve broken it into three key categories: safety gear, equipment, and materials.
Safety Gear
- Protective Eyewear: This is the first thing you need to invest in! Welding releases harmful ultraviolet and infrared rays and bright light that can damage your eyesight. Get yourself a pair of welding-specific goggles or helmets with built-in filters.
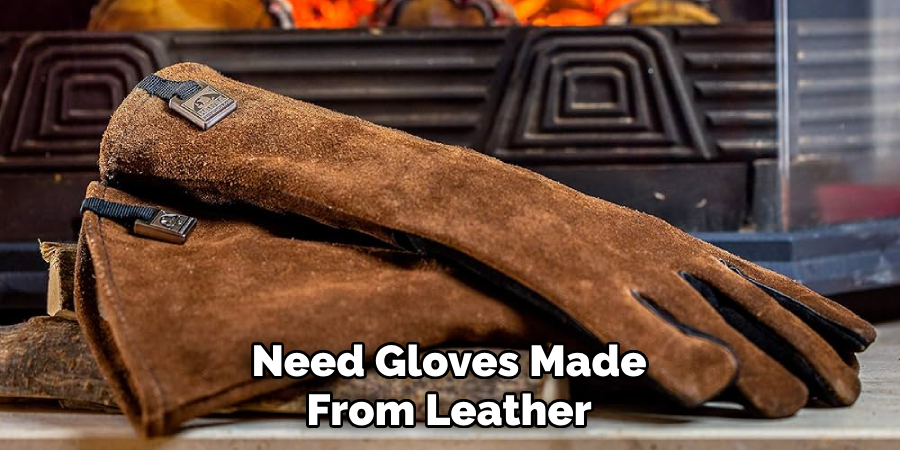
- Gloves: You’ll need gloves made from leather, fire-resistant material, or a combination of both. These will protect your hands from hot drops of molten metal and sparks.
- Protective Clothing: Welding jackets or aprons made with fire-resistant material can help shield you from heat, UV rays, and spattering metals.
- Respirator: Oxy welding generates harmful fumes that can cause respiratory issues. Make sure to invest in a respirator designed explicitly for welding processes.
Equipment
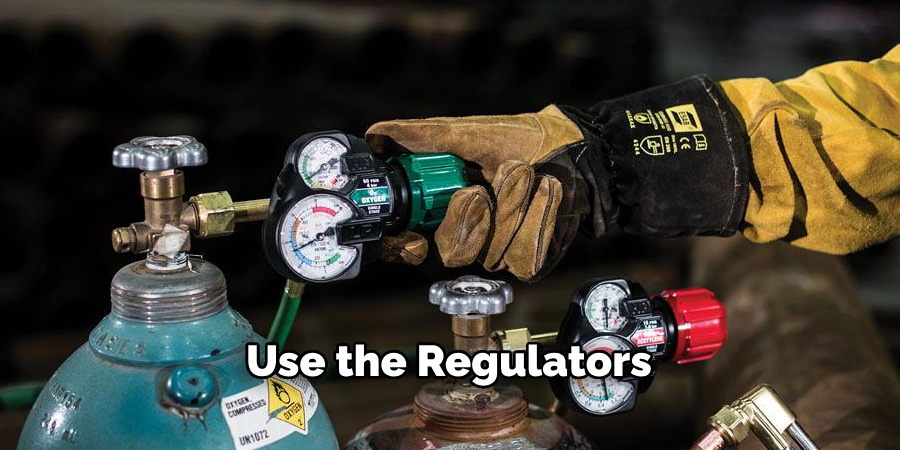
- Oxy-acetylene Welding Torch: This is the primary tool used for oxy welding and consists of a handle, hoses, regulators and tips that control the flow of oxygen and acetylene.
- Gas Cylinders: You’ll need two tanks – one for oxygen and one for acetylene gas. These gases are highly compressed and flammable, so handle them with caution.
- Striker: A long, steel rod used to ignite the acetylene gas and create a flame.
- Welding Table or Workbench: You’ll need a flat surface to work on while welding. Make sure it is stable and fire-resistant.
Materials
- Metal Pieces: You’ll need two metal pieces to join using oxy welding. You can use metal sheets, rods, pipes, or any other form if they are clean and impurities-free.
- Welding Filler Rod/Wire: This fills the gap between two metal pieces and creates a strong bond.
Now that you have everything you need, let’s dive into the actual process of oxy-welding!
8 Easy Steps on How to Oxy Weld
Step 1: Set Up Your Equipment
Firstly, ensure your workspace is clean, well-ventilated, and free of flammable materials. Securely attach your oxy-acetylene torch to the oxygen and acetylene gas cylinders. Use the regulators on your torch to control the flow of gases. Set your striker aside within easy reach. Place your metal pieces on your welding table or workbench, ensuring they’re positioned precisely as you want them to be joined.
Step 2: Don Your Safety Gear
Before you ignite your torch, putting on your safety gear is crucial. Start with your protective eyewear, ensuring it fits snugly and gives you clear visibility. Put on your gloves, making sure they are secure and comfortable.
Next, wear protective clothing, ensuring it covers as much exposed skin as possible. Lastly, put on your respirator – remember, safety should always be your first concern. Once you’re fully protected, you’re ready to start welding.
Step 3: Ignite Your Torch
Now it’s time to ignite your torch. Pick up your striker. Open the acetylene valve on your torch slightly, just enough to release a small amount of gas. Strike the flint on the striker to create a spark that will ignite the acetylene gas.
You should now see a small, sooty flame. Slowly open the oxygen valve on your torch to increase the intensity and size of the flame. When it turns blue, you’ll know your flame is at the right temperature. Be cautious during this step, ensuring your face and body are safe from the flame.
Step 4: Begin the Welding Process
You’re ready to begin welding with your torch ignited and safety gear adequately fastened. The exact technique can vary, but a common approach is to hold the torch at a 45-degree angle to the joint you plan to weld. Start at one end of the joint and slowly move the flame along its length, ensuring it touches both pieces of metal equally.
The intense heat from the flame will cause the edges of the metal pieces to begin melting and form a pool of molten metal. The key to a successful oxy weld is to maintain a consistent speed and distance from the workpiece, which will help ensure a consistent, high-quality weld. If you move too slow, you could burn through the metal; if you move too fast, the joint may not be sufficiently fused.
As you move along, use your other hand to add the filler rod into the joint, which will help bond the pieces together. This process should be done smoothly and steadily, ensuring a strong, clean weld.
Step 5: Cooling and Cleaning the Weld
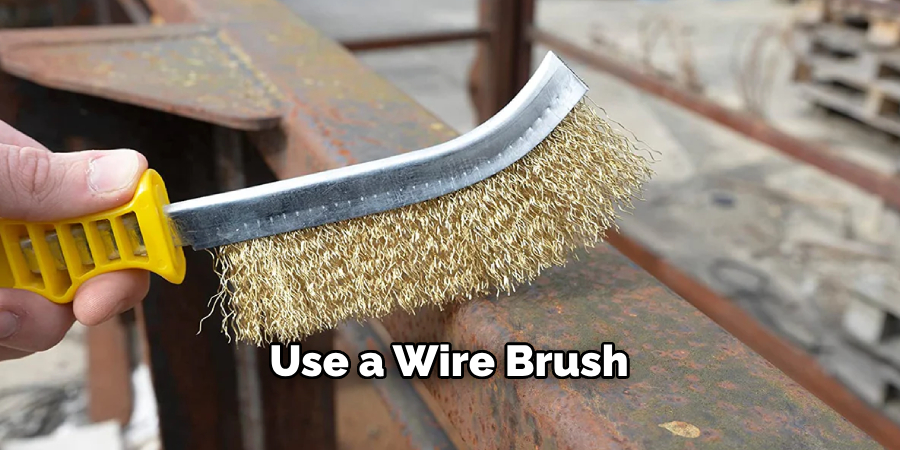
Once you have finished welding, allow the joint to cool naturally. Rapid cooling can cause the metal to contract too quickly, weakening the weld. After the weld has cooled, it’s time to clean it up. Use a wire brush to remove residual flux and slag from the weld area.
If needed, a chipping hammer can also be used to chip away larger pieces. Inspect the weld for any defects, such as cracks or porosity. If any are found, you may need to re-weld the area. Finally, add a coat of paint or a similar protective layer to prevent the weld from rusting.
Step 6: Practice and Refinement
Like any other skill, mastering oxy welding takes practice. Experiment with different metals, thicknesses, and welding positions to better understand how each variable affects your results. Practice adjusting the flame and moving steadily to create neat and robust welds. Over time, you’ll learn to make smooth, even beads and handle more complex joints and positions.
Remember, safety should always be your priority, even as you become more comfortable and proficient with the process. Keep refining your technique, and be bold and seek advice or feedback from more experienced welders. With patience and persistence, you will become skilled at oxy welding.
Step 7: Maintenance and Storage
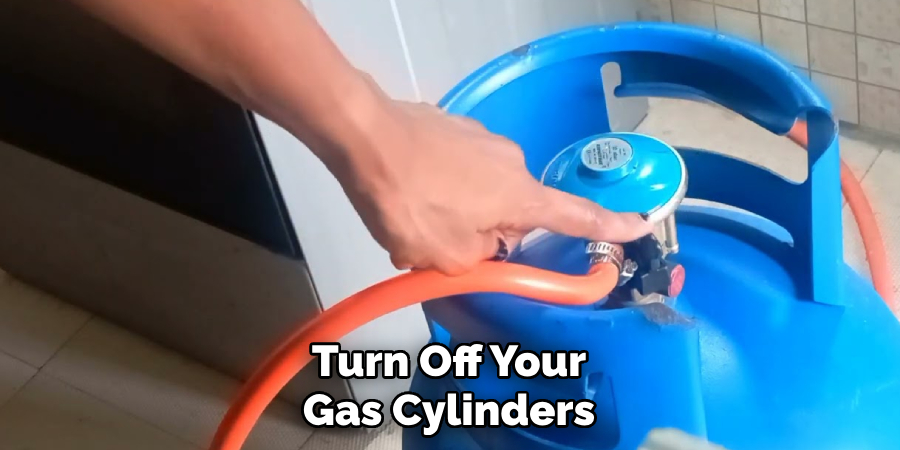
After your welding session, it’s essential to maintain and store your equipment correctly. Turn off your gas cylinders and ensure that the valves on your torch are also closed. Let the torch cool down before cleaning any residual debris off it. Check your hoses for any signs of wear and tear or leaks.
Store your welding torch, striker, and gas cylinders in a dry, cool place away from flammable substances. It’s also important to regularly check your safety gear for any damages and replace them as needed. Proper maintenance and storage not only prolong the life of your equipment but also ensure your safety during every welding session.
Step 8: Troubleshooting Common Issues
As with any technical skill, you might encounter some challenges while oxy welding. For instance, if you’re experiencing a popping sound from your torch or your flame keeps going out, you may have a gas leak. Check your hoses and connections for any signs of leaks and fix them before resuming.
If your welds are fusing properly, your flame might be warm enough. Adjust the oxygen and acetylene valves to achieve a hotter flame. Lastly, if your welds are too porous or have holes, your flame may be too hot. Adjust the flame and your welding speed to achieve a cooler temperature.
By following these steps and troubleshooting common issues, you’ll be well on your way to mastering oxy welding.
5 Things You Should Avoid
- Ignoring Safety Measures: Neglecting safety guidelines can lead to severe injuries. Always wear your protective gear and work in a well-ventilated space to avoid inhaling harmful gases.
- Hasty Welding: Rushing through the welding process can lead to poor quality welds that need to be stronger and consistent. Take time and maintain a steady flame to ensure a strong and durable weld.
- Improper Flame Adjustment: Using a flame that is too hot or cold can result in porous welds or incomplete fusion. Learn how to adjust your flame correctly to achieve the right temperature for your specific welding project.
- Skipping Maintenance: Failing to maintain your equipment can lead to performance issues and safety hazards. Regularly check and clean your tools, replacing any parts as necessary.
- Not Practicing Enough: Oxy welding is a skill that takes time to master. Avoid the temptation to take on complex projects before you are ready. Practice on more straightforward tasks and gradually work your way up as your skills improve.
You can become proficient in oxy welding by avoiding these common mistakes and following the steps outlined in this guide.
Conclusion
Thus, by learning the basics of how to oxy weld, you can become a skilled welder in no time. With proper safety measures and a few simple supplies, the steps outlined here will provide you with a solid foundation to expand and practice your welding skills.
Don’t wait any longer—get your welding gear ready, practice welding, tackle that project that has been waiting for months, and show everyone what you can do! Keep at it, and soon, you’ll be mastering this craft and advancing to more challenging levels of welding. Making something from scratch is an enriching experience and a fantastic skill to have under your belt.
Don’t sleep on it—start welding today and watch your ability soar even higher!
Edmund Sumlin is a skilled author for Metal Fixes, bringing 6 years of expertise in crafting a wide range of metal fixtures. With a strong background in metalwork, Edmund’s knowledge spans various types of fixtures, from decorative pieces to functional hardware, blending precision with creativity. His passion for metalworking and design has made him a trusted resource in the industry.
Professional Focus:
- Expert in Metal Fixtures : Edmund aesthetic specializes in creating durable and innovative metal fixtures, offering both appeal and functionality. His work reflects a deep understanding of metalworking techniques and materials.
- Sustainability Advocate : He is dedicated to using sustainable practices, ensuring that every fixture is crafted with eco-friendly methods while maintaining high-quality standards.
In his writing for Metal Fixes, Edmund provides valuable insights into the latest trends, techniques, and practical advice for those passionate about metal fixtures, whether they are professionals or DIY enthusiasts. His focus on combining artistry with engineering helps others discover the true potential of metal in design.