

Are you fed up with constantly encountering plumbing issues in your home? If so, it’s time to learn how to fix cast iron toilet flange. This article will teach you exactly what a toilet flange is and why it needs repairing, as well as give valuable steps on fixing one.
Cast iron toilet flange refers to the round, metal ring used to secure your toilet to the floor and connect it to the drainage pipe. It provides a strong and stable base for your toilet, ensuring it stays securely in place without any movement or leakage. However, this essential component can become damaged over time due to wear and tear or incorrect installation, resulting in various plumbing problems.
With simple tools and some elbow grease, this task can be done relatively quickly with great results. So, let’s get started!
What Will You Need?
Before diving into the fixing process, it’s essential to gather all the necessary tools and materials. These include:
- A new cast iron toilet flange
- A drill with a screwdriver bit
- Screws
- Wax ring
- Putty knife
Now that you have everything, let’s proceed with the fixing process.
8 Easy Steps on How to Fix Cast Iron Toilet Flange
Step 1: Disconnect and Remove the Toilet
Firstly, you need to disconnect the water supply line from the toilet. After shutting off the water, flush the toilet to drain most of the water from the tank and bowl. Use a plunger to force any remaining water down the drain. Next, unscrew the bolts that secure the toilet to the floor using a wrench. Carefully lift the toilet straight up and move it aside. Place it on a sheet of plastic to prevent water residue from spreading.
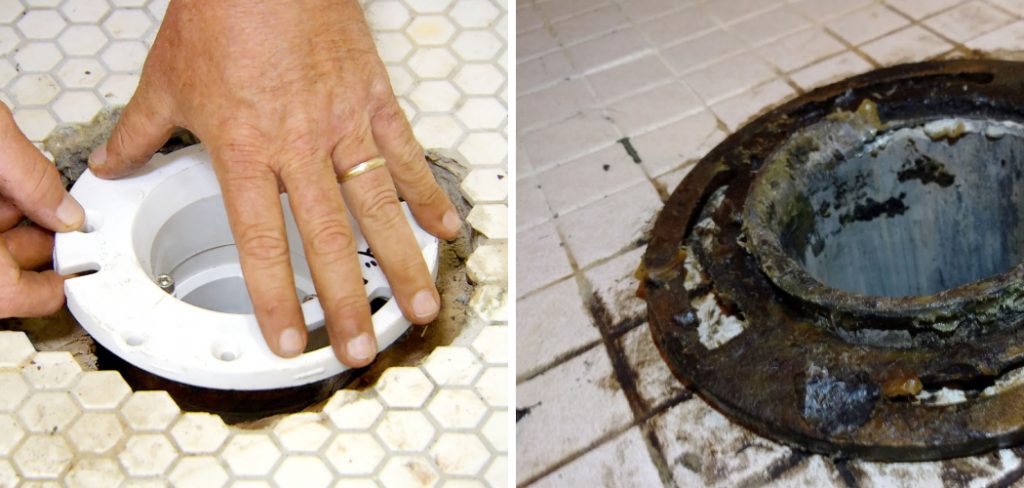
Step 2: Remove the Old Flange
After the toilet is removed, the old cast iron flange will be exposed. Use a putty knife or a similar tool to scrape off the old wax ring stuck to the flange’s bottom. Be sure to dispose of the old wax properly, as it can cause clogs. Next, you will need to remove the screws that are holding the flange to the floor.
If the flange is damaged beyond repair, you may need to cut it off using a reciprocating saw or hacksaw. Be careful not to damage the surrounding flooring during this process. Once the old flange is removed, clean the area thoroughly to prepare to install the new flange.
Step 3: Install the New Flange
You can now install the new cast iron toilet flange with the area clean and prepared. Position the new flange over the drain hole, ensuring the mounting holes are lined up with the floor. Secure the flange to the floor using the screws. Ensure the flange is level and the slots for the toilet bolts are adequately aligned.
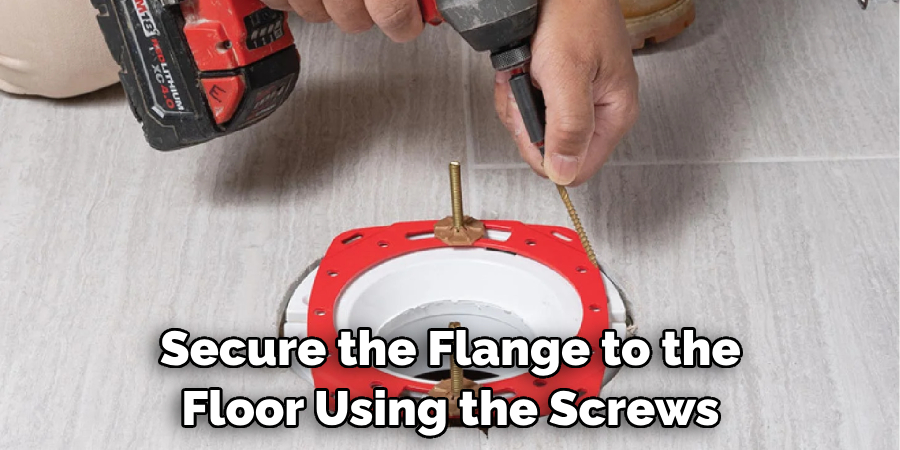
Remember, the flange should sit flush with the floor—if it doesn’t, you’ll need to use flange extenders. Once the flange is securely installed, place the new wax ring on the flange.
Step 4: Reinstall the Toilet
Now, it’s time to reinstall the toilet. Carefully lower the toilet over the new toilet flange, aligning the mounting holes with the bolts sticking up from the flange. Apply pressure on the toilet to compress the wax ring and create a watertight seal. Once the bathroom is in place, reinstall the washers and nuts onto the bolts and tighten them carefully to secure the toilet to the floor.
Be sure not to overtighten, as this can crack the toilet base. After connecting the toilet, reconnect the water supply line and turn the water back on. Finally, give it a test flush to ensure there are no leaks. Congratulations, you’ve successfully fixed your cast iron toilet flange!
Step 5: Check for Leaks
The final step of this process is to check for any leaks carefully. Fill the toilet tank with water and then flush. Observe the toilet base and the connection to the water supply line for any signs of water leakage. If you notice any water, slightly tighten the connections and test again.
If the leaks persist, you may have to repeat the process and ensure that the wax ring is adequately compressed and the flange is correctly installed. Once you confirm that there are no leaks, your toilet is ready for regular use. Congratulations on successfully fixing your cast iron toilet flange!
Step 6: Cleanup
Now that you’ve successfully fixed your cast iron toilet flange and checked for potential leaks, it’s time to clean up your workspace. Dispose of the old flange and wax ring properly. Clean any tools used during the process to ensure they are ready for your next DIY project. Lastly, don’t forget to mop up any water that may have spilled during the process to keep your bathroom floor clean and safe. Good job! You’ve completed the process of fixing a cast iron toilet flange.
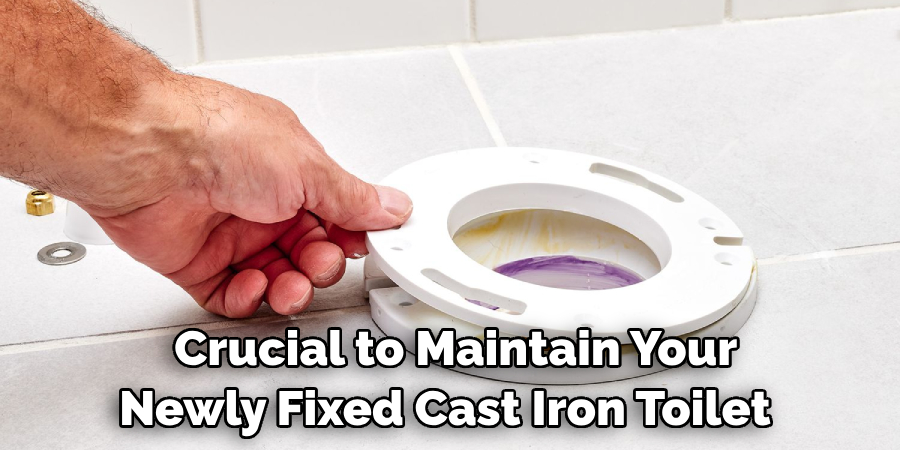
Step 7: Post-Installation Maintenance
After successful installation, it’s crucial to maintain your newly fixed cast iron toilet flange to prolong its lifespan and ensure maximum efficiency. Regular cleaning and inspection can help detect any potential issues early on. Keep the area around the flange dry and clean to prevent rust and wear.
Also, if possible, avoid using harsh chemicals in your toilet that might corrode the flange. A well-maintained toilet flange can save you from unnecessary repairs and costs in the future. Great job on getting this far in your DIY plumbing project!
Step 8: Regular Inspection
For long-term care and to avoid any future issues, it’s advisable to inspect your toilet and the surrounding area regularly. This includes the toilet flange and the connection points. Look out for any signs of damage or potential leaks.
If there are any issues, addressing them early can prevent more significant problems down the line. This proactive approach can help maintain the excellent condition of your toilet and the newly fixed cast iron flange, ensuring a longer lifespan and better performance.
By following these steps, you should now have a better understanding of how to fix a cast iron toilet flange.
5 Additional Tips and Tricks
- Use Quality Materials: Always use high-quality replacement parts when fixing your cast iron toilet flange. This not only ensures a proper fit but also increases the lifespan of your toilet installations.
- Safety First: Always prioritize safety when working on DIY plumbing projects. Make sure to wear appropriate protective gear, such as gloves and safety goggles, to prevent any potential injuries.
- Proper Tool Usage: Using the right tool for the right job is key to a successful DIY project. Be sure to familiarize yourself with the tools required and how to use them correctly.
- Professional Advice: Don’t hesitate to seek professional advice if you encounter any difficulties during the process. It’s better to get expert help than to risk causing further damage.
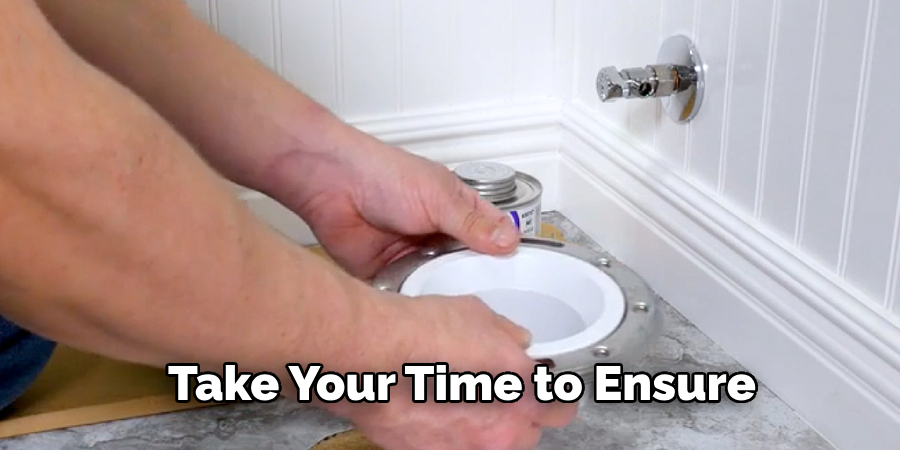
- Patience is Key: Finally, remember that patience is key. Take your time to ensure that each step is completed correctly. Rushing through the process may lead to mistakes and potential leaks.
With these additional tips and tricks, you should now have the knowledge and confidence to fix your cast iron toilet flange successfully.
5 Things You Should Avoid
- Avoid Ignoring Small Leaks: Even the smallest leak can lead to significant problems if not addressed promptly. Always fix leaks as soon as they are identified to avoid more substantial damage.
- Skipping Safety Measures: Never skip safety measures. Always wear the necessary safety equipment, including gloves and safety goggles, to protect yourself during the repair.
- Using the Wrong Tools: Avoid using the wrong tools for the job. This can lead to damage to the parts you’re working with and can make the task more difficult to complete.
- Over-Tightening Bolts: Over-tightening the bolts can crack the toilet base and cause leaks. Always tighten bolts to the right amount, using the instructions provided in the product manual.
- Using Harsh Chemicals: Avoid using harsh or corrosive cleaning agents, as they can damage the cast iron flange. Instead, opt for gentle, non-abrasive cleaners.

By avoiding these common pitfalls, you can ensure the success and longevity of your cast iron toilet flange repair.
Conclusion
To recap, if your cast iron toilet flange requires any kind of repair, it’s important to know the various steps involved. You’ll need to measure the run-out of the flange, and then you must cut off any protruding edges with a hacksaw and fill in any gaps with caulk.
Next, use a hammer or chisel to remove any large pieces of existing flange before installing a new wax ring and setting the toilet in place. With these steps in mind, even a novice DIYer should be able to complete this relatively easy repair job. To ensure you get the best results possible for your repair efforts, take the time to do things right and perform each step with care.
Hopefully, the article on how to fix cast iron toilet flange has provided you with the necessary knowledge and confidence to tackle this DIY project successfully.
Edmund Sumlin is a skilled author for Metal Fixes, bringing 6 years of expertise in crafting a wide range of metal fixtures. With a strong background in metalwork, Edmund’s knowledge spans various types of fixtures, from decorative pieces to functional hardware, blending precision with creativity. His passion for metalworking and design has made him a trusted resource in the industry.
Professional Focus:
- Expert in Metal Fixtures : Edmund aesthetic specializes in creating durable and innovative metal fixtures, offering both appeal and functionality. His work reflects a deep understanding of metalworking techniques and materials.
- Sustainability Advocate : He is dedicated to using sustainable practices, ensuring that every fixture is crafted with eco-friendly methods while maintaining high-quality standards.
In his writing for Metal Fixes, Edmund provides valuable insights into the latest trends, techniques, and practical advice for those passionate about metal fixtures, whether they are professionals or DIY enthusiasts. His focus on combining artistry with engineering helps others discover the true potential of metal in design.