

Are you a welder? If yes, you know that wearing a welding helmet is crucial to protect your eyes and face from the harmful effects of welding.
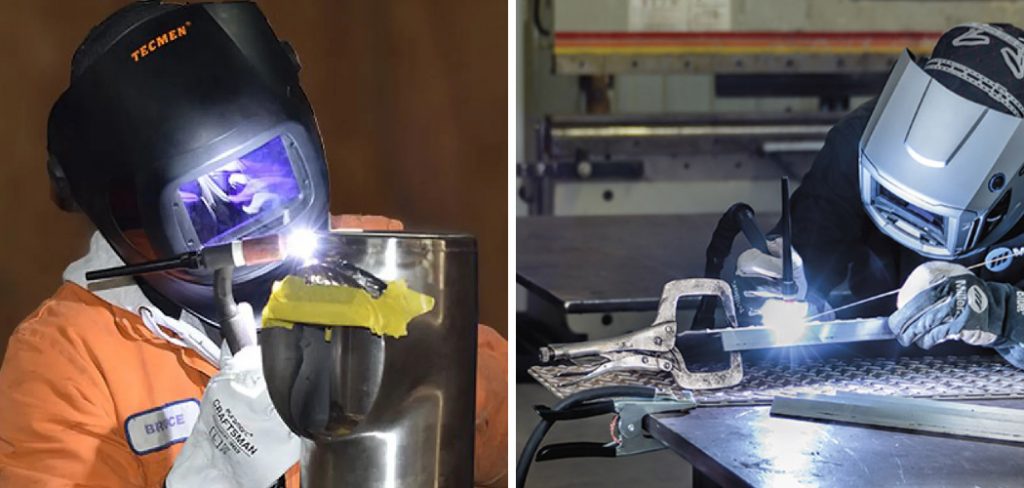
But did you know that adjusting your welding helmet correctly can enhance your comfort and efficiency while working?
How to adjust welding helmet is crucial for ensuring both safety and comfort while working. A well-adjusted helmet protects your eyes and face from harmful ultraviolet and infrared rays and allows you to work accurately and efficiently.
This guide will walk you through the essential steps to customize your welding helmet to fit securely and provide optimal visibility, helping you to achieve the best possible results in your welding projects.
Whether you are a professional welder or a hobbyist, understanding how to fine-tune your welding gear is a fundamental skill that can enhance your overall welding experience.
What Will You Need?
To adjust your welding helmet, you will need the following items:
- A welding helmet (preferably with adjustable settings)
- A clean cloth or rag
- A screwdriver (if necessary)
- Safety glasses or goggles (optional but recommended for added protection)
Once you have gathered these items, you can begin the adjustment process.
10 Easy Steps on How to Adjust Welding Helmet
Step 1. Inspect Your Helmet
Before making any adjustments, it’s essential to thoroughly inspect your welding helmet. Check for any signs of wear and tear, such as cracks, broken components, or loose parts. Ensure that the lens is clean and free from any obstructive residues that could impair your visibility.

If you find any damages, consider repairing or replacing the necessary parts before proceeding. A thorough inspection is crucial to ensure the helmet’s effectiveness and longevity, and it ensures you start with a solid foundation for adjustments.
Step 2. Understand the Adjustments
Modern welding helmets often have multiple adjustment points to provide a customizable fit. Familiarize yourself with the different adjustment features your helmet offers.
Common adjustments include headband size, helmet angle, tightness of the fit, and sensitivity settings for auto-darkening helmets. Knowing what each adjustment does will help you fine-tune your helmet for maximum comfort and functionality.
Step 3. Adjust the Headband
The headband is vital to ensure your helmet stays securely positioned on your head. Adjust the headband by either tightening or loosening it to fit snugly without causing discomfort.
Most helmets have a ratcheting mechanism or dial for easy adjustments. The headband should fit comfortably on your forehead, with the weight of the helmet evenly distributed to minimize strain during prolonged use.
Step 4. Position the Helmet
Once the headband is adjusted, it’s time to position the helmet correctly. Ensuring that the helmet sits at the right angle is crucial for optimal visibility and protection. Angle the helmet so that it covers your face entirely when lowered, ensuring there are no gaps that could allow harmful light to penetrate.
Some helmets have an adjustable pivot point that allows you to change the angle; use this feature to set the helmet at a comfortable and protective position.
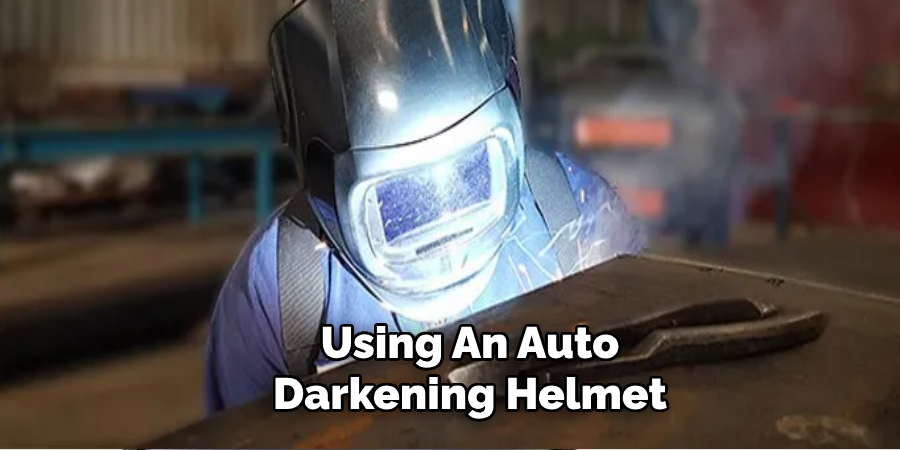
Step 5. Adjust Sensitivity Settings (for Auto-Darkening Helmets)
If you’re using an auto-darkening helmet, adjusting the sensitivity settings is crucial for its proper functioning. Sensitivity settings control how responsive the helmet is to welding arcs and ambient light.
Higher sensitivity is suitable for low-amp welding or when working in an environment with fluctuating light conditions. Adjust the sensitivity according to your specific needs, ensuring it triggers appropriately without delays.
Step 6. Set the Delay Time (for Auto-Darkening Helmets)
Auto-darkening helmets also have a delay setting, which controls how long the lens stays dark after the welding arc stops.
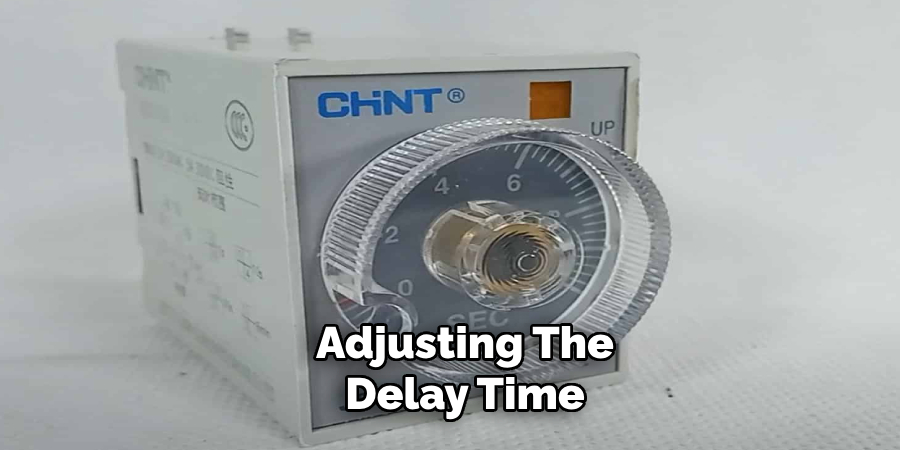
Adjusting the delay time helps protect your eyes from afterglow and the cooling weld’s residual light. A longer delay time is recommended for high-amp welding, whereas a shorter delay is often sufficient for lower-amp welding. Customize the delay setting based on the duration of your welding tasks.
Step 7. Adjust the Shade Level
The shade level of your welding helmet determines how dark the lens gets when exposed to arc light. Most helmets come with a variable shade range, allowing you to adjust based on the type of welding you’re doing.
Different welding processes require different shade levels; for instance, arc welding typically requires a darker shade than MIG or TIG welding. Refer to the manufacturer’s guidelines and adjust the shade level to ensure adequate protection and visibility.
Step 8. Test the Fit
After making all the necessary adjustments, it’s time to test your helmet’s fit. Lower the helmet into the working position and check for comfort and stability. Move your head around to ensure the helmet remains secure without shifting or loosening. Test the auto-darkening feature by striking a test arc, confirming that the lens darkens appropriately and provides a clear view when inactive.
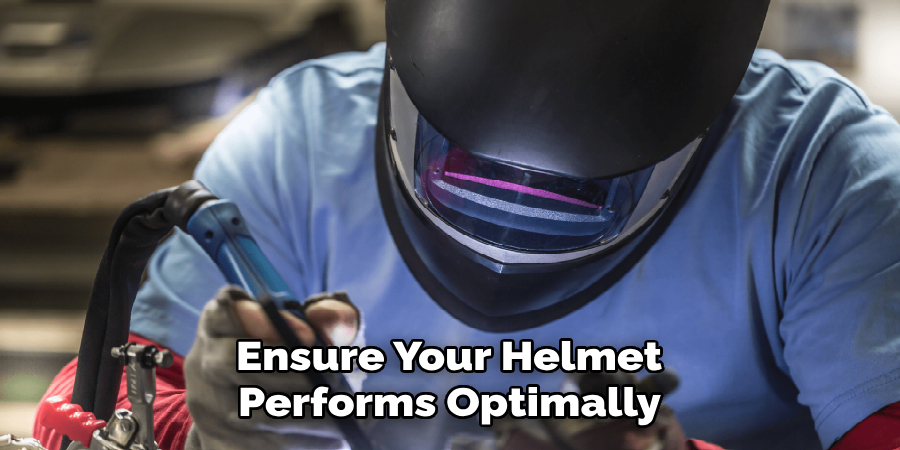
Step 9. Make Final Adjustments
Fine-tuning is crucial for achieving perfect balance and comfort. If any part of your helmet feels uncomfortable or doesn’t fit right, make minor adjustments as needed. Getting everything right may take a few tries, but patience and meticulous attention to detail will ensure your helmet performs optimally.
Step 10. Maintain Regularly
After achieving the perfect adjustment, it’s essential to maintain your welding helmet regularly. Keep the lens clean, check for signs of wear, and replace any damaged components immediately. Regular maintenance ensures sustained protection and functionality, extending the lifespan of your helmet.
By following these steps, you can ensure that your welding helmet fits well and provides the maximum safety and comfort needed for your welding projects.
5 Additional Tips and Tricks
- Tilt Adjustment: Adjust the helmet’s tilt angle to achieve the best viewing angle for your work. This helps reduce glare and ensures you have a clear line of sight to the welding area. Many helmets have a tilting mechanism that allows you to easily change the angle.
- Sensitivity Settings: Modern welding helmets often come with adjustable sensitivity settings for the auto-darkening feature. Increase the sensitivity for low-amp welding and bright environments and decrease it for high-amp welding or outdoor use to prevent the lens from darkening unnecessarily.
- Delay Control: Use the delay control to adjust the time it takes for the lens to lighten after welding. A longer delay is helpful for high-amperage welding to protect your eyes from the bright weld pool. In comparison, a shorter delay is better for low-amperage welding to allow for faster repositioning.
- Lens Shade Selection: Select the appropriate lens shade based on the type of welding you are performing. Higher shade levels are recommended for high-amp welding processes to protect your eyes from intense light, while lower shades may be sufficient for low-amp processes. Most helmets have a shade range from #8 to #13.
- Keep Your Lens Clean: Proper maintenance and cleaning of your welding helmet lens is crucial for clear vision and accurate welding. Use a soft cloth to wipe away any debris or splatter that may accumulate on the lens during use.
By following these tips and tricks, you can ensure your welding helmet is adjusted optimally for comfort, safety, and performance.
5 Things You Should Avoid
- Ignoring the Manufacturer’s Instructions: Each welding helmet is designed differently, and it’s essential to follow the specific instructions provided by the manufacturer. Failing to do so can result in improper adjustments and reduced protection.
- Over-tightening the Straps: While it’s important to ensure your helmet is secure, over-tightening the straps can cause discomfort and headaches over time. Adjust the straps to a snug fit that holds the helmet in place without causing undue pressure.
- Using the Wrong Sensitivity Settings: Setting the sensitivity too high or too low can compromise your safety. High sensitivity settings on the auto-darkening feature can make the lens darken unnecessarily, whereas low sensitivity might not provide timely protection. Always choose the appropriate setting for your specific welding environment.
- Neglecting Regular Maintenance: A welding helmet requires regular maintenance to function correctly. Neglecting to clean the lens, replace worn-out batteries, or inspect the helmet for damage can lead to poor performance and increased risk of injury.
- Choosing the Incorrect Lens Shade: Using an incorrect lens shade can expose your eyes to harmful light levels. Make sure to adjust the lens shade based on the welding process and current amperage settings to provide optimal eye protection and visibility.
By avoiding these common mistakes, you can ensure your welding helmet functions correctly and effectively protects your eyes during welding.
Conclusion
How to adjust welding helmet is crucial for ensuring both safety and comfort during welding tasks.
By paying attention to key factors such as tilt adjustment, sensitivity settings, delay control, and lens shade selection, you can optimize the helmet to meet your specific needs.
Additionally, maintaining a clean lens and avoiding common mistakes like ignoring manufacturer instructions or over-tightening the straps can enhance your overall welding experience. Aligning these adjustments with the type of welding performed will protect your eyes and improve your precision and efficiency.
Remember, a well-adjusted welding helmet is an essential tool for any welder, contributing to safer and more effective work.
Edmund Sumlin is a skilled author for Metal Fixes, bringing 6 years of expertise in crafting a wide range of metal fixtures. With a strong background in metalwork, Edmund’s knowledge spans various types of fixtures, from decorative pieces to functional hardware, blending precision with creativity. His passion for metalworking and design has made him a trusted resource in the industry.
Professional Focus:
- Expert in Metal Fixtures : Edmund aesthetic specializes in creating durable and innovative metal fixtures, offering both appeal and functionality. His work reflects a deep understanding of metalworking techniques and materials.
- Sustainability Advocate : He is dedicated to using sustainable practices, ensuring that every fixture is crafted with eco-friendly methods while maintaining high-quality standards.
In his writing for Metal Fixes, Edmund provides valuable insights into the latest trends, techniques, and practical advice for those passionate about metal fixtures, whether they are professionals or DIY enthusiasts. His focus on combining artistry with engineering helps others discover the true potential of metal in design.