

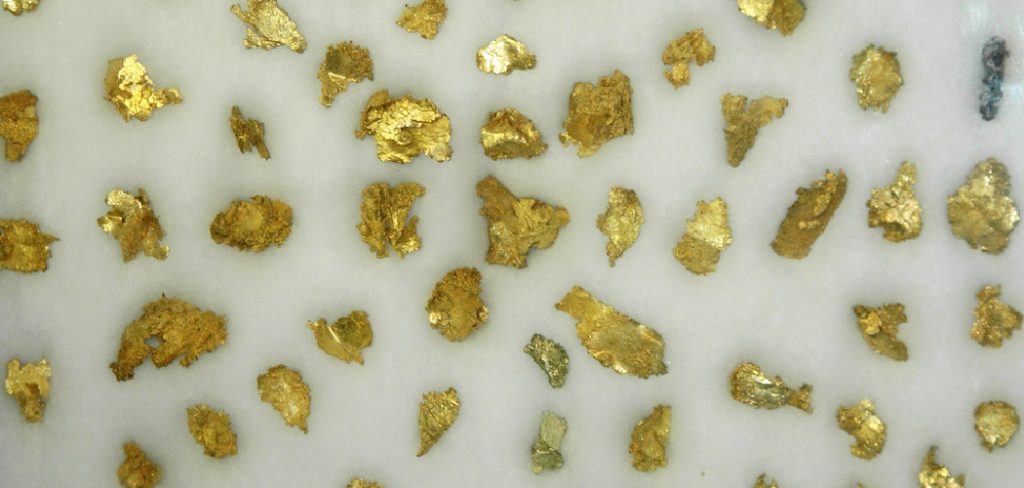
Gold leaf is a luxurious decorative material consisting of thin sheets of gold often used to impart a refined, opulent finish to surfaces. Knowing how to apply gold leaf to metal can significantly enhance the overall appearance of items, making them more vibrant and eye-catching. From intricate sculptures and ornate jewelry to decorative furniture and elegant frames, the application of gold leaf transforms ordinary metal objects into intriguing pieces of art.
Proper application is essential for achieving a smooth, durable finish that adheres perfectly to the metal, ensuring longevity and aesthetic appeal. To successfully apply gold leaf, one must follow a structured process: thoroughly clean the metal surface, prime it for optimal adhesion, apply the gilding adhesive, skillfully lay the gold leaf, and finally, seal the surface to protect the delicate coating. By understanding these steps, anyone can master the art of how to apply gold leaf to metal.
Tools and Materials Needed
Tools
A few essential tools are required to effectively apply gold leaf to metal surfaces. Soft paintbrushes are crucial to carefully apply both adhesive and smooth the delicate gold leaf sheets without causing damage. Cotton gloves are recommended to protect the gold leaf from oils and debris on your hands. A gilding cushion or tweezers can handle the fragile sheets with precision and ease. For those who wish to attain a polished finish, an optional burnishing tool may be used to enhance the sheen of the applied gold leaf.
Materials
In terms of materials, gold leaf sheets are available in both real and imitation options, depending on your budget and preference. A high-quality metal primer is essential to prepare the surface and ensure strong adhesion. The gilding adhesive, also known as size, acts as a bonding agent for the gold leaf. Finally, a clear sealant should be applied to protect the delicate metalwork and preserve the brilliant finish of the gold leaf for an extended period.
Preparing the Metal Surface
Cleaning the Metal
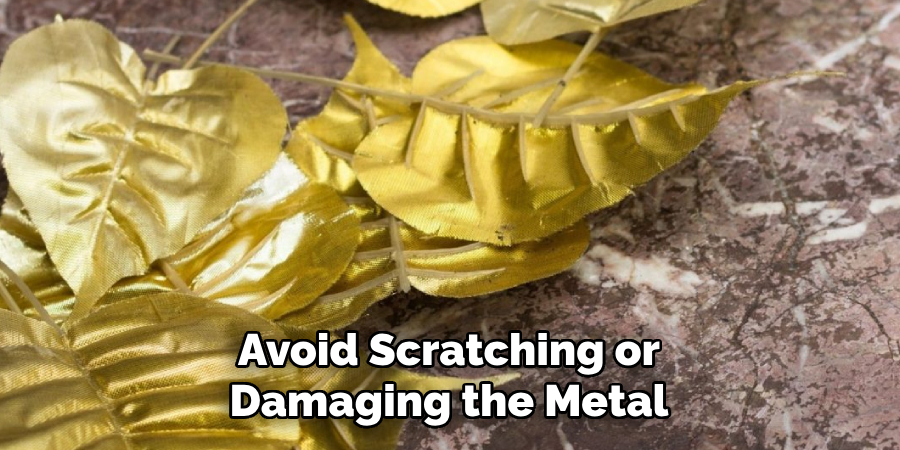
Begin by thoroughly cleaning the metal surface to ensure optimal adhesion when applying gold leaf. Use a degreaser or mild soap mixed with water to effectively remove any dirt, grease, or rust that has accumulated on the surface. Make sure to scrub gently to avoid scratching or damaging the metal. Once cleaned, rinse the surface thoroughly with clean water to remove any soap residue. Dry the metal completely using a clean cloth to prevent any moisture from interfering with the bonding process. If necessary, lightly sand the surface to create a smoother and more adhesive-friendly texture.
Priming the Surface
The next step in preparing the metal surface is to apply a high-quality metal primer, which acts as a foundational layer to improve the bond between the metal and the subsequent adhesive. Select a primer that is specifically designed for metal surfaces to ensure strong adhesion and durability. Using a brush or spray, apply an even coat of the primer, covering the entire surface uniformly. Follow the manufacturer’s instructions regarding drying times and conditions, allowing the primer to dry thoroughly. This step is crucial for achieving a lasting bond and a flawless application of the gold leaf.
Applying the Adhesive
Choosing the Right Adhesive
Selecting the appropriate adhesive, commonly called size, is a critical step in the gold leafing process. For most projects, you can choose between water-based and oil-based gilding adhesives. Water-based size is suitable for indoor use with moderate demand for durability. In contrast, an oil-based size is preferable for outdoor or high-wear metal objects, offering greater resilience and longevity.
Applying the Adhesive
To apply the adhesive correctly, use a soft brush that will not damage the primed surface. Carefully spread a thin, even layer of the adhesive over the entire area where the gold leaf will be applied. This ensures uniform coverage and a smoother gilding process. Pay attention to the drying time; before proceeding, the adhesive must reach a perfect tacky consistency. This can vary significantly, taking anywhere from 15 minutes to several hours, depending on the type of adhesive used. It is crucial not to rush this step, as insufficient drying time could lead to improper adhesion and affect the final appearance of the gold leaf. Once the adhesive is tacky, you are ready to apply the gold leaf sheets.
How to Apply Gold Leaf to Metal: Laying the Gold Leaf
Handling Gold Leaf Sheets
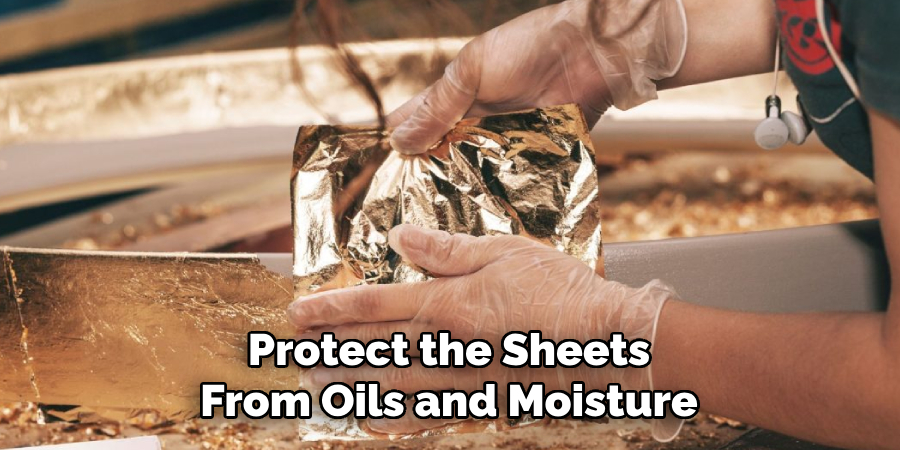
Due to their fragile and delicate nature, handling gold leaf sheets requires care and precision. Wearing cotton gloves throughout the process is essential to protect the sheets from oils and moisture on your hands, which can easily cause damage. Using a gilding cushion or tweezers is highly recommended to lift and position the gold leaf easily and accurately. These tools help prevent tearing and allow for precise placement on the adhesive, ensuring the integrity of the sheets is maintained until they are securely affixed to the surface.
Applying the Gold Leaf
Once the adhesive has reached the ideal tacky consistency, it’s time to apply the gold leaf. Gently lift a sheet using your chosen tool and carefully lay it onto the metal surface where the adhesive has been applied. Press lightly with a soft brush or your gloved fingers to ensure the leaf adheres smoothly. It’s important to slightly overlap the edges of each sheet to achieve full coverage and avoid visible gaps.
Take your time and work meticulously to maintain the aesthetic quality of the gold leaf throughout the process. Attention to detail is crucial during this stage, as any misalignment could impact the overall appearance of the finished piece. Be sure to press down evenly across the surface to secure the leaf and ensure it bonds well with the adhesive. If you encounter areas with inadequate adhesion or gaps, a small patch of additional gold leaf can be applied to maintain consistency and coverage.
Smoothing and Removing Excess
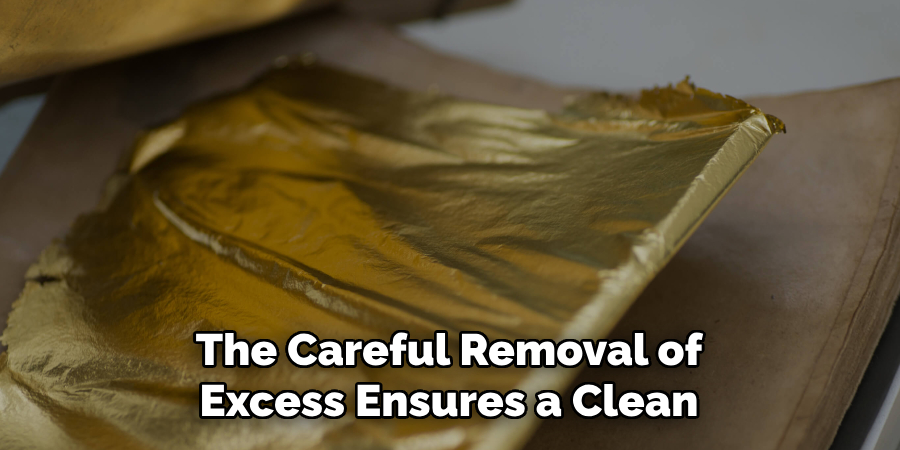
After applying the gold leaf, the next step is to smooth the surface and remove any excess material. Use a clean, soft brush to gently smooth out the gold leaf, eliminating any bubbles or wrinkles that might have formed during application. Excess flakes will detach from the edges as you brush across the surface. Collect these loose pieces for later use if desired, as they can be useful for touch-ups or smaller projects. The careful removal of excess ensures a clean, professional finish, enhancing the overall appearance of your gold-leafed metal surface. Always handle the surface gently to maintain the stunning look of the freshly applied gold leaf.
How to Apply Gold Leaf to Metal: Sealing the Gold Leaf
Importance of Sealing
Sealing the gold leaf is a critical step in preserving the beauty and integrity of your project. It protects the delicate metal from tarnishing, scratches, and the effects of wear over time. Without a proper sealant, environmental factors such as humidity, heat, and physical contact could damage the gold leaf, dulling its appearance and reducing its lifespan. By shielding the gold leaf, sealing ensures that the surface remains vibrant and maintains its luxurious sheen.
Applying a Clear Sealant
To seal the gold leaf effectively, select a sealant that is compatible with the gold leaf, such as an acrylic or polyurethane topcoat. Using a soft brush or spray, apply a thin, even layer over the entire gilded surface, ensuring it covers all areas uniformly. Allow the sealant to dry completely according to the manufacturer’s instructions before handling the item. This final step provides a robust protective barrier, enhancing your gold leaf application’s durability and visual appeal.
Tips for Professional Results
Achieving a professional finish with gold leafing requires practice, patience, and attention to detail. Here are a few tips to ensure the best results. Always use high-quality materials, as this can significantly impact the longevity and appearance of your project. Maintain a clean workspace and organize your tools and materials for efficiency. Consistently check the drying times for adhesives and sealants, as these are critical for proper adhesion and durability. Finally, don’t be afraid to take your time; rushing can lead to mistakes that detract from the final presentation.
Practice on a Small Piece
Before working on the main object, start with a test piece to refine your technique. This allows you to become familiar with handling materials and learn how to manage potential challenges, such as wrinkles or bubbling, in a low-risk environment. Practicing will build your confidence and help you achieve a flawless finish.
Work in a Controlled Environment
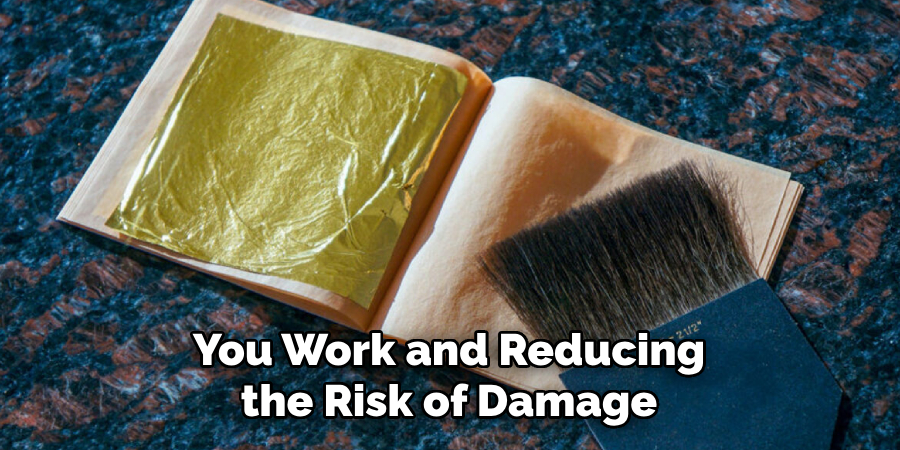
Avoid windy or dusty areas, as the gold leaf is very light and easily disturbed. Choose an indoor workspace with stable temperatures and minimal air movement. This will help maintain the delicate balance needed for successful application, ensuring that your gold leaf stays in place as you work and reducing the risk of damage to the materials or the final product.
Common Mistakes to Avoid
Applying Too Much Adhesive
Excess adhesive can seep through the gold leaf and create uneven results. This compromises the aesthetic quality and makes the gold leaf more susceptible to detachment or damage. To prevent this, apply a thin, consistent layer of adhesive with a brush, ensuring it is even and not overly saturated. This approach will help maintain the integrity of the gold leaf and contribute to a smooth, flawless finish.
Rushing the Process
Allow adequate drying time for the primer and adhesive to ensure proper bonding. Rushing these steps can result in poor adhesion, leading to bubbles, wrinkles, or peeling of the gold leaf over time. Patience is crucial; waiting for the right moment to apply each layer will ensure that the materials bind effectively, giving your project a polished and professional appearance that lasts.
Conclusion
In summary, learning how to apply gold leaf to metal involves several detailed steps: preparation of the surface, careful adhesive application, precise gold leafing, and effective sealing. Patience and keen attention to detail are essential throughout these stages to achieve a stunning, professional finish. By mastering these techniques, you can transform ordinary metal objects into elegant works of art with a luxurious sheen. Don’t hesitate to experiment and refine your skills with gold leaf application, as the practice is key to creating beautifully gilded items that capture attention and admiration.
Edmund Sumlin is a skilled author for Metal Fixes, bringing 6 years of expertise in crafting a wide range of metal fixtures. With a strong background in metalwork, Edmund’s knowledge spans various types of fixtures, from decorative pieces to functional hardware, blending precision with creativity. His passion for metalworking and design has made him a trusted resource in the industry.
Professional Focus:
- Expert in Metal Fixtures : Edmund aesthetic specializes in creating durable and innovative metal fixtures, offering both appeal and functionality. His work reflects a deep understanding of metalworking techniques and materials.
- Sustainability Advocate : He is dedicated to using sustainable practices, ensuring that every fixture is crafted with eco-friendly methods while maintaining high-quality standards.
In his writing for Metal Fixes, Edmund provides valuable insights into the latest trends, techniques, and practical advice for those passionate about metal fixtures, whether they are professionals or DIY enthusiasts. His focus on combining artistry with engineering helps others discover the true potential of metal in design.