

Are you a jewelry maker who wants to add some flair and dimension to your designs? Look no further than metal bending!
How to bend metal for jewelry involves the artful bending of metal, a skill that requires both precision and creativity. Whether you are working with wire, sheet metal, or metal strips, the process allows jewelry makers to shape these materials into intricate designs and personalized pieces. The technique of bending metal for jewelry is not only about applying force but also about understanding the properties of the metal, such as its thickness, malleability, and the tools best suited for the job. With practice, you can create elegant curves and elaborate shapes that enhance the aesthetic appeal of necklaces, bracelets, earrings, and other adornments.

Mastering this fundamental skill opens up possibilities for aspiring jewelers and seasoned artisans alike.
What Will You Need?
Before diving into the process, let’s familiarize ourselves with the materials and tools required for bending metal for jewelry. The list may vary depending on your specific project, but here are some general essentials:
- Metal: Choose a type of metal that fits your design vision and is suitable for bending. Copper, brass, silver, and gold are popular choices.
- Protective Fear: When working with metals, protecting yourself from sharp edges or flying debris is essential. Wear safety goggles and gloves to prevent any accidents.
- Ruler: A ruler helps you measure metal accurately and create straight lines while bending.
- Marker or Scribe: These tools help mark the areas where you want to bend the metal.
- Bench Vise: A bench vise is a must-have tool for bending thicker pieces of metal. It provides a stable surface against which to bend and enables you to exert more force.
- Mandrels: These cylindrical tools aid in shaping the metal into various curves and angles.
- Pliers: Pliers come in handy when working with smaller or more delicate pieces of metal, allowing for precise bends and twists.
- Hammers: Hammers are used to flatten, shape, and texture the metal during bending.
- Anvil: Similar to a bench vise, an anvil is used as a sturdy surface for hammering and shaping metal.
- Torch: A torch heats and softens metals that are difficult to bend, making the process easier.
- Saw or Tin Snips: These tools are necessary for cutting metal into desired shapes and sizes.
- Sandpaper or File: After bending, sandpaper or a file is used to smooth out any rough edges or imperfections on the metal.
9 Easy Steps on How to Bend Metal for Jewelry
Step 1. Plan Your Design:
Before you begin bending metal, having a clear vision of your design is crucial. Start by sketching out your ideas on paper, considering the shapes and structures you wish to create. This initial planning phase helps to determine the types of metals and tools you will need for your project.

Think about the purpose of your jewelry piece and the style you are aiming for, whether it’s minimalist, intricate, or somewhere in between. When planning, factor in the length and width of the metal you will be using and any embellishments or additional elements you plan to incorporate. Pay attention to details such as curves, twists, and connection points in the design, as these aspects will guide your bending process. By mapping out your design, you ensure a smoother workflow and more precise execution, ultimately leading to a more polished and professional final piece.
Step 2. Select the Right Metal:
Choosing the appropriate metal is a critical step in the jewelry-making process. Based on your design and the intended flexibility or rigidity, you’ll want to select a metal that can withstand the bending required without breaking or losing its form. If you’re a beginner, consider starting with softer metals like copper or aluminum, which are easier to manipulate. More experienced jewelers may choose silver or gold for their luxurious appeal and durability.
Ensure that the thickness of the metal aligns with your design needs — thinner metals bend more quickly and are suitable for delicate, detailed work. In contrast, thicker metals provide strength and stability to more robust pieces. Selecting the correct metal for your project sets a solid foundation for creating beautiful and resilient jewelry.
Step 3. Mark the Bending Points:
Once you have your design and metal selected, it’s time to mark the points where you’ll be bending the metal. Use a ruler to measure and a marker or scribe to draw precise lines or dots indicating where each bend will occur. This marking is crucial for maintaining accuracy and ensuring your final piece adheres to the planned design.
Pay attention to the distance between bending points, their angles, and any aligning elements that need to match up once the metal is shaped. By clearly marking where alterations will be made, you facilitate more accurate bends and minimize the risk of errors during the shaping process.
Step 4. Secure the Metal:
Before proceeding with bending, it’s important to secure the metal to ensure stability and precision properly. Use a bench vise or anvil to hold the metal in place.
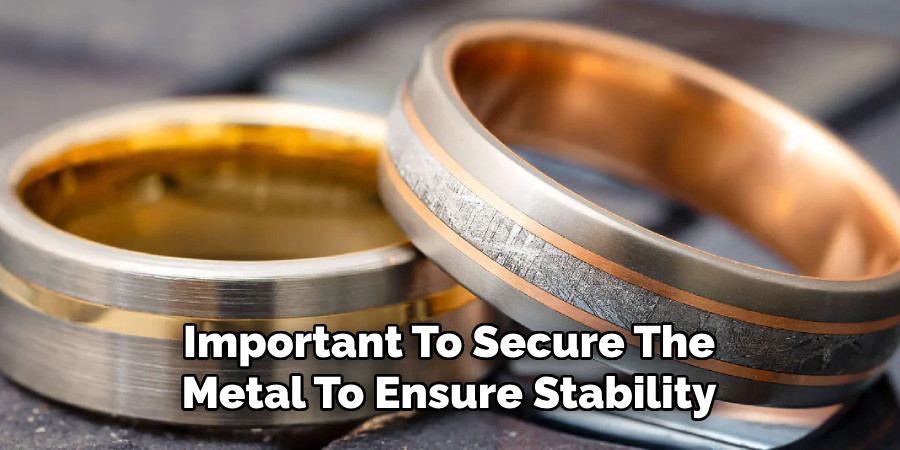
This will provide a stable platform enabling you to apply uniform pressure during bending. When positioning the metal in the vise, ensure that the part of the metal you intend to bend is accessible and at the desired angle. Clamping too tightly can damage the metal, so ensure it is secure without being overly constrained. Having the metal firmly held in place allows you to use tools like hammers, pliers, or mandrels with greater accuracy, ensuring smoother and more consistent bends.
Step 5. Heat the Metal:
Applying heat can enhance its malleability if you’re working with a metal that is harder to bend. Use a torch to carefully heat the section of the metal where you intend to make the bend, ensuring even heat distribution to avoid warping. Heat the metal until it reaches a workable temperature, but be cautious not to overheat, as this could lead to discoloration or brittleness. Once heated, the metal becomes softer and more accessible to shape without cracking. Always adhere to safety protocols when using a torch, including wearing protective gear and working in a well-ventilated area. By mastering the technique of heating metal, you gain better control over the bending process, allowing for more intricate and precise designs.
Step 6. Begin Bending the Metal:
You can start the bending process by heating the metal and securely positioning it. Utilize appropriate tools such as pliers for delicate work or a mandrel and hammer for more substantial bends. Begin applying steady pressure at the designated bending points, following the markings on the metal. Work gradually for complex shapes or curves, making minor adjustments to monitor the metal’s response and ensure precision.
Constantly refer to your initial design to stay aligned with your planned structure. Take care to avoid creating stress points that could lead to fractures. By applying even pressure and working consistently, you achieve elegant bends that remain true to your envisioned design, resulting in a striking piece of jewelry.
Step 7. Check Your Progress:
After bending the metal, it is essential to check your progress to ensure the bends align with your initial design and specifications. Carefully examine the angles, curves, and overall shape of the piece. Use a protractor or angle finder to verify that each bend is at the correct angle, and compare the piece to your original sketch to confirm alignment with the intended style.
If any discrepancies are found, make necessary adjustments with cautious re-bending or reshaping, applying gentle pressure. Taking the time to check each bend and make adjustments as needed meticulously allows for mid-course corrections, ensuring that the final piece maintains its intended aesthetics and structural integrity.
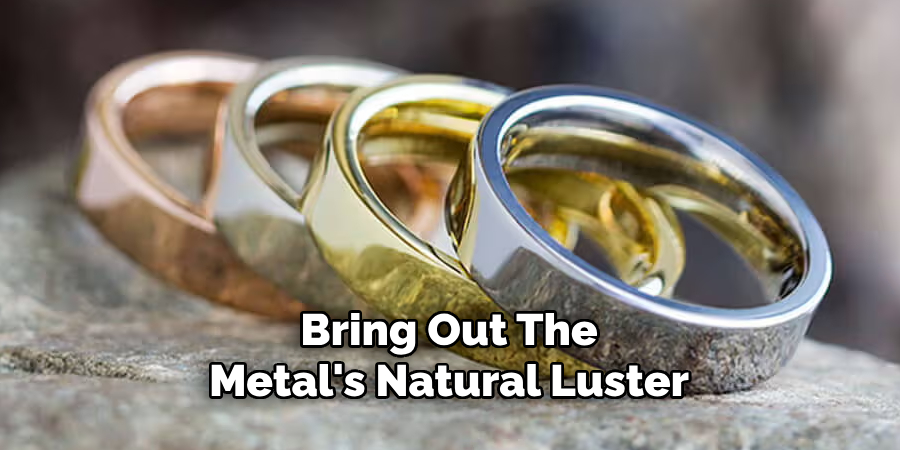
Step 8. Finish and Polish:
Once you have confirmed the accuracy of your bends and overall design, the final step is to finish and polish your piece of jewelry. Begin by smoothing out any rough edges or imperfections using fine-grit sandpaper or a jewelry file. This not only enhances the appearance of the piece but also improves its wearability by eliminating sharp or uneven surfaces. After sanding, use a polishing cloth or a rotary tool with a polishing compound to achieve a high shine on the metal. This step will bring out the metal’s natural luster, making your creation more visually appealing. Take care to buff gently and evenly to avoid scratching or altering the texture you’ve worked to achieve.
Step 9. Add Decorative Elements:
With the core structure of your jewelry piece complete, you can now add decorative elements to enhance its uniqueness and style. Consider incorporating gemstones, beads, or engraved patterns to elevate your design. To securely attach gemstones or beads, use settings that complement the overall style, such as prongs, bezels, or channel settings. Ensure that the gemstones are securely fastened to prevent dislodging during wear. If you choose to engrave patterns, use precision tools to etch designs delicately onto the metal surface. Adding these embellishments allows for personal expression and creativity, transforming your handcrafted piece into a distinctive and memorable work of art.
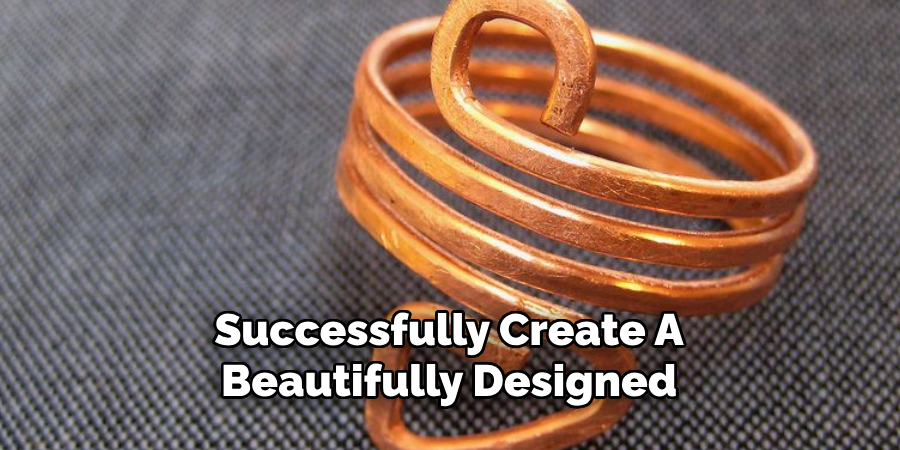
By following these steps, you can successfully create a beautifully designed and professionally finished piece of jewelry through metal bending.
Conclusion
How to bend metal for jewelry is a meticulous process that blends technical skills with creative artistry.
By adhering to each step, from preparation to polishing, you ensure precision and quality in your work. The journey from raw metal to a finished piece involves careful planning, skillful manipulation, and artistic flair. Emphasizing safety and patience throughout the process is crucial for achieving the desired results while avoiding injury or damage to the materials.
Ultimately, mastering the techniques of metal bending leads to the creation of exquisite jewelry and offers a rewarding experience for those who invest their time and passion in the craft.
you can also check it out Design Sheet Metal Parts
Edmund Sumlin is a skilled author for Metal Fixes, bringing 6 years of expertise in crafting a wide range of metal fixtures. With a strong background in metalwork, Edmund’s knowledge spans various types of fixtures, from decorative pieces to functional hardware, blending precision with creativity. His passion for metalworking and design has made him a trusted resource in the industry.
Professional Focus:
- Expert in Metal Fixtures : Edmund aesthetic specializes in creating durable and innovative metal fixtures, offering both appeal and functionality. His work reflects a deep understanding of metalworking techniques and materials.
- Sustainability Advocate : He is dedicated to using sustainable practices, ensuring that every fixture is crafted with eco-friendly methods while maintaining high-quality standards.
In his writing for Metal Fixes, Edmund provides valuable insights into the latest trends, techniques, and practical advice for those passionate about metal fixtures, whether they are professionals or DIY enthusiasts. His focus on combining artistry with engineering helps others discover the true potential of metal in design.