

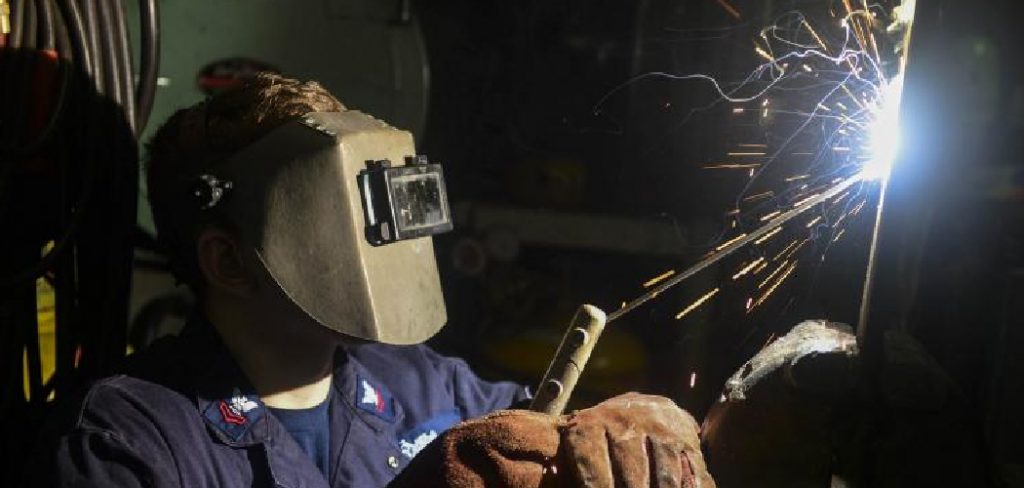
When it comes to ensuring the quality and safety of welding work, regularly checking your welding machine is essential. A well-maintained welding machine not only guarantees optimal performance but also minimizes the risk of accidents and equipment failure. This guide will walk you through how to check welding machine, helping you keep it in peak working condition.
Importance of Checking a Welding Machine
Regularly checking a welding machine is crucial for maintaining safety, efficiency, and the quality of your work. A malfunctioning machine can lead to poor welds, wasted materials, or even pose serious safety risks such as electrical hazards or fire. Routine inspections help detect issues early, preventing costly repairs or downtime. Furthermore, a properly maintained machine ensures consistent performance, extending its lifespan while promoting a safe working environment. Whether you are handling professional welding tasks or DIY projects, prioritizing regular checks can save time, money, and potentially lives.
Tools and Equipment Needed
Before inspecting your welding machine, gather the necessary tools and equipment to ensure a thorough check. Here’s a list of essential items you may need:
- Multimeter – For checking electrical connections and voltage output.
- Wire Brush – To clean connectors and remove rust or debris.
- Screwdrivers and Wrenches – For opening panels and tightening loose screws or bolts.
- Replacement Parts – Such as spare cables, connectors, or electrodes, in case broken parts are identified during the inspection.
- Protective Gear – Safety goggles, gloves, and appropriate clothing to protect yourself while handling the machine.
- Manufacturer’s Manual – A reference guide to assist with operating and inspecting the specific model of your welding machine.
Having these tools ready will make the inspection process smoother and help address any potential issues effectively.
Safety Precautions Before Starting
Before beginning the inspection or operation of your welding machine, it is crucial to follow these safety precautions to protect yourself and others from potential hazards:
- Turn Off Power – Ensure the welding machine is turned off and unplugged from the power source to avoid accidental electrical shocks.
- Inspect the Work Area – Remove any flammable materials, liquids, or debris from the surrounding area to reduce the risk of fire.
- Wear Proper Protective Gear – Equip yourself with safety goggles, insulated gloves, and flame-resistant clothing to prevent injuries.
- Check Ventilation – Ensure adequate ventilation in the workspace to avoid inhaling harmful fumes or gases generated during welding.
- Examine Power Cords and Connections – Inspect cables, connectors, and plugs for signs of wear, damage, or fraying that could pose electrical risks.
- Follow the Manufacturer’s Guidelines – Refer to the instructions provided in the manual to understand the proper safety measures for your specific welding machine model.

By adhering to these precautions, you can create a safer environment and reduce the likelihood of accidents or equipment damage during the inspection or use of the welding machine.
10 Methods How to Check Welding Machine
1. Inspect the Power Source
The power source is the heart of the welding machine. Begin by checking the voltage and amperage ratings to ensure compatibility with your workshop’s electrical supply. Use a multimeter to verify that the input voltage matches the machine’s specifications. Look for any signs of damage to the power cord, such as fraying or exposed wires, as these can lead to electrical hazards. If you notice any irregularities, address them immediately before proceeding with the welding operation.
2. Examine the Welding Leads and Cables
The welding leads and cables are critical components that transmit electrical current from the machine to the workpiece. Inspect these cables for cuts, burns, or wear that could compromise their performance. Check the connections at both ends to ensure they are secure and free of corrosion. Loose or damaged connections can lead to inconsistent welding arcs or even complete failure of the welding process. Replace any damaged cables to maintain optimal performance and safety.
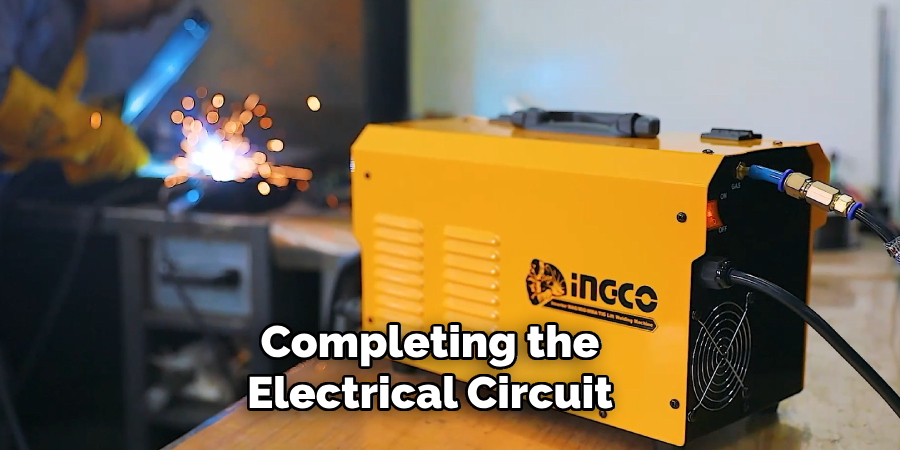
3. Check the Ground Clamp
The ground clamp establishes a connection between the workpiece and the welding machine, completing the electrical circuit. Examine the clamp for signs of wear, rust, or damage. Ensure that the clamp provides a strong, stable connection when attached to the workpiece. A poor ground connection can result in an unstable arc or incomplete welds. If the clamp is damaged, replace it with a compatible model to restore proper functionality.
4. Inspect the Electrode Holder
For machines using stick welding or TIG welding, the electrode holder plays a crucial role in delivering current to the electrode. Check the holder for signs of overheating, which may indicate excessive electrical resistance. Ensure that the jaws of the holder firmly grip the electrode without slipping. If the holder is damaged or worn out, replace it to avoid interruptions during welding and to maintain a stable arc.
5. Assess the Cooling System
Most welding machines, especially high-performance models, rely on cooling systems to prevent overheating. Check the cooling fan or water cooling system (for machines equipped with one) to ensure it operates smoothly. Clear any dust or debris from the fan blades or cooling fins to improve airflow. For water-cooled systems, inspect the hoses and connectors for leaks, and verify that the coolant levels are adequate. An efficient cooling system ensures the machine runs at optimal temperatures, reducing the risk of damage from overheating.
6. Test the Output Settings
Testing the machine’s output settings helps verify its ability to deliver consistent power. Use a multimeter or ammeter to measure the voltage and current output at different settings. Compare these readings to the manufacturer’s specifications to ensure accuracy. Pay close attention to the machine’s response when adjusting amperage or voltage. If the output is erratic or does not match the settings, the machine may require calibration or repair.
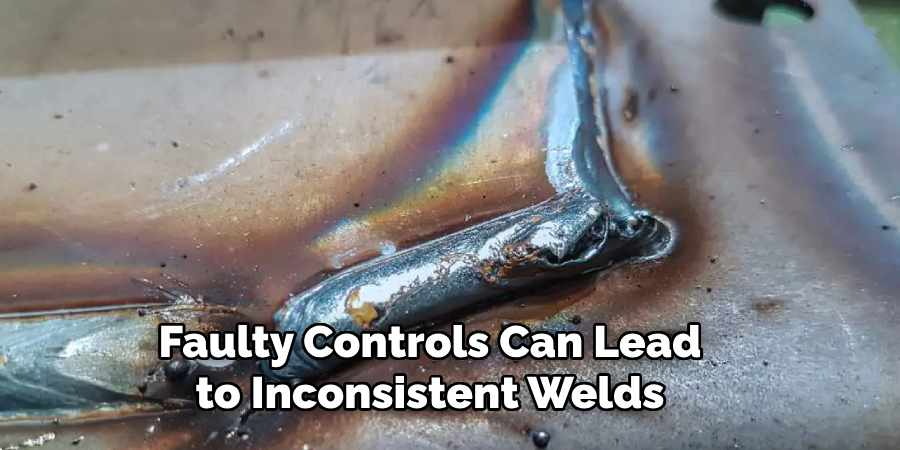
7. Inspect the Control Panel and Switches
The control panel is where you adjust the machine’s settings, such as amperage, voltage, and mode. Check all switches, knobs, and buttons for proper operation. Look for signs of wear, such as loose knobs or unresponsive buttons, which can make it difficult to control the machine. Ensure the display, if applicable, shows accurate readings. Faulty controls can lead to inconsistent welds or unsafe operating conditions, so replace or repair damaged components as necessary.
8. Verify the Duty Cycle
The duty cycle is the percentage of time a welding machine can operate within a 10-minute period before requiring a cooldown. Exceeding the duty cycle can cause overheating and damage to internal components. Consult the machine’s manual to determine its duty cycle, and monitor your welding time accordingly. If the machine frequently overheats despite adhering to the duty cycle, it may indicate an internal fault that requires professional servicing.
9. Check for Internal Damage
If your machine shows signs of erratic performance, it’s important to inspect its internal components. Disconnect the machine from the power supply and remove the cover to access the internal parts. Look for burnt wires, loose connections, or damaged components. Check the transformer, rectifier, and capacitors for signs of overheating or wear. For advanced diagnostics, consult the service manual or a qualified technician to identify and repair internal faults.
10. Perform a Test Weld
After completing all the visual and functional inspections, perform a test weld to assess the machine’s overall performance. Choose a simple joint and ensure all settings match the material and electrode specifications. Observe the arc stability, penetration, and bead quality. Any inconsistencies, such as spatter, weak arcs, or uneven beads, may indicate underlying issues with the machine. Use the results of the test weld to determine if further adjustments or repairs are necessary.
Things to Consider When Maintaining a Welding Machine
Proper maintenance of a welding machine not only ensures its longevity but also enhances safety and performance. Here are key factors to keep in mind:
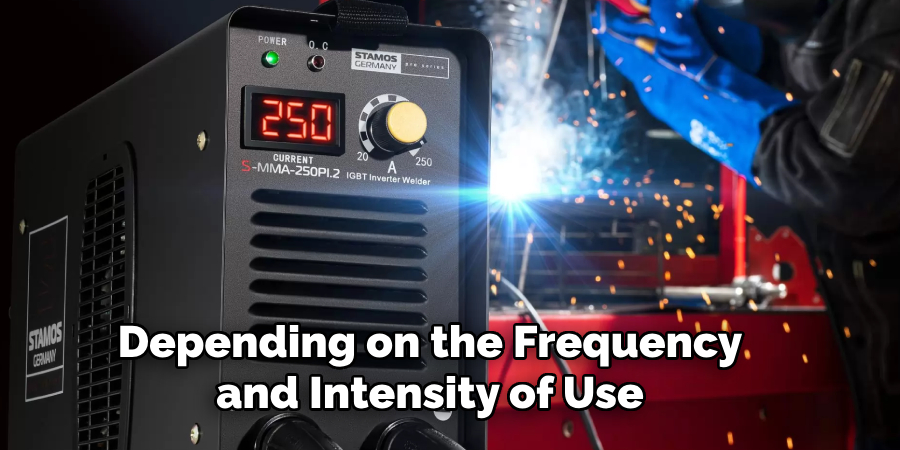
- Frequency of Maintenance
Regular maintenance schedules are crucial. Depending on the frequency and intensity of use, inspect and service your welding machine monthly or after every significant project. Following the manufacturer’s recommended maintenance interval can help avoid unexpected failures.
- Environment
The environment in which the welding machine operates plays a vital role in maintenance needs. Machines used in dusty, humid, or corrosive environments require more frequent cleaning and inspection to protect internal and external components.
- Proper Storage
When the welding machine is not in use, store it in a dry, cool, and well-ventilated area. Protect it from exposure to moisture, which can lead to rust or short circuits. Use a cover if needed to shield the machine from dust and debris.
- Training and Expertise
Ensure that only trained personnel perform maintenance tasks. Incorrect procedures can lead to further damage or compromise safety. For complex repairs, it’s best to consult the service manual or hire a qualified technician.
Conclusion
Proper maintenance of a welding machine is essential to ensure its longevity, reliability, and performance. By following a regular inspection and servicing schedule, operators can prevent costly breakdowns and mitigate safety risks. Addressing issues such as poor grounding, inadequate cooling, or faulty controls early can significantly enhance the machine’s efficiency and output quality. So, there you have it – a quick and easy guide on how to check welding machine.
Edmund Sumlin is a skilled author for Metal Fixes, bringing 6 years of expertise in crafting a wide range of metal fixtures. With a strong background in metalwork, Edmund’s knowledge spans various types of fixtures, from decorative pieces to functional hardware, blending precision with creativity. His passion for metalworking and design has made him a trusted resource in the industry.
Professional Focus:
- Expert in Metal Fixtures : Edmund aesthetic specializes in creating durable and innovative metal fixtures, offering both appeal and functionality. His work reflects a deep understanding of metalworking techniques and materials.
- Sustainability Advocate : He is dedicated to using sustainable practices, ensuring that every fixture is crafted with eco-friendly methods while maintaining high-quality standards.
In his writing for Metal Fixes, Edmund provides valuable insights into the latest trends, techniques, and practical advice for those passionate about metal fixtures, whether they are professionals or DIY enthusiasts. His focus on combining artistry with engineering helps others discover the true potential of metal in design.