

Cleaning a burnt tin jar can be a daunting task, but with the right techniques, you can effectively restore it to its original condition. Whether you’re dealing with burnt residues from cooking or just daily wear and tear, a systematic approach using common household items can save time and effort. This guide on how to clean a burnt tin jar will provide you with step-by-step instructions to tackle even the most stubborn stains and ensure your tin jar looks as good as new.
Why Clean a Burnt Tin Jar?
Cleaning a burnt tin jar is essential not only for aesthetic reasons but also for maintaining the functionality and longevity of the jar. Burnt residues can harbor bacteria and unwanted odors, which may affect the contents stored within.
Besides health concerns, a clean tin jar ensures consistent heat distribution if used for cooking, preventing further overcooking or damage. Moreover, a well-maintained tin jar contributes to a more organized and visually appealing kitchen, allowing for better storage and a more enjoyable cooking experience.
Needed Materials
Before diving into the cleaning process, it’s essential to gather all necessary materials. Here are some items you may need:
- Dish Soap
- Baking Soda
- White Vinegar
- Lemon Juice
- Sponge or Soft-bristled Brush
- Microfiber Cloth
- Non-abrasive Scrub Pad (Optional)
- Rubber Gloves (Optional if Using Harsher Cleaning Agents)
8 Step-by-step Guidelines on How to Clean a Burnt Tin Jar
Step 1: Rinse the Jar With Warm Water
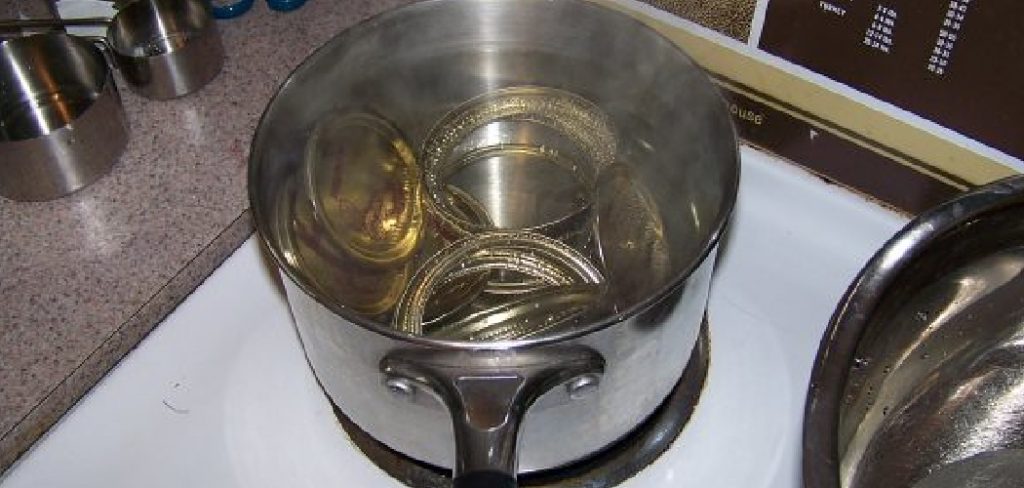
Begin the cleaning process by rinsing the burnt tin jar under warm running water. This initial step helps to loosen any loose debris and soften the burnt residues, making them easier to remove in subsequent steps.
Allow the warm water to flow over the entire surface of the jar for a few minutes, ensuring all areas are thoroughly rinsed. Using this gentle approach, prepare the jar for deeper cleaning without risking further damage to the tin surface.

Step 2: Create a Cleaning Solution
Next, mix a cleaning solution using warm water and dish soap. The ideal ratio is one tablespoon of dish soap to every two cups of water. For extra stubborn stains, you can also add a few drops of lemon juice or white vinegar to the solution.
Stir the mixture until it forms suds, which will help lift off any remaining burnt residues and grease from the tin jar’s surface.
Step 3: Apply the Cleaning Solution
Once the cleaning solution is ready, immerse a sponge or soft-bristled brush into the mixture. Gently scrub the interior and exterior surfaces of the tin jar, focusing on the burnt areas. Use circular motions to help lift off the stains and ensure an even distribution of the cleaning solution. Be patient and persistent, as this step may take some time, depending on the severity of the burn.
If necessary, dip the sponge back into the solution periodically to maintain its effectiveness. Continue scrubbing until you observe significant progress in removing the burnt residues.
Step 4: Rinse and Inspect
After scrubbing, rinse the jar thoroughly with warm water to remove any remaining cleaning solution. Then, inspect the jar for any remaining burnt residues. If there are still stubborn stains, repeat steps 2 and 3 until you achieve the desired results.
The key is not to use harsh scrubbing techniques or abrasive cleaners, as these can damage the tin surface and make it more prone to future burns.
Step 5: Create a Baking Soda Paste
For persistent burn marks that resist the initial cleaning steps, creating a baking soda paste can be an effective solution. To make the paste, combine two tablespoons of baking soda with a small amount of water in a bowl. Gradually add the water until you achieve a thick, spreadable consistency.
Baking soda’s natural abrasive properties help to lift tough stains without scratching the tin’s surface, making it a safe option for delicate materials. Once the paste is ready, you’ll apply it directly to the stubborn areas on the tin jar, preparing it for the next cleaning stage.
Step 6: Scrub With the Baking Soda Paste
Using a non-abrasive scrub pad or sponge, gently scrub the burnt areas with the baking soda paste. Avoid using excessive force, as this may cause scratches and damage to the tin’s surface. Continue scrubbing until you see significant progress in removing the burn marks.
You may need to add more paste or water as necessary, depending on the severity of the stains. Once satisfied with the results, rinse off the baking soda residue with warm water.

Step 7: Final Rinse and Dry
After completing all cleaning steps, give the tin jar one final rinse with warm water to remove any remaining residue or cleaning solution. Then, dry it thoroughly with a clean microfiber cloth, making sure to remove all moisture from both the interior and exterior surfaces.
Leaving any dampness can lead to rusting or other damage, so drying is an essential step in restoring your burnt tin jar’s condition.
Step 8: Optional – Additional Cleaning Agents
If you’re still not satisfied with the results or have particularly stubborn stains, you can try using white vinegar or lemon juice as a final cleaning agent. Simply mix equal parts of either liquid with water and apply it to the affected areas. Let it sit for a few minutes before scrubbing again with a sponge or brush.
These acidic agents can help break down and dissolve any remaining burnt residues, leaving your tin jar sparkling clean.
Following these step-by-step guidelines on how to clean a burnt tin jar should help you successfully clean your burnt tin jar and restore it to its original condition. Remember, regular maintenance and proper cleaning techniques can prevent future burns and extend the life of your tin jar.
Additional Tips
- Avoid using harsh chemicals or abrasive materials, as they can damage the tin’s surface.
- Always rinse your tin jar thoroughly after cleaning to remove any residue from cleaning agents.
- Dry your tin jar completely before storing it to prevent rusting and other damage.
- Regularly inspect and clean your tin jars to prevent the build-up of burnt residues.
- If using harsher cleaning agents, such as bleach or ammonia, always wear rubber gloves to protect your hands.
- For particularly stubborn stains, you can also try using a paste made of tartar cream and water.
Edmund Sumlin is a skilled author for Metal Fixes, bringing 6 years of expertise in crafting a wide range of metal fixtures. With a strong background in metalwork, Edmund’s knowledge spans various types of fixtures, from decorative pieces to functional hardware, blending precision with creativity. His passion for metalworking and design has made him a trusted resource in the industry.
Professional Focus:
- Expert in Metal Fixtures : Edmund aesthetic specializes in creating durable and innovative metal fixtures, offering both appeal and functionality. His work reflects a deep understanding of metalworking techniques and materials.
- Sustainability Advocate : He is dedicated to using sustainable practices, ensuring that every fixture is crafted with eco-friendly methods while maintaining high-quality standards.
In his writing for Metal Fixes, Edmund provides valuable insights into the latest trends, techniques, and practical advice for those passionate about metal fixtures, whether they are professionals or DIY enthusiasts. His focus on combining artistry with engineering helps others discover the true potential of metal in design.