

Cleaning a metal gas tank is an essential maintenance task that ensures the proper functioning and longevity of your vehicle or equipment. Over time, fuel deposits, rust, and debris can accumulate in the tank, potentially causing blockages and reducing performance. A clean gas tank helps prevent engine problems and improves fuel efficiency, making it a crucial part of automotive care.
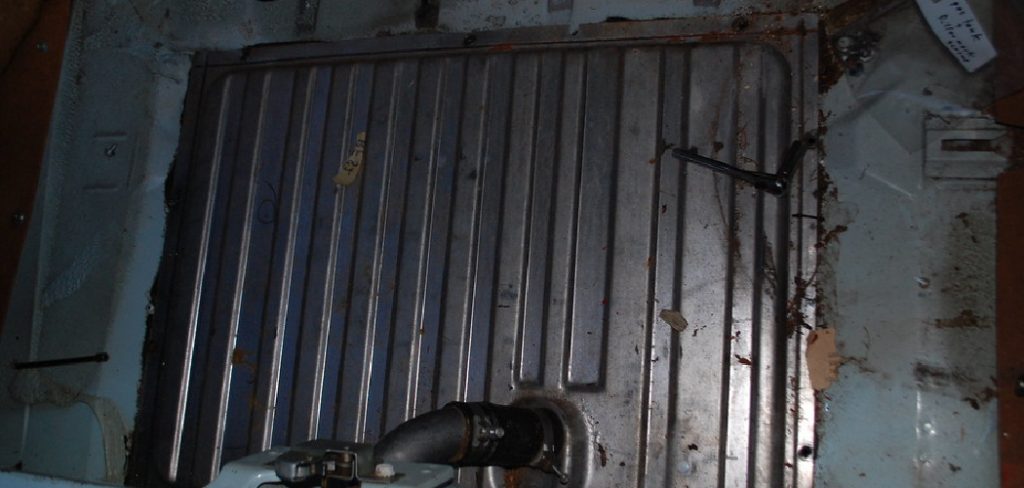
In this guide on how to clean a metal gas tank, we will walk you through a step-by-step process on how to effectively clean a metal gas tank, ensuring you have all the tools and techniques needed for a thorough and safe cleaning.
Why Is It Important to Clean a Metal Gas Tank?
Cleaning a metal gas tank is vital for several reasons. Firstly, it ensures optimal engine performance by preventing fuel contamination. Deposits, rust particles, and debris accumulated in a dirty tank can clog fuel filters and injectors, leading to reduced engine efficiency and performance issues. Secondly, a clean gas tank enhances fuel economy as it allows fuel to flow smoothly and burn efficiently, maximizing mileage.
Moreover, regular cleaning can prevent rust and corrosion from spreading, prolonging the tank’s lifespan and avoiding costly replacements or repairs. Overall, maintaining a clean gas tank is a proactive measure that safeguards your vehicle’s overall health and reliability.
Needed Materials
Before you begin the cleaning process, make sure you have all the necessary materials and equipment on hand. Here is a list of items you will need:
Safety Gear
It is essential to wear safety gear, including gloves and goggles, to protect yourself from harmful chemicals.
Cleaning Solutions
There are several options for cleaning solutions, including commercial products specifically designed for gas tanks or DIY solutions using household items such as vinegar and baking soda.
Hose with a Nozzle
A hose with a high-pressure nozzle will help flush out debris and residue from the tank.
Fuel Line Clamp
This tool will prevent fuel from entering the tank during the cleaning process.
Brushes
You may need different types of brushes to reach all areas inside the tank effectively.

Rags or Paper Towels
These materials will come in handy for wiping away excess dirt and drying the tank after cleaning.
8 Step-by-step Guides on How to Clean a Metal Gas Tank
Step 1: Safety
Before starting the cleaning process, prioritizing safety is crucial. Ensure you are working in a well-ventilated area to avoid inhaling any harmful fumes. Wear appropriate safety gear, including gloves and safety goggles, to protect your skin and eyes from any chemicals or debris.
It’s also a good idea to have a fire extinguisher nearby in case of any accidents involving flammable substances. Taking these precautions will help you conduct the cleaning process safely and effectively, minimizing risks to yourself and your surroundings.
Step 2: Drain the Tank
Once you have ensured all safety precautions are in place, it’s time to drain the tank. Begin by removing the gas cap and opening the fuel valve to release any pressure. Position a suitable container under the tank’s drain plug to catch the old fuel safely. Carefully remove the drain plug with a wrench, and allow all the fuel to flow out completely into the container.
If the tank doesn’t have a drain plug, you might need to use a siphon pump to extract the gas. Make sure the fuel is properly disposed of according to local regulations, as it can be harmful to the environment. Draining the tank completely is crucial to effectively clean the interior and remove any lodged debris.
Step 3: Rinse the Tank
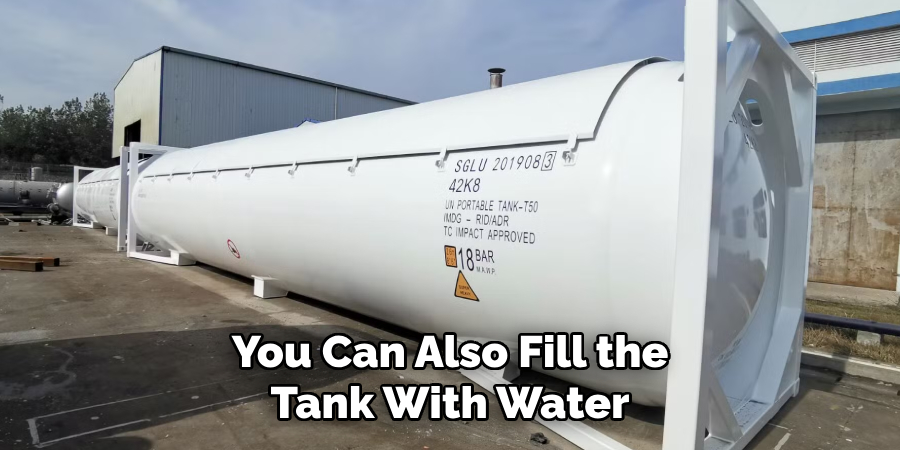
After draining the tank, the next step is to give the tank a thorough rinse to remove loose debris and residues. Using a hose with a high-pressure nozzle, carefully spray water into the tank, targeting all accessible areas to ensure that all remnants of old fuel, rust, and debris are cleared out. Alternatively, you can fill the tank with some water, close the openings, and agitate it gently to help dislodge any stubborn particles.
Make sure to drain all the rinse water completely, repeating the process as necessary until the water coming out appears clear. Rinsing the tank thoroughly is essential for reducing the risk of contamination during the subsequent cleaning stages.
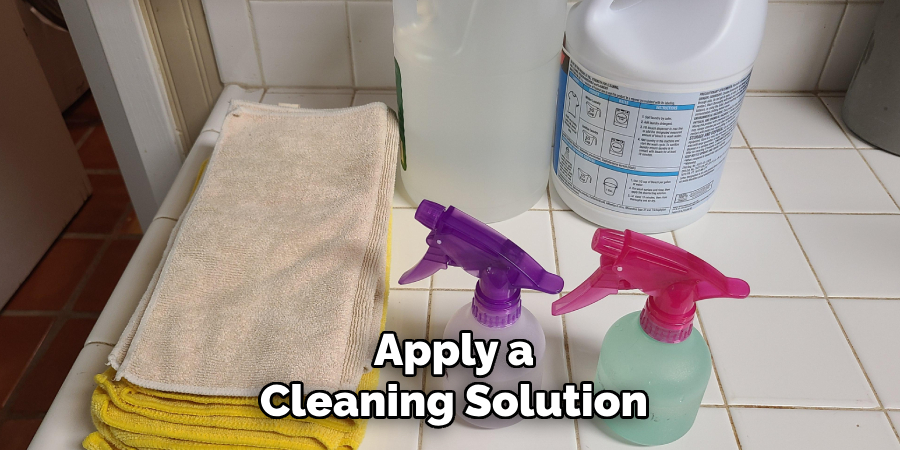
Step 4: Apply the Cleaning Solution
Now that the tank is empty and rinsed, it’s time to apply a cleaning solution. You can either use a commercial product specifically designed for gas tanks or make your own solution using household items. Some popular DIY options include vinegar, baking soda, and lemon juice.
Whichever solution you choose, make sure to follow the instructions carefully and apply enough to coat the entire interior of the tank. Depending on the severity of buildup inside the tank, you may need to let the solution sit for a few hours or even overnight for optimal results.
Step 5: Scrub with Brushes
After allowing the cleaning solution to sit and loosen the buildup, it’s time to scrub the interior of the gas tank. Use a variety of brushes to reach all surfaces, including narrow and hard-to-access areas inside the tank. Stiff-bristled brushes are ideal for scrubbing away any stubborn rust and deposits that the cleaning solution has loosened. For more delicate areas, opt for softer brushes to avoid damaging the tank’s surface.
Make sure to pay extra attention to the corners and seams where debris is likely to accumulate. Continuously rinse the brushes with clean water to avoid reintroducing dirt into the tank. A thorough scrubbing is crucial to effectively eliminate all residue and ensure a clean and smooth interior surface.
Step 6: Rinse with Water
After scrubbing, use a hose with a high-pressure nozzle to rinse the tank thoroughly. This step will help remove any loosened debris and leftover cleaning solution. Keep rinsing until the water coming out appears clear without any suds or residue.
You can also fill the tank with water, close the openings, and agitate it gently to ensure all corners and surfaces are rinsed. It’s vital to rinse thoroughly to avoid any leftover cleaning solution from contaminating your fuel in the future.
Step 7: Dry the Tank
Once you have completed rinsing, use rags or paper towels to wipe away any excess moisture inside the tank. You can also leave the tank out in direct sunlight for a few hours to air dry completely. Make sure there is no residual moisture inside the tank before moving on to the final step.
Otherwise, the remaining moisture can cause rust and other issues that may impact your fuel’s quality. Drying the interior of the tank is crucial for preventing any future buildup or contamination.
Step 8: Reinstall and Refill
After ensuring that the gas tank is completely dry, it’s time to reinstall it in your vehicle. Carefully replace all parts, including the drain plug and fuel valve, if applicable. Finally, refill your tank with fresh fuel, and you’re good to go!
Following these step-by-step guides on how to clean a metal gas tank will help you maintain a clean and functional gas tank, ensuring optimal performance for your vehicle. Regularly cleaning your gas tank can also extend its lifespan and prevent costly repairs down the line. With proper care and maintenance, your metal gas tank will continue to serve you reliably for years to come. Happy cleaning!
Frequently Asked Questions
Q: How Often Should I Clean My Gas Tank?
A: It’s recommended to clean your gas tank at least once a year, or more frequently if you notice any issues such as clogs or rust buildup. The frequency of cleaning may also depend on the type and age of your vehicle.
Q: Can I Use Chemical Cleaners Inside My Gas Tank?
A: Yes, there are many commercial products available specifically designed for gas tank cleaning. However, make sure to follow the instructions carefully and use any chemicals with caution to avoid damaging the tank or causing harm to yourself.
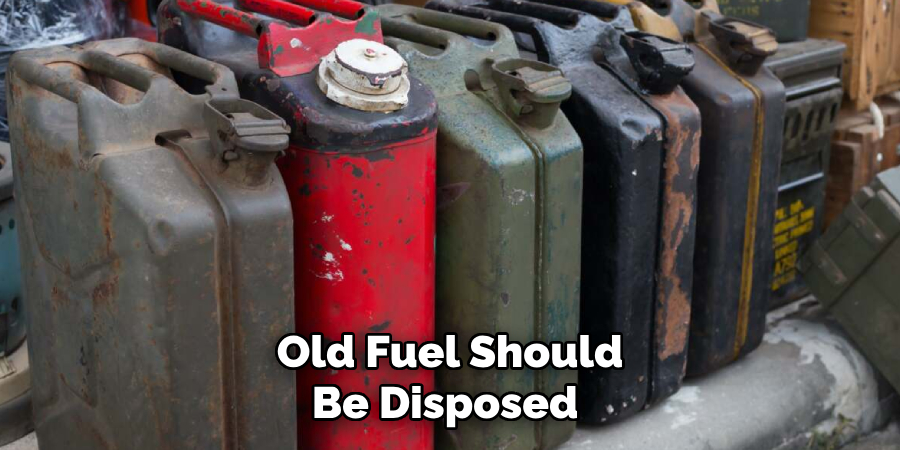
Q: How Do I Dispose of Old Fuel Properly?
A: Old fuel should be disposed of properly according to local regulations as it can be harmful to the environment. Contact your local waste management facility for guidelines on how to dispose of old fuel safely. Remember never to dump old fuel down a drain or onto the ground.
Q: Can I Use Water to Clean My Gas Tank?
A: Yes, water can be used to clean a gas tank. It’s recommended to use high-pressure water or fill the tank with water and agitate it gently for optimal results. Make sure to rinse thoroughly and dry the tank before refilling with fuel.
Conclusion
By following this comprehensive guide on how to clean a metal gas tank, you can ensure your vehicle remains in excellent condition and operates smoothly. Regular maintenance not only enhances performance but also extends the life of your gas tank, saving you from potential issues and costly repairs in the future.
Adhering to safety precautions is paramount throughout the cleaning process to avoid any accidents or hazards. With the right tools and techniques, cleaning your gas tank becomes a manageable and rewarding task, contributing to the overall efficiency and reliability of your vehicle.
Edmund Sumlin is a skilled author for Metal Fixes, bringing 6 years of expertise in crafting a wide range of metal fixtures. With a strong background in metalwork, Edmund’s knowledge spans various types of fixtures, from decorative pieces to functional hardware, blending precision with creativity. His passion for metalworking and design has made him a trusted resource in the industry.
Professional Focus:
- Expert in Metal Fixtures : Edmund aesthetic specializes in creating durable and innovative metal fixtures, offering both appeal and functionality. His work reflects a deep understanding of metalworking techniques and materials.
- Sustainability Advocate : He is dedicated to using sustainable practices, ensuring that every fixture is crafted with eco-friendly methods while maintaining high-quality standards.
In his writing for Metal Fixes, Edmund provides valuable insights into the latest trends, techniques, and practical advice for those passionate about metal fixtures, whether they are professionals or DIY enthusiasts. His focus on combining artistry with engineering helps others discover the true potential of metal in design.