

Are you tired of seeing your metal mailbox covered in dirt and grime? Cleaning a metal mailbox is an important task to keep it looking new and functioning properly. Here are some tips on how to clean a metal mailbox.
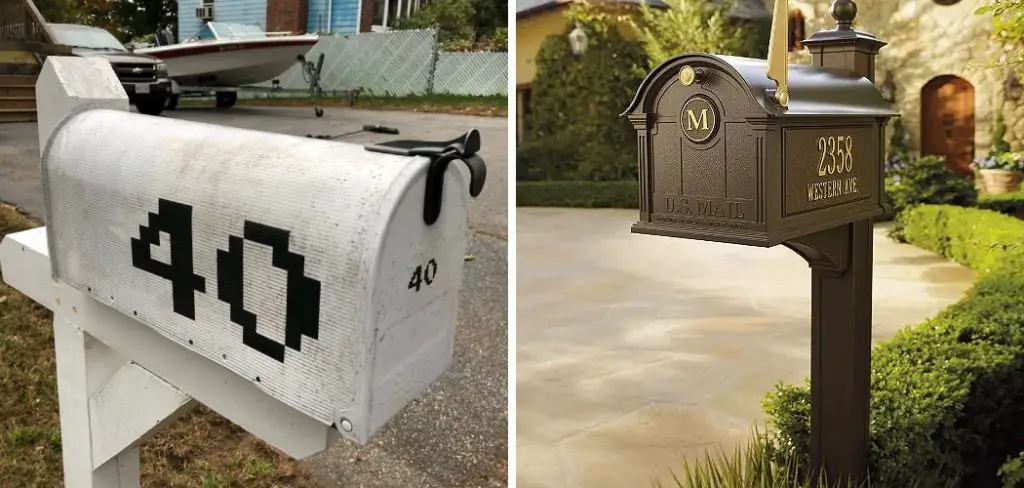
Keeping your metal mailbox clean and well-maintained is crucial not only for the longevity of the mailbox itself but also for maintaining your home’s curb appeal.
A clean mailbox can enhance your home’s first impression on visitors and passersby. Over time, mailboxes can accumulate dirt, rust, and grime due to constant exposure to the elements.
This guide will walk you through simple and effective steps to clean your metal mailbox, ensuring it remains functional and looks great year-round.
What Will You Need?
Before you start cleaning your metal mailbox, gather all the necessary tools and materials. This includes:
- A soft sponge or cloth
- Mild dish soap or gentle cleanser
- Warm water
- Gloves (optional)
- Metal polish (optional)
- Rust remover (optional)
It is important to note that some metal mailboxes may require specific cleaners or polishes depending on their material. For example, copper or brass mailboxes may need a specialized cleaner to avoid tarnishing. Check with the manufacturer’s instructions if you are unsure about what products to use.
10 Easy Steps on How to Clean a Metal Mailbox
Step 1. Remove Any Mail
Before you begin the cleaning process, it is essential to empty your mailbox entirely. Remove all letters, packages, and any other items that may be inside.
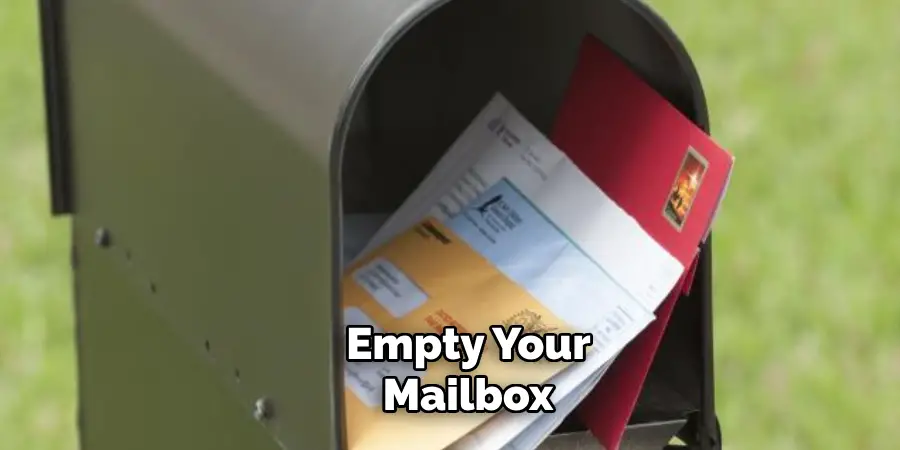
This ensures you have a clear workspace and prevents any mail from getting wet or damaged during cleaning. Additionally, removing the contents allows you to thoroughly inspect the interior, looking for any signs of wear, rust, or damage that may need attention.
Step 2. Dust Off Loose Dirt and Debris:
Use a dry cloth or a soft brush to dust off any loose dirt, leaves, or cobwebs from the surface of your mailbox. Pay close attention to corners and crevices where debris tends to accumulate. If you encounter stubborn spots, a handheld vacuum with a brush attachment can be useful for sucking up dirt in hard-to-reach areas.
Step 3. Prepare Your Cleaning Solution:
Fill a bucket or container with warm water and add a few drops of mild dish soap or a gentle cleanser. Mix the solution until it forms bubbles. Use a mild cleaner to avoid damaging the metal surface or stripping any protective coatings.
Step 4. Wipe Down the Exterior:
Dip a soft sponge or cloth into the prepared warm, soapy solution. Gently wring out any excess water to prevent dripping. Begin wiping down the exterior of the mailbox, starting from the top and working your way to the bottom.
Use gentle, circular motions to lift dirt and grime from the surface. Be sure to pay close attention to any decorative elements or corners, as these areas often collect more buildup.
If you encounter stubborn spots or residues, apply a bit more pressure with your sponge or cloth, but avoid using anything abrasive that might scratch the metal. For particularly tough grime, let the soapy solution sit on the surface for a few minutes before scrubbing to help loosen it. Repeat the process until the entire exterior is clean.
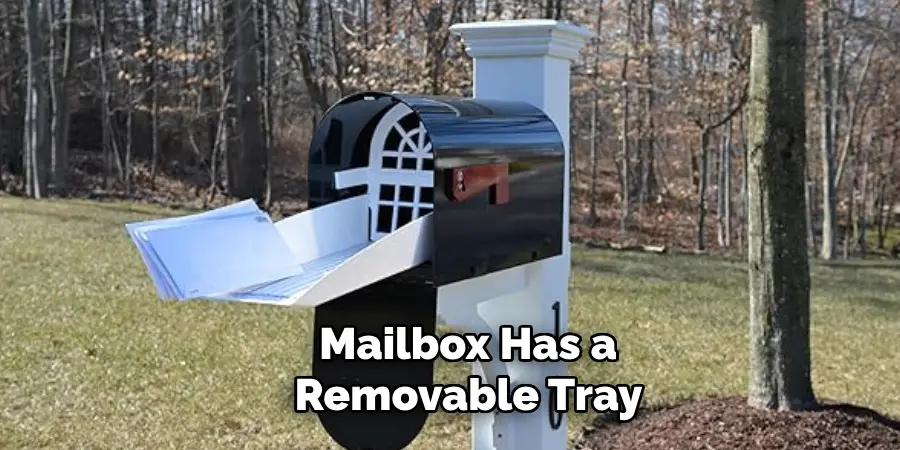
Step 5. Clean the Interior:
Once the exterior is clean, it’s time to tackle the inside of your mailbox. Dip your sponge or cloth back into the warm, soapy solution and thoroughly wring it out. Wipe down the interior surfaces, again using circular motions to clean them effectively.
Pay special attention to the bottom and corners where dirt and residue can settle over time. If your mailbox has a removable tray or liner, take it out and clean it separately using the same method.
For mailboxes with built-in compartments or slots for letters and packages, ensure you clean these areas meticulously to prevent the buildup of debris that can interfere with mail delivery. Allow the soapy solution to sit briefly on any filthy spots before wiping them clean.
Step 6. Rinse Thoroughly:
After cleaning both the exterior and interior with the soapy solution, it’s vital to rinse away any remaining soap residue. Fill a bucket with clean, lukewarm water. Using a fresh sponge or cloth, dip it into the water and wring out any excess.
Wipe down all the soapy surfaces inside and outside the mailbox, removing all traces of the cleaning solution. Rinsing thoroughly is crucial as residual soap can leave streaks or potentially damage the mailbox’s finish over time. If necessary, use several passes with clean water to ensure all soap is removed.
Step 7. Dry Completely:
Drying your mailbox properly is an important step to prevent rust and maintain its appearance. Use a clean, dry cloth or towel to gently pat down the interior and exterior surfaces. Be thorough, especially in crevices and corners where moisture can linger. If you have an air dryer or compressed air, you can use it to blow out water from hard-to-reach areas.
Ensuring your mailbox is completely dry before moving on to the next steps will protect it from potential rust and ensure a streak-free finish. If possible, leave the mailbox open for a few minutes to air dry and to ensure that all trapped moisture evaporates.
Step 8. Remove Rust (if applicable):
If you notice any rust spots during your inspection, now is the time to address them. Apply a rust remover to the affected areas according to the product’s instructions. Usually, this involves applying the remover with a cloth or brush and allowing it to sit for a specified amount of time.
After the rust remover has had time to work, gently scrub the area with a soft brush or sponge to lift the rust. Wipe away the remover and rust residue with a clean, damp cloth.
Rinse the area thoroughly with water to ensure no rust remover remains. Dealing with rust promptly not only improves the appearance but also extends the life of your mailbox.
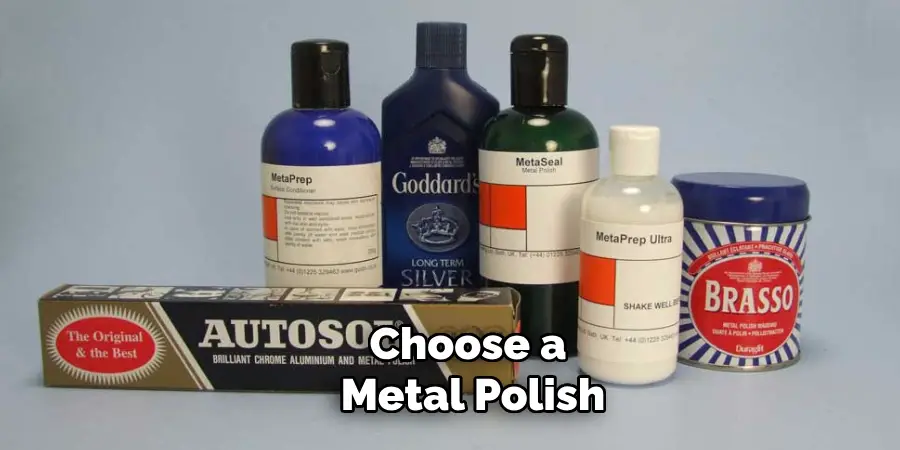
Step 9. Polish the Metal (optional):
Consider polishing your mailbox to give it extra shine and added protection. Choose a metal polish suitable for the type of metal your mailbox is made from. Apply a small amount of polish to a clean, dry cloth and rub it onto the mailbox gently, circularly. Focus on one section at a time to ensure even coverage.
Allow the polish to sit for the time specified on the product instructions, usually a few minutes. Then, buff the mailbox with another clean, dry cloth until it gleams. Polishing not only enhances the appearance of your mailbox but also provides a protective layer against dirt and moisture.
Step 10. Reassemble and Inspect:
Finally, ensure that everything is reassembled properly and give your mailbox a final inspection. Return any removable trays or liners to their places and ensure any compartments or doors are securely closed. Check for any missed spots or residues and give them another wipe-down if necessary.
Step back and admire your freshly cleaned mailbox, which should now be free of dirt, grime, and rust, with a polished and attractive finish. This will ensure not only improved functionality but also enhanced curb appeal that complements your home’s exterior.
By following these easy steps, you can maintain your mailbox’s appearance and functionality for years.
5 Things You Should Avoid
1. Using Abrasive Cleaners or Tools: Avoid using abrasive cleaners or tools like steel wool, scouring pads, or harsh chemicals when cleaning your metal mailbox. These can scratch the metal surface, diminish the mailbox’s finish, and potentially lead to rust.
2. Skipping the Rinse: Do not skip the rinsing step. Failing to rinse away soap residue can leave streaks and potentially damage the mailbox’s protective coating. Always ensure all cleaning agents are thoroughly rinsed off.
3. Ignoring Rust Spots: Neglecting rust spots can cause them to spread and compromise the structural integrity of your mailbox. Always address rust promptly using the appropriate rust remover and preventive measures.
4. Leaving Moisture Behind: Never leave your mailbox damp after cleaning. Moisture can lead to rust and deterioration over time. Always dry the mailbox completely, paying special attention to crevices and corners where moisture can linger.
5. Not Checking for Functionality: Always check that your mailbox is functioning correctly after cleaning. Make sure the door or lid opens and closes smoothly and any locking mechanism operates correctly. If you notice any issues, address them promptly to ensure efficient mail delivery and prevent potential damage in the future.
By avoiding these common mistakes your mailbox will remain clean, functional, and attractive.
Conclusion
Maintaining a clean and functional metal mailbox is crucial for aesthetic appeal and ensuring the longevity and efficiency of mail delivery.
By following the outlined steps—from removing debris and washing with a soapy solution to addressing rust and applying polish—you can preserve the condition and appearance of your mailbox. Taking care to avoid common cleaning mistakes, like using abrasive materials or neglecting to dry thoroughly, will further extend the life of your mailbox.
Hope fully, the article on how to clean a metal mailbox in simple and easy steps has been helpful. Don’t forget to give it a thorough clean at least once a year for optimal results.
Happy cleaning!
Edmund Sumlin is a skilled author for Metal Fixes, bringing 6 years of expertise in crafting a wide range of metal fixtures. With a strong background in metalwork, Edmund’s knowledge spans various types of fixtures, from decorative pieces to functional hardware, blending precision with creativity. His passion for metalworking and design has made him a trusted resource in the industry.
Professional Focus:
- Expert in Metal Fixtures : Edmund aesthetic specializes in creating durable and innovative metal fixtures, offering both appeal and functionality. His work reflects a deep understanding of metalworking techniques and materials.
- Sustainability Advocate : He is dedicated to using sustainable practices, ensuring that every fixture is crafted with eco-friendly methods while maintaining high-quality standards.
In his writing for Metal Fixes, Edmund provides valuable insights into the latest trends, techniques, and practical advice for those passionate about metal fixtures, whether they are professionals or DIY enthusiasts. His focus on combining artistry with engineering helps others discover the true potential of metal in design.