Are you tired of cleaning up after a messy propane tank? Cleaning a propane tank is essential in maintaining its proper functioning and safety.

Proper maintenance of your propane tank is essential for safety and efficiency. Over time, propane tanks can accumulate residue, rust, and other contaminants that can impact their performance and pose potential hazards.
Cleaning your propane tank not only helps to maintain its functionality but also extends its lifespan. Whether you’re preparing for a new season of use or simply performing routine maintenance, understanding the correct steps to clean your propane tank is crucial.
In this guide on how to clean a propane tank, we will take you through a systematic approach to ensure your propane tank is clean and safe for use.
What Will You Need?
Before we begin, let’s gather the necessary supplies:
- Safety gloves
- Protective eyewear
- Soapy water or a cleaning solution specifically designed for propane tanks
- A scrub brush or cloth (non-metallic)
- A hose with a high-pressure nozzle
Once you have all the materials, follow these steps for a complete clean.
10 Easy Steps on How to Clean a Propane Tank
Step 1: Prepare for Safety
Safety should always be your top priority when handling propane. Before starting the cleaning process, it’s essential to take some precautionary measures:

- Make sure all valves and connections are tightly closed.
- Wear protective gear such as safety gloves and eyewear.
- Ensure there is enough ventilation in the area where you will be cleaning.
By taking these preventive measures, you can minimize any potential risks of cleaning a propane tank.
Step 2: Disconnect the Tank
Before you start cleaning, make sure to disconnect the propane tank from any appliances or fittings. This step is vital to ensure there are no accidental leaks or discharges of propane. Follow these steps to safely disconnect your propane tank:
- Turn off the valve completely to stop the flow of propane.
- Use a wrench to carefully loosen and remove any attached hoses or connectors.
- Move the tank to a well-ventilated and open area away from ignition sources.
Ensuring the tank is fully disconnected and placed in a safe environment sets the stage for a thorough and secure cleaning process.
Step 3: Inspect for Damage
Before washing the propane tank, take the time to thoroughly inspect it for any signs of damage or wear. Check for the following potential issues:
- Look for rust, dents, or corrosion on the tank’s surface.
- Inspect all valves and connections for any signs of leaks or damage.
- Ensure the tank’s certification is current and there are no visible defects.
If you identify any serious issues, it’s advisable to consult with a professional or consider replacing the tank to ensure it operates safely. This careful inspection step helps to confirm that your propane tank is in good condition before cleaning.
Step 4: Empty the Tank
Before you begin the cleaning process, ensure that the propane tank is completely empty. Follow these steps to safely empty your propane tank:

- Open the valve in a well-ventilated area to release any remaining gas. Stand upwind to avoid inhaling fumes.
- Use a gauge or pressure indicator to confirm that the tank is fully depressurized.
- If the tank still feels heavy or you suspect it contains residual gas, contact a professional for assistance in safely emptying it.
Once you’re certain the tank is empty, you can proceed with the cleaning process without risking accidental gas release.
Step 5: Rinse with Soapy Water
To begin the actual cleaning process, start by rinsing the exterior of the propane tank with soapy water. Here’s how to do it properly:
- Fill a bucket with warm water and add a generous amount of soapy water or a cleaning solution specifically designed for propane tanks.
- Using a non-metallic scrub brush or cloth, dip it into the soapy water and scrub the entire surface of the tank. Pay special attention to areas with grime or residue.
- Rinse the tank thoroughly with a hose equipped with a high-pressure nozzle to remove any soap and dirt.
- Inspect the tank again to ensure all exterior surfaces are clean and there are no remaining contaminants.
This step helps remove any surface dirt or buildup, ensuring the propane tank is clean and ready for a more detailed inspection and maintenance.
Step 6: Clean the Valves and Connections
With the tank’s exterior cleaned, it’s important to focus on the valves and connections. These components play a crucial role in the safe operation of your propane tank. Follow these steps to clean them effectively:

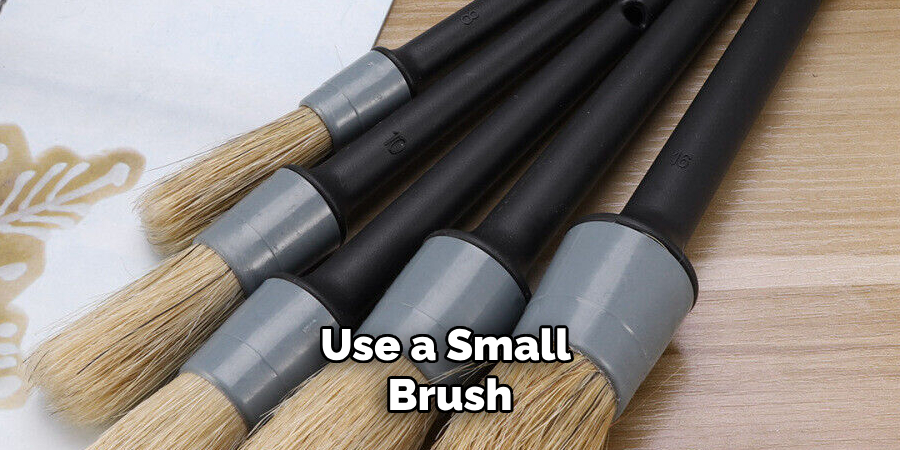
- Using the same soapy water solution, use a small brush or cloth to gently scrub around the valves and connections. Avoid using metal brushes, which may cause damage.
- Pay particular attention to any areas with visible grime, ensuring they are thoroughly cleaned.
- Once scrubbed, rinse with clean water to remove any soapy residue.
- Dry the valves and connections with a clean cloth to prevent rust or corrosion.
Regular cleaning of these parts can prevent buildup that may affect the propane flow or cause leaks, thus maintaining the safety and efficiency of your propane tank.
Step 7: Check for Leaks
After cleaning the tank, checking for any potential leaks before reconnecting it to your appliances is important. Here’s how to do it:

- Ensure the tank is dry and that all valves are tightly closed.
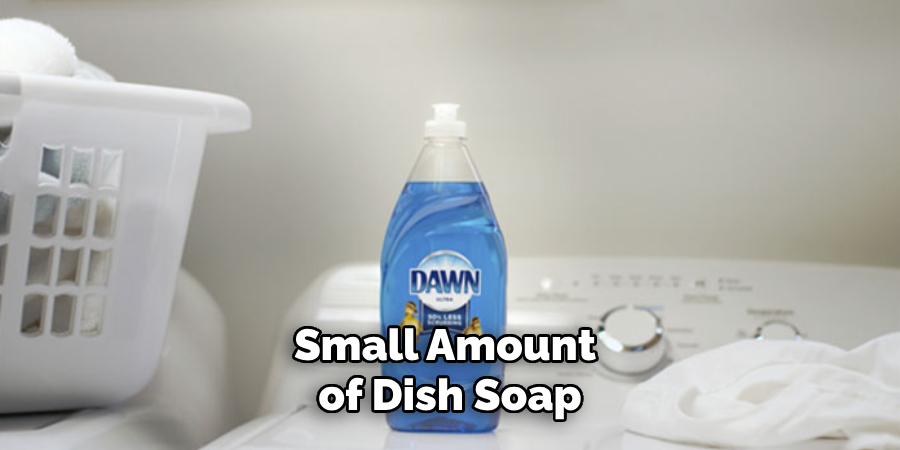
- You can mix a small amount of dish soap with water to create a leak detection solution or purchase a commercial leak detector solution.
- Use a brush or spray bottle to apply the soap solution generously around all valves, connections, and welded seams.
- Slowly open the tank valve, checking for any bubbles forming in the soapy solution, which would indicate a leak.
- If bubbles appear, close the valve immediately and tighten connections. If the leak persists, consult with a professional for repair or replacement.
Performing this leak test helps ensure the safety and reliability of your propane tank before it returns to regular use.
Step 8: Reassemble and Reconnect the Tank
Once you have confirmed that there are no leaks, you can proceed to reassemble and reconnect the propane tank. Follow these steps to ensure everything is set up correctly:
- Reattach any hoses or connectors: Carefully reattach the hoses or connectors that were previously removed. Ensure they are tightened securely but not overly tight as to cause damage.
- Reconnect to appliances: Position the propane tank next to the appliance it will power. Follow the manufacturer’s instructions for proper reconnection.
- Open the valve slowly: Gradually open the tank valve to allow propane to flow into the connected appliance. Check for any immediate signs of leakage.
- Perform a final check: Observe the connected setup for a few minutes to ensure everything is working correctly and that there are no leaks or unusual sounds.
This step ensures that your propane tank is safely, correctly reconnected and ready for use. Final checks are important to confirm that the system is functioning as expected.
Step 9: Regular Maintenance Schedule
Maintaining your propane tank is essential for its longevity and safety. Establish a regular maintenance schedule to keep it in optimal condition. Here’s a suggested maintenance routine:
- Monthly Checks: Inspect the tank’s exterior for any signs of rust, dents, or corrosion. Ensure that the valves and connections are clean and free of debris. Perform a leak check using the soapy water method.
- Quarterly Maintenance: Conduct a more thorough cleaning of the tank’s exterior and valves. Check the pressure gauge and ensure all labels and certification marks are visible and legible.
- Annual Inspection: Have a professional comprehensively inspect the propane tank. This should include checking the tank’s internal condition, the integrity of the valves, and the overall safety and functionality of the system.
Adhering to a regular maintenance schedule ensures that your propane tank remains safe and efficient, reducing the risk of unexpected issues and extending the life of your equipment.
Step 10: Proper Storage
Proper propane tank storage is crucial to ensure its safety and longevity when not in use. Follow these guidelines to store your propane tank correctly:
- Choose a safe location: Store the tank in an outdoor, well-ventilated area away from any flames, sparks, or heat sources. Never store propane tanks indoors or in enclosed spaces.
- Store upright: Always keep the propane tank upright to prevent potential leaks.
- Use a protective cover: If possible, use a weather-resistant cover to protect the tank from the elements, especially if it will be stored outside for an extended period.
- Avoid direct sunlight: Store the tank in a shaded area to prevent excessive heat exposure, which can increase pressure inside the tank and cause safety risks.
- Keep clear of combustibles: Ensure no flammable materials, such as gasoline or oil, are stored near the propane tank.
- Check for damage: Inspect the tank periodically while it is in storage to ensure there are no signs of rust, corrosion, or physical damage.
By following these steps, you can safely store your propane tank, maintaining its integrity and readiness for future use.
Conclusion
How to clean a propane tank is a crucial aspect of ensuring its safe and efficient operation.
By following a systematic approach, from thoroughly rinsing the exterior to meticulously checking the valves and connections, you can significantly enhance the longevity and functionality of your propane tank.
Regular checks for leaks and adhering to a maintenance schedule mitigate potential risks and ensure that your tank remains in optimal condition.
By incorporating these practices, you can enjoy the reliable performance of your propane-fueled appliances with peace of mind. Proper care and maintenance safeguard against unexpected malfunctions and contribute significantly to the safe use of propane in your home or business.
Edmund Sumlin is a skilled author for Metal Fixes, bringing 6 years of expertise in crafting a wide range of metal fixtures. With a strong background in metalwork, Edmund’s knowledge spans various types of fixtures, from decorative pieces to functional hardware, blending precision with creativity. His passion for metalworking and design has made him a trusted resource in the industry.
Professional Focus:
- Expert in Metal Fixtures : Edmund aesthetic specializes in creating durable and innovative metal fixtures, offering both appeal and functionality. His work reflects a deep understanding of metalworking techniques and materials.
- Sustainability Advocate : He is dedicated to using sustainable practices, ensuring that every fixture is crafted with eco-friendly methods while maintaining high-quality standards.
In his writing for Metal Fixes, Edmund provides valuable insights into the latest trends, techniques, and practical advice for those passionate about metal fixtures, whether they are professionals or DIY enthusiasts. His focus on combining artistry with engineering helps others discover the true potential of metal in design.


