

Do you have metal blinds installed in your home or office? Over time, these sleek and modern window coverings can accumulate dust, dirt, and grime.
How to clean metal blinds can seem like a daunting task, but with the right approach, it becomes a simple and manageable process. Metal blinds are standard in both homes and offices due to their durability and modern aesthetic. However, they are also prone to collecting dust, dirt, and grime, which can diminish their appearance and function over time. Regular cleaning helps maintain their pristine look and ensures their longevity.
In this guide, we will provide efficient methods and tips for cleaning your metal blinds effectively, whether it’s a light dusting or a deep clean. With our step-by-step instructions, your blinds will look as good as new in no time.
What Will You Need?
Before we dive into the cleaning process, let’s gather all the necessary tools for the job. Here is a list of items you will need to clean metal blinds effectively:
- Microfiber Cloth or Feather Duster: These are perfect for removing light dust and debris from your blinds.
- Vacuum Cleaner With an Upholstery Attachment: This will come in handy for deeper cleaning and removing stubborn dirt and grime.
- Warm Water: The most gentle yet effective cleaning agent for metal blinds.
- Mild dish soap or vinegar: These natural cleaners work wonders on metal blinds without causing any damage.
- Bucket or Basin: To mix your cleaning solution.
- Soft-bristled Brush: Use this to gently scrub away any dirt or grime build-up on your blinds.
- Towels: To dry off the blinds after cleaning.
Now that you have all the necessary tools, let’s begin the cleaning process!
10 Easy Steps on How to Clean Metal Blinds
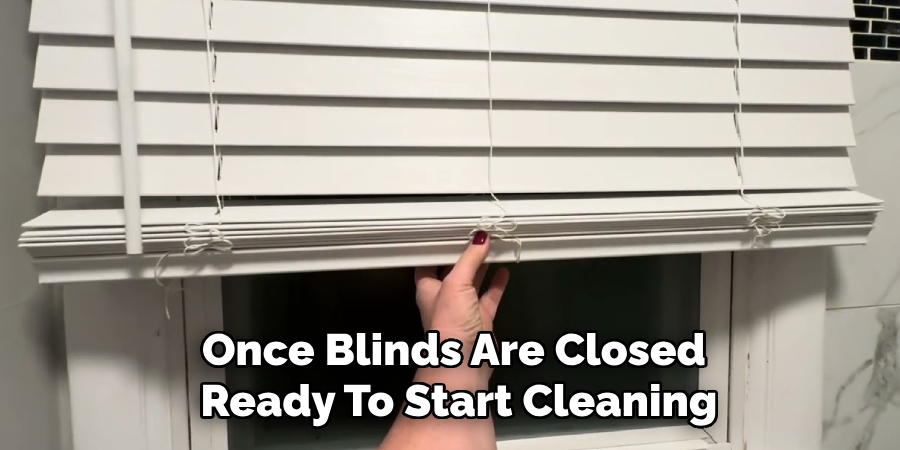
Step 1: Close the Blinds
Once your blinds are closed, you’re ready to start cleaning. Closing the blinds fully ensures that all the slats are aligned in the same position, making it easier to remove dust and dirt uniformly. This step is vital for an even clean because it allows you to address both the front and back sides of the slats individually. If your blinds are horizontal, tilt them downwards to make the surface more accessible.
Begin by lightly dusting the surface of the closed blinds with a microfiber cloth or a feather duster. Gently swipe across the length of each slat, starting from the top and moving downwards. This technique uses gravity to your advantage, allowing the dust to fall as you progress to the lower slats. Pay close attention to the corners and edges where dust tends to accumulate.
Step 2: Reverse the Blinds
Flip the blinds so that the opposite side of the slats is now facing you. This step is crucial to clean both sides of each slat thoroughly. Once the blinds are reversed, use your microfiber cloth or feather duster to dust this side, starting from the top and working your way down. Be gentle yet thorough, making sure to reach the corners and edges. This reversing action allows you to tackle any dust and debris that may have been missed in the first pass, ensuring a consistent clean across all surfaces.
Step 3: Vacuum the Blinds
Now that both sides of the blinds have been dusted, it’s time to use your vacuum cleaner with the upholstery attachment. Set your vacuum to a low suction setting to prevent any damage to the blinds. Gently glide the vacuum nozzle over each slat from top to bottom. This step helps remove any stubborn dust and debris that a simple dusting might have missed. Pay special attention to corners and hard-to-reach areas, as these tend to harbor more dirt. This vacuuming enhances cleanliness and helps maintain the overall condition and lifespan of your metal blinds.
Step 4: Prepare the Cleaning Solution
In a bucket or basin, mix warm water with a few drops of mild dish soap or vinegar. This solution is effective for breaking down grime without harming the metal finish. Ensure the mixture is well-blended but not too soapy, as excessive soap can leave residue. Dip a soft-bristled brush or a cloth into the solution, then gently squeeze out any excess liquid to avoid oversaturating the blinds. This preparation will allow you to remove stubborn stains and buildup from your blinds efficiently.
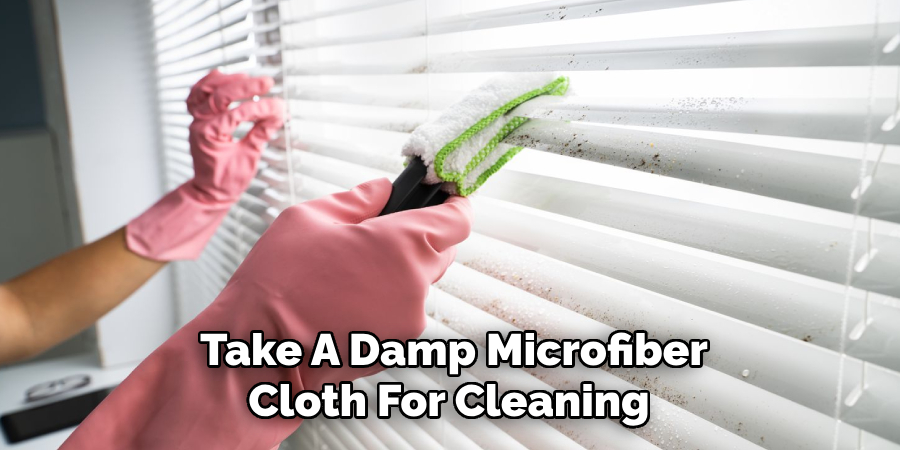
Step 5: Wipe the Blinds
With your cleaning solution prepared, take a damp microfiber cloth or the soft-bristled brush and begin wiping each slat individually. Slide the cloth or brush across the width of each slat, starting from the top and working your way down. This technique helps to effectively remove any residual dirt or grime that dusting did not eliminate. Be careful to wring excess liquid from the cloth or brush before applying it to the blinds to prevent water damage or streaks. Focus on any areas with noticeable buildup, using a bit more pressure to eliminate stubborn spots. Once finished, your blinds should appear significantly cleaner and more vibrant.
Step 6: Rinse the Blinds
After wiping down each slat with the cleaning solution, it’s essential to rinse off any remaining soap or vinegar residue. Fill a separate bucket or basin with clean, warm water. Dip a new microfiber cloth into the water and wring out any excess liquid. Gently wipe each slat once more to remove any remaining cleaning solution. This rinse ensures that your blinds are free from any soapiness that might attract more dust in the future. Work from the top to the bottom of the blinds and address both sides for a comprehensive clean.
Step 7: Dry the Blinds
Once you have rinsed off all the cleaning solutions from the blinds, it is crucial to dry them thoroughly to prevent any water spots or corrosion. Take a clean, dry towel and gently pat each slat from top to bottom. Ensure that both sides of the slats are dry. If your blinds are situated in an area with good airflow, you might also allow them to air-dry completely. However, manually drying them helps to remove any moisture quickly and promotes the longevity of your metal blinds. This extra step guarantees that your blinds look perfectly polished and are ready to be used again.
Step 8: Re-align the Blinds
With the cleaning and drying processes complete, the next step is to re-align your blinds. Begin by twisting the wand or using the control mechanism to adjust the slats to their open position. This re-alignment ensures that the blinds operate smoothly and allows optimal light control. Inspect the slats to make sure they’re evenly spaced and correctly positioned. If necessary, gently adjust any slats that may have moved during cleaning. By realigning the blinds, you restore them to their proper function and enhance your window coverings’ aesthetic and practical aspects.
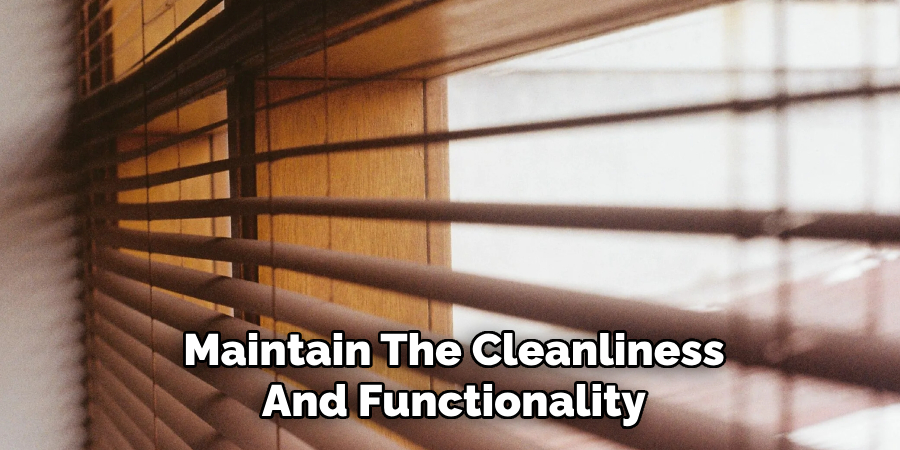
Step 9: Maintenance Tips
To maintain the cleanliness and functionality of your metal blinds over time, there are a few key practices you can implement. Regularly dust the blinds using a microfiber cloth or duster every few weeks to prevent dust buildup. This can be a quick process that helps prolong the periods between deep cleanings. Additionally, inspect the blinds periodically for any signs of damage or wear, such as bent slats or faulty mechanisms. Address these issues promptly to prevent them from worsening. Keeping the area around the blinds free from debris can also help minimize dust accumulation. By incorporating these maintenance tips, you can keep your metal blinds looking fresh and operational throughout the year.
Step 10: Final Inspection and Adjustment
After cleaning and maintaining your metal blinds, perform a final inspection to ensure everything is in place and functioning correctly. Check each slat for cleanliness, ensuring no remaining streaks or spots exist. Test the functionality by raising and lowering the blinds and opening and closing the slats to verify smooth operation. If you notice any issues, such as misaligned slats or sticking mechanisms, address them promptly to ensure optimal performance. This final step guarantees that your blinds are pristine and ready to serve their purpose efficiently.
By following these simple steps and incorporating regular maintenance, you can keep your metal blinds looking clean and functioning correctly for years.
5 Things You Should Avoid
- Using Harsh Chemicals: Avoid using potent cleaning agents or bleach, as these can damage the finish of the metal blinds and promote corrosion over time.
- Scrubbing with Abrasive Materials: Avoid abrasive scrubbers or steel wool when cleaning metal blinds, as they can scratch and damage their surface.
- Drenching with Water: Completely soaking metal blinds can lead to rust and water spots. Instead, to maintain their integrity, use a lightly dampened cloth to clean them.
- Using Excessive Force: Applying too much pressure while cleaning can bend or deform the blinds. Gentle wiping is usually sufficient to remove dust and dirt.
- Don’t Use Excessive Heat: Avoid using hot water or heat guns to clean metal blinds, as this can cause warping and permanently damage the finish. Instead, use lukewarm water and mild soap for cleaning.
In addition to these specific actions to avoid when cleaning metal blinds, some general precautions should also be taken.
Conclusion
When cleaning metal blinds, the key is to maintain their appearance and functionality without causing any damage.
Avoid harsh chemicals, abrasive materials, excessive water, unnecessary force, and heat to ensure your metal blinds remain in excellent condition. Regular cleaning using mild soap and lukewarm water with a gentle cloth will help remove dirt and dust effectively. It’s important to handle each task carefully to prevent accidental harm to the blinds.
By following these guidelines on how to clean metal blinds, you can keep your metal blinds looking pristine and functioning perfectly for years to come.
You can also check it out Laser Cut Metal at Home
Edmund Sumlin is a skilled author for Metal Fixes, bringing 6 years of expertise in crafting a wide range of metal fixtures. With a strong background in metalwork, Edmund’s knowledge spans various types of fixtures, from decorative pieces to functional hardware, blending precision with creativity. His passion for metalworking and design has made him a trusted resource in the industry.
Professional Focus:
- Expert in Metal Fixtures : Edmund aesthetic specializes in creating durable and innovative metal fixtures, offering both appeal and functionality. His work reflects a deep understanding of metalworking techniques and materials.
- Sustainability Advocate : He is dedicated to using sustainable practices, ensuring that every fixture is crafted with eco-friendly methods while maintaining high-quality standards.
In his writing for Metal Fixes, Edmund provides valuable insights into the latest trends, techniques, and practical advice for those passionate about metal fixtures, whether they are professionals or DIY enthusiasts. His focus on combining artistry with engineering helps others discover the true potential of metal in design.