Countersinking a screw in metal is a fundamental technique that enhances the functionality and aesthetics of metalwork projects.
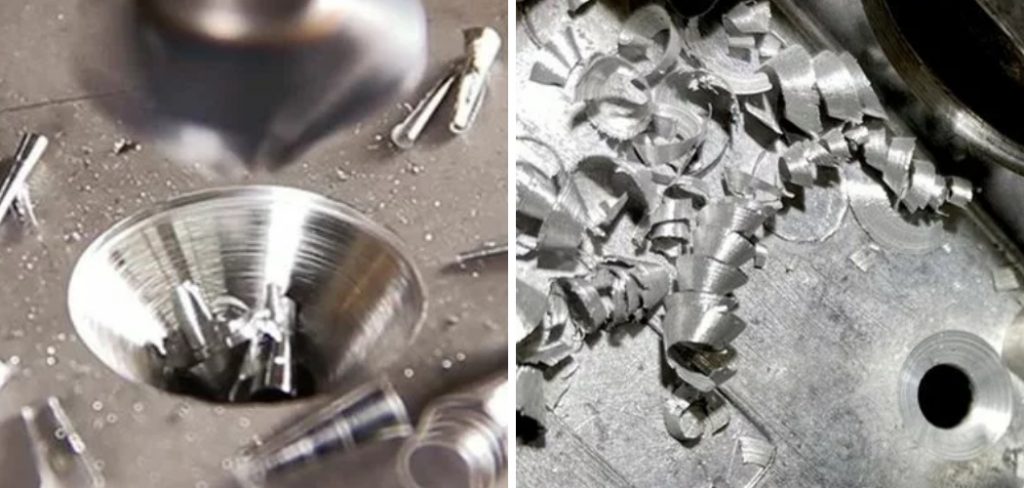
Whether you’re working on a DIY project or involved in professional metal fabrication, achieving a flush finish by properly countersinking screws is essential.
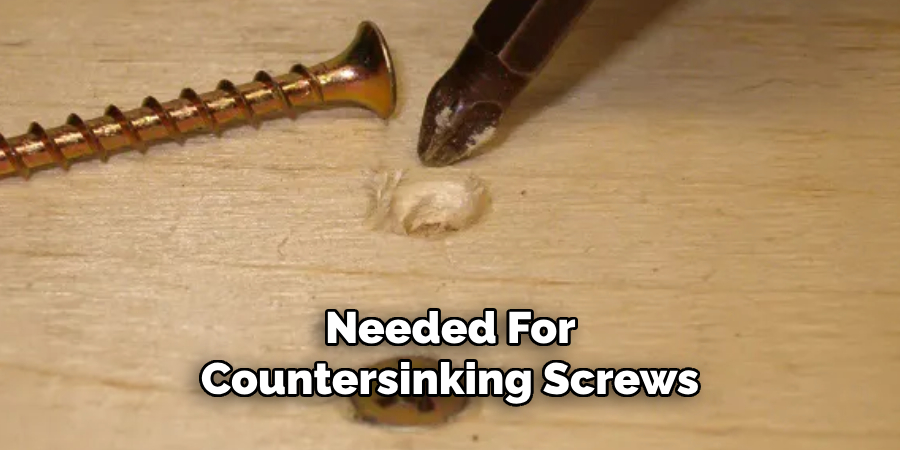
This guide explores the key aspects of how to countersink a screw in metal. Countersinking allows the screw head to sit level with or below the surface of the metal, preventing snags and creating a smooth, professional appearance.
This process involves drilling a conical hole that matches the angle of the screw head, ensuring a snug and secure fit. To successfully countersink a screw in metal, one must select the appropriate tools, including a countersink bit and a drill, and understand the specific requirements of the metal being worked on.
This guide will walk you through the steps of preparing the metal surface, choosing the right countersink bit, drilling the pilot hole, and performing the countersink operation, ensuring a clean and precise result for all your metalworking needs.
Types of Screws and Their Heads
When it comes to countersinking screws in metal, understanding the different types of screws and their heads is crucial for achieving the best results.
Screws come in a variety of head styles, each designed for specific applications. The most common types of screw heads include flat, pan, round, oval, and truss, each with its own unique benefits and uses.
- Flat Head Screws: These screws are designed to sit flush with the surface when countersunk, providing a smooth and even finish. The conical shape of the head makes them ideal for creating a clean, professional look.
- Pan Head Screws: Characterized by their slightly rounded, flat top, pan head screws protrude above the surface, offering a larger surface area for bearing down. They are not typically countersunk and are used where a decorative appearance is not required.
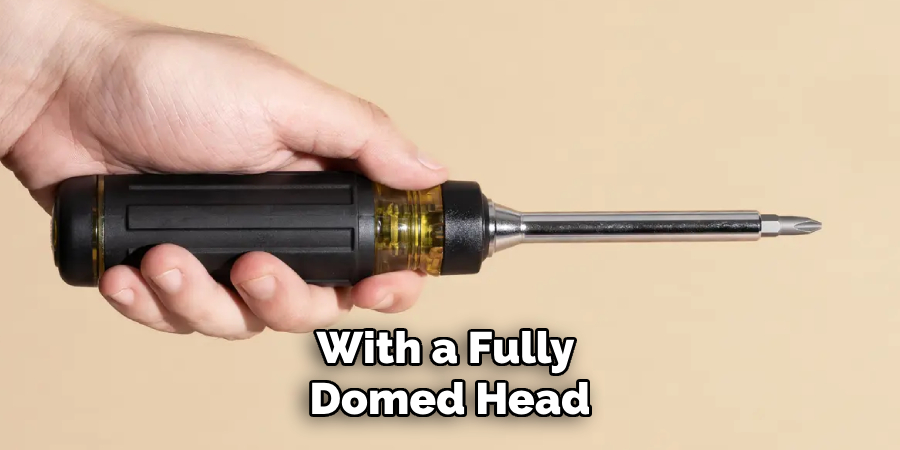
- Round Head Screws: With a fully domed head, these screws are used in applications where the screw head is intended to remain visible and sometimes adds to the design of the project.
- Oval Head Screws: Combining features of both flat and round heads, oval head screws provide a slightly raised finish with a more decorative appearance. They can be partially countersunk for a balanced look.
- Truss Head Screws: These screws have a low, rounded head with a large diameter, which distributes load better and reduces the risk of material deformation. They are often used in applications where a low profile is desired, but not typically countersunk.
10 Methods How to Countersink a Screw in Metal
1. Using a Countersink Drill Bit
A countersink drill bit is specifically designed to create the conical hole needed for countersinking screws. These bits come in various angles, typically 82 or 90 degrees, to match the screw head’s angle.
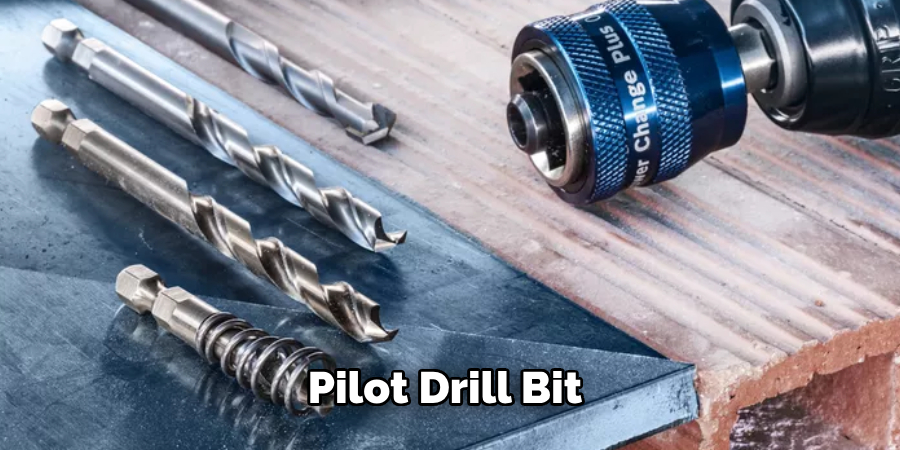
To use this method, first, drill a pilot hole to the diameter of the screw shank. Then, replace the pilot drill bit with the countersink bit. Align the countersink bit with the pilot hole and drill slowly to create the conical depression.
The key is to apply steady pressure and stop periodically to check the depth, ensuring the screw head will sit flush with the surface.
2. Using a Combined Countersink and Drill Bit
Combined countersink and drill bits streamline the process by combining pilot drilling and countersinking into a single step. These bits have a smaller tip for the pilot hole and a larger countersink portion.
To use this method, select the appropriate combined bit for the screw size and material. Align the bit with the screw’s intended position and drill steadily. The bit will first create the pilot hole and then automatically countersink the surrounding area.
3. Utilizing a Countersink Attachment for Power Drills
For those who already own a power drill, using a countersink attachment can be a cost-effective and versatile solution.
These attachments can be fitted onto standard drill bits, converting them into countersinks. Start by drilling the pilot hole with a standard bit, then attach the countersink tool.
Align the attachment with the pilot hole and drill to create the countersink. The advantage of this method is its flexibility, allowing you to use various pilot drill bit sizes while achieving a consistent countersink.
4. Employing a Countersink Hand Tool
A countersink hand tool, or deburring tool, allows for manual control when creating a countersink in metal. These tools are ideal for delicate work or situations where precision is paramount.
First, drill the pilot hole with a standard drill bit. Then, insert the countersink hand tool into the pilot hole and twist it manually to create the conical depression. The manual operation allows for fine adjustments and control over the countersink depth, making it suitable for thin metals or intricate projects.
5. Using a CNC Machine for Automated Countersinking
For industrial applications and high-precision work, using a CNC (Computer Numerical Control) machine can automate the countersinking process. CNC machines are programmed to perform complex tasks with high accuracy and repeatability. To use this method, input the dimensions and specifications of the countersink into the CNC machine’s software.
Secure the metal workpiece on the machine bed, and let the CNC machine perform the pilot drilling and countersinking automatically.
6. Applying a Countersink Chamfer Tool
A countersink chamfer tool, often used in conjunction with a drill press or milling machine, is designed to create precise countersinks in metal.
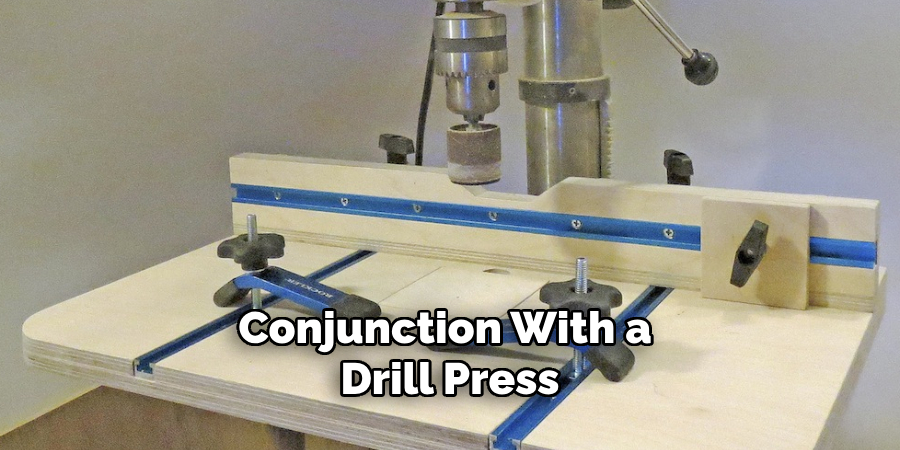
These tools come with adjustable cutting edges to control the diameter and depth of the countersink. To use this method, first, drill the pilot hole. Then, mount the chamfer tool in the drill press or milling machine.
Align the tool with the pilot hole and slowly lower it to create the countersink. The adjustable cutting edges allow for customization, ensuring the screw head sits perfectly flush with the metal surface.
7. Using a Reamer for Countersinking
A reamer is a cutting tool used to enlarge and finish the interior of a hole. While not specifically designed for countersinking, a reamer can be used to create a smooth, conical surface.
First, drill the pilot hole with a standard bit. Then, insert the reamer into the hole and rotate it manually or with a low-speed drill to create the countersink.
This method is particularly useful for creating precise, smooth holes in hard metals. The reamer’s design ensures a clean finish, reducing the risk of burrs and irregularities. This technique is suitable for high-precision tasks where a perfect finish is required.
8. Employing a Countersink Bit with a Depth Stop
A countersink bit with a depth stop is designed to ensure consistent countersink depths across multiple holes.
The depth stop is an adjustable collar that prevents the bit from drilling too deeply. To use this method, first, set the depth stop to the desired depth based on the screw head’s size.
Drill the pilot hole with a standard bit, then switch to the countersink bit with the depth stop. Align the bit with the pilot hole and drill until the depth stop makes contact with the metal surface. This method ensures uniform countersink depths, making it ideal for projects requiring consistency and precision.
9. Using a Drill Press for Controlled Countersinking
A drill press provides stability and control when drilling and countersinking in metal. To use this method, first, secure the metal workpiece to the drill press table using clamps or a vise. Drill the pilot hole with a standard bit.
Then, replace the drill bit with a countersink bit. Align the bit with the pilot hole and lower the drill press spindle slowly to create the countersink.
The drill press’s stable platform and adjustable speed settings allow for precise control, making this method suitable for professional workshops and detailed projects. This approach ensures accuracy and repeatability, especially for larger or heavier workpieces.
10. Combining Methods for Optimal Results
Combining multiple methods can provide the best results, especially for complex or high-precision projects.
For instance, you might start with a combined countersink and drill bit to create the pilot hole and initial countersink. Then, use a countersink hand tool to fine-tune the depth and smoothness of the countersink. Alternatively, you can use a CNC machine for initial precision and follow up with a reamer for a perfect finish.
Combining methods allows you to leverage the strengths of different tools and techniques, ensuring the highest quality results. This approach is particularly useful for custom projects and situations where standard methods may not be sufficient.
Conclusion
Countersinking screws in metal requires a combination of the right tools, techniques, and attention to detail.
From using specialized countersink bits and attachments to employing manual tools and CNC machines, each method outlined in this guide offers unique advantages for achieving precise and professional results.
By understanding and applying these methods, you can ensure that your countersinking projects are successful, whether you are working on a DIY project or in a professional setting.
Mastering these techniques will enhance your metalworking skills, enabling you to produce high-quality, finished products with smooth and flush screw heads. Thanks for reading our blog post on how to countersink a screw in metal! We hope you found it helpful and informative.
Edmund Sumlin is a skilled author for Metal Fixes, bringing 6 years of expertise in crafting a wide range of metal fixtures. With a strong background in metalwork, Edmund’s knowledge spans various types of fixtures, from decorative pieces to functional hardware, blending precision with creativity. His passion for metalworking and design has made him a trusted resource in the industry.
Professional Focus:
- Expert in Metal Fixtures : Edmund aesthetic specializes in creating durable and innovative metal fixtures, offering both appeal and functionality. His work reflects a deep understanding of metalworking techniques and materials.
- Sustainability Advocate : He is dedicated to using sustainable practices, ensuring that every fixture is crafted with eco-friendly methods while maintaining high-quality standards.
In his writing for Metal Fixes, Edmund provides valuable insights into the latest trends, techniques, and practical advice for those passionate about metal fixtures, whether they are professionals or DIY enthusiasts. His focus on combining artistry with engineering helps others discover the true potential of metal in design.


