

Are you looking to cut a hole in a metal sheet but need help knowing where to start? Cutting through metal can be intimidating, but it can be done quickly and safely with the right tools and techniques.
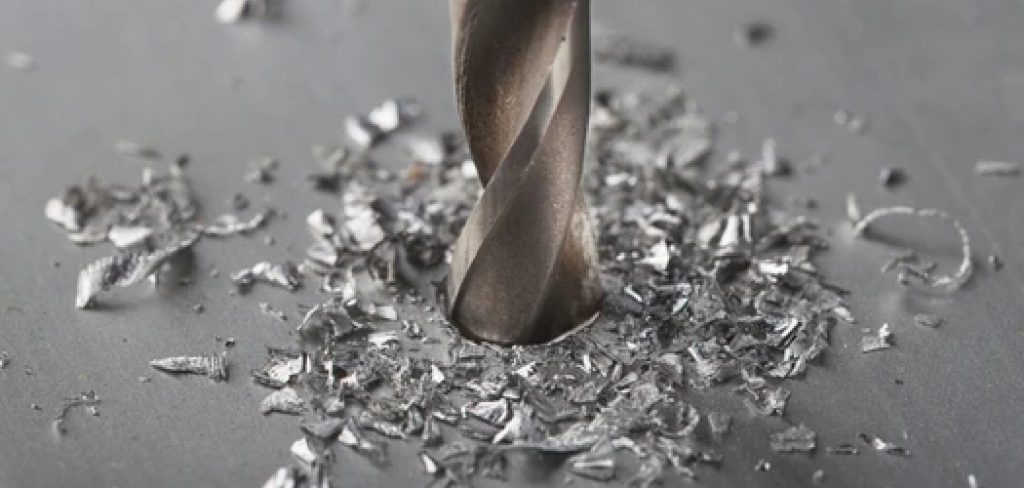
Cutting a hole in a metal sheet requires precision and the right tools to ensure a clean and safe outcome. Whether working on a DIY project or handling a professional assignment, understanding the proper techniques and safety measures is crucial.
This guide on how to cut a hole in metal sheet will walk you through the necessary steps, from selecting the appropriate tools to executing the cut with finesse. With the right preparation and a bit of practice, you can achieve professional results that meet your project specifications.
What Will You Need?
Before you start cutting, gathering all the necessary tools and materials is essential. Here’s a list of items that will come in handy when cutting a hole in a metal sheet:
- Metal sheet (aluminum, steel, or copper)
- Measuring tape
- Pencil or marker
- Drill
- Drill bits (specifically designed for metal)
- Safety glasses
If you’re using power tools, safety equipment like gloves and ear protection is crucial. Additionally, make sure to have a stable work surface and secure your metal sheet with clamps or vice grips before beginning the cut.
10 Easy Steps on How to Cut a Hole in Metal Sheet
Step 1. Measure and Mark:
To begin, measure the area where you want to cut the hole using a measuring tape. Once you have determined the dimensions, use a pencil or a marker to mark the metal sheet. Make sure your markings are accurate and precise, acting as a guide for your cutting process.
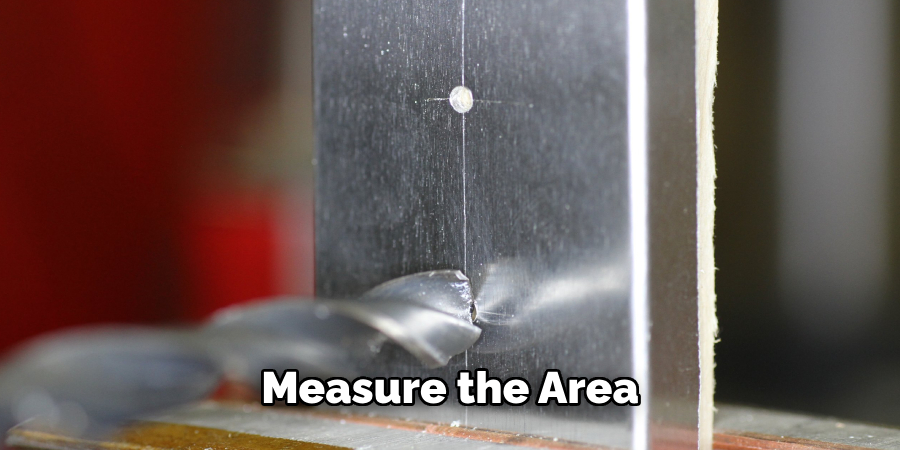
If precision is essential, consider using a stencil or a template to ensure the marked outline is perfect and consistent throughout. Double-check your measurements and markings before proceeding to ensure that the final cut meets your project’s requirements.
Step 2. Choose the Right Drill Bit:
Once you have your markings in place, the next step is to select the appropriate drill bit for your metal sheet. Using drill bits specifically designed for metal is crucial to achieving a smooth and precise cut. The size of the drill bit should align with the size of the hole you want to create.
For larger holes, start with a smaller pilot hole before switching to a more substantial bit. This approach increases accuracy and reduces the risk of damaging the metal sheet or the drill bit. Ensure the drill bit is sharp and in good condition to facilitate an efficient cutting process.
Step 3. Secure the Metal Sheet:
Before you start drilling, it’s vital to ensure that your metal sheet is firmly secured to prevent any movement that could lead to injury or an inaccurate cut. Use clamps or a vice grip to hold the metal sheet securely on a stable work surface.
Doing this minimizes the risk of the sheet shifting under pressure, which could result in an uneven cut or cause the drill to slip. It’s essential to check that the clamps are tightly fastened and that the surface you’re working on can sustain the drilling pressure.
Place a wooden block or scrap material underneath the metal to protect the work surface from any stray drill holes. This not only preserves the integrity of your workspace but also ensures that your metal sheet remains stable and properly positioned during the cutting process. During this step, wear your safety glasses to protect your eyes from metal shavings and debris.
Step 4. Drill a Pilot Hole:
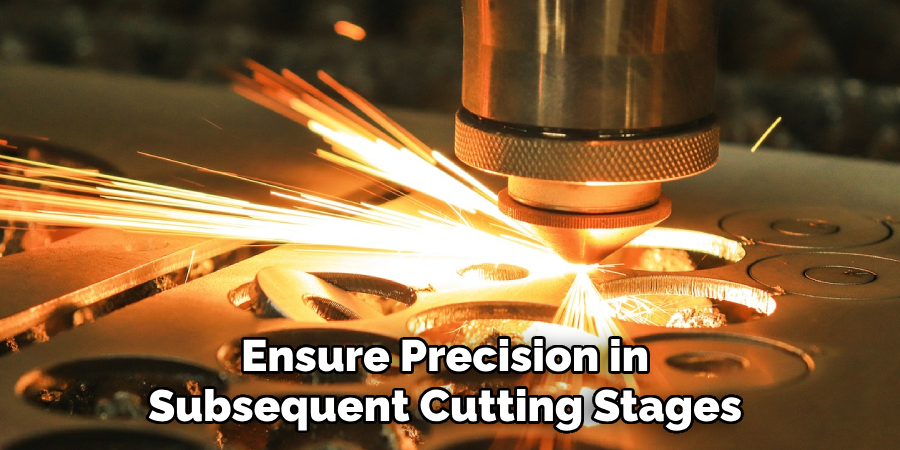
With the metal sheet securely in place, it’s time to use your drill to create a pilot hole at the center of your marked area. A pilot hole is a small initial hole that guides the more significant drill bit, ensuring better control and accuracy as you proceed. Start by positioning the drill perpendicular to the metal surface to avoid skewing the hole.
Apply steady pressure and keep the drill speed consistent. Once the pilot hole is completed, assess its alignment with your markings. This step is crucial, especially if you plan to expand the size of the hole using more significant drill bits later. Remember, the pilot hole is a guide to ensure precision in subsequent cutting stages. Make sure you adjust any discrepancies at this point before moving on to the next steps.
Step 5. Increase Drill Bit Size Gradually:
Once you have successfully drilled the pilot hole, it is time to incrementally increase the drill bit size to reach your desired hole diameter. Begin by choosing a slightly larger drill bit than the pilot hole and carefully drilling through the same point. This gradual approach minimizes stress on the metal sheet and the drill, reducing the likelihood of errors or slip-ups.
Continue this process, switching to progressively larger drill bits until you achieve the final hole size. It’s essential to maintain steady hands and a consistent drilling speed throughout this step to ensure a clean and precise cut. Always inspect the alignment with your initial markings after each increase in drill bit size, making sure to correct any deviations promptly.
Step 6. Smooth the Edges:
After achieving the desired hole size, the next crucial step is to smooth the edges of the cut hole. Raw edges can be sharp and pose a risk of injury, so addressing this promptly is essential. Use a metal file or a deburring tool to smooth and round the edges of the hole gently. Work slowly and steadily, periodically checking the edges’ feel to ensure safety and smoothness.
For an even finish, follow up with sandpaper or an abrasive pad, which can help eliminate any remaining sharp burrs or rough spots. Taking the time to smooth the edges properly will enhance safety and contribute to a professional, clean appearance for your project. Always wear gloves during this process to protect your hands from potentially sharp metal shavings.
Step 7. Clean the Work Area:
Once the hole has been successfully cut and the edges are smoothed, cleaning the work area thoroughly is essential. Metal shavings and debris can pose a hazard if left unattended. Use a brush or vacuum to collect and dispose of these particles safely. Ensuring a clean workspace minimizes the risk of injury and maintains the efficiency and accuracy of your tools for future projects.

Additionally, a tidy area can help prevent contamination of the metal sheet by other materials, preserving the integrity of your project. Check your workspace for any stray shavings or obstacles that might have been missed, and always return your tools to their designated storage places to maintain an organized environment.
Step 8. Inspect the Finished Product:
After completing your project and cleaning the work area, thoroughly inspect the final product. Carefully examine the hole to ensure it is the correct size and perfectly aligned with your initial markings. Check for any remaining sharp edges or burrs that may have been overlooked during the smoothing process.
Assess the overall integrity of the metal sheet to verify that it remains undamaged and meets the project specifications. This final inspection step is crucial to guarantee that the quality and safety standards are met before considering the task complete. Make any necessary adjustments or refinements based on your observations to achieve a flawless finish.
Step 9. Apply a Protective Coating:
The final step in your metalworking project should be to apply a protective coating to the finished product. This coating helps prevent rust and corrosion, extending the life and maintaining the appearance of the metal. Depending on your project’s requirements, you can choose from several protective options, such as paint, clear lacquer, or specialized metal sealants.
Use a clean brush or spray applicator to apply the coating evenly across the metal surface, ensuring that all edges and corners are adequately covered. Allow the coating to dry as per the manufacturer’s instructions before handling the piece. Implementing this protective measure not only enhances your project’s durability and aesthetics but also underscores your work’s quality and professionalism.
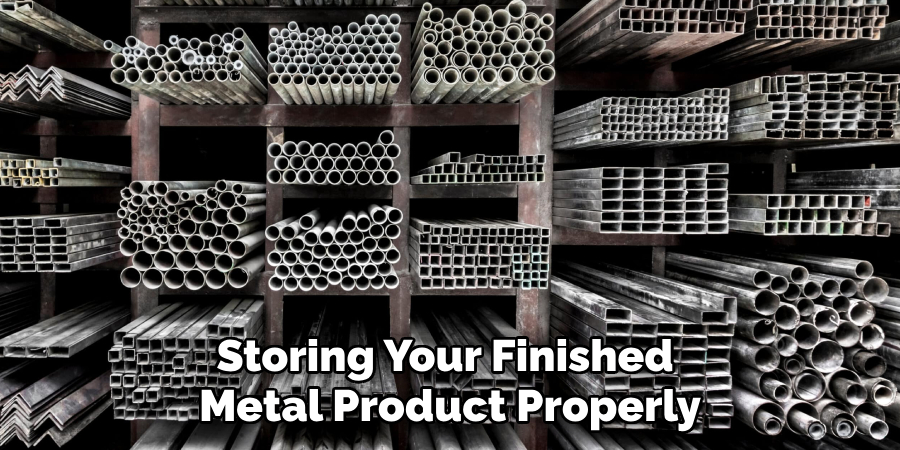
Step 10. Store the Finished Product Properly:
After applying the protective coating and allowing it to dry completely, storing your finished metal product properly is essential to maintain its integrity over time. Ensure it is kept in a clean, dry environment, away from elements that can cause damage, such as moisture or extreme temperatures.
Use soft padding or protective coverings to prevent scratches or dents if the product is stored with other items. Labeling the storage area can help quickly locate the product for future use or inspection. Proper storage not only preserves the quality of your work but also reflects good practices in project management and care.
Following these steps, you can successfully and safely cut a hole in a metal sheet for your project.
Conclusion
How to cut a hole in metal sheet requires meticulous attention to detail and adherence to a series of strategic steps to ensure both precision and safety.
From gathering the appropriate tools and materials to executing the final protective measures, each stage plays a critical role in the project’s overall success. You can achieve a clean and accurate cut by carefully planning the procedure and incrementally increasing the drill bit size.
Smoothing rough edges, inspecting the finished hole, and applying a protective coating are essential to maintaining the integrity and longevity of your work.
Successful execution of these steps demonstrates a combination of skill, patience, and best practices in metalworking, allowing you to create professional-grade results confidently.
Edmund Sumlin is a skilled author for Metal Fixes, bringing 6 years of expertise in crafting a wide range of metal fixtures. With a strong background in metalwork, Edmund’s knowledge spans various types of fixtures, from decorative pieces to functional hardware, blending precision with creativity. His passion for metalworking and design has made him a trusted resource in the industry.
Professional Focus:
- Expert in Metal Fixtures : Edmund aesthetic specializes in creating durable and innovative metal fixtures, offering both appeal and functionality. His work reflects a deep understanding of metalworking techniques and materials.
- Sustainability Advocate : He is dedicated to using sustainable practices, ensuring that every fixture is crafted with eco-friendly methods while maintaining high-quality standards.
In his writing for Metal Fixes, Edmund provides valuable insights into the latest trends, techniques, and practical advice for those passionate about metal fixtures, whether they are professionals or DIY enthusiasts. His focus on combining artistry with engineering helps others discover the true potential of metal in design.