Are you working on a DIY project or need to make repairs around your home? Cutting aluminum pipe can be a useful skill when working with plumbing, irrigation systems, or metalworking.
How to cut aluminum pipe requires precision and the right tools to ensure clean cuts and accurate measurements. Whether you’re working on a DIY project or a professional installation, understanding the properties of aluminum and choosing the appropriate cutting method are crucial to achieving optimal results.

This guide will walk you through the essential steps and techniques for cutting aluminum pipes safely and effectively. It will cover different tools that can be used, from manual saws to power tools, as well as best practices for maintaining the quality of the pipe during the cutting process.
What Will You Need?
The following tools will be required for cutting aluminum pipes:
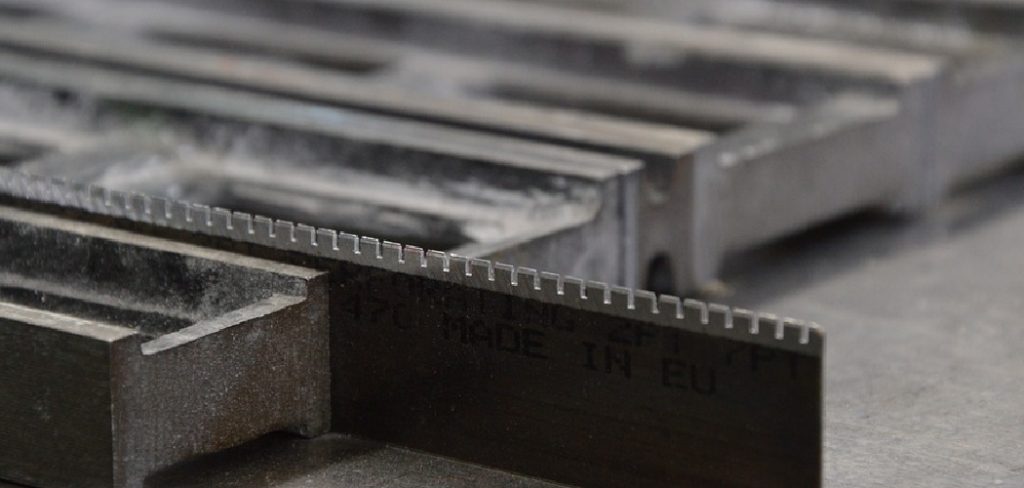
- Hacksaw: A common and versatile tool used to cut through metal, a hacksaw is perfect for smaller, thinner aluminum pipes. It has a thin blade with small teeth that allows for precise cuts.
- Pipe Cutter: Designed specifically for cutting cylindrical objects like pipes, pipe cutters use a sharp wheel to score the surface of the pipe before applying pressure to snap it cleanly.
- Miter Saw: A chop saw or drop saw is an ideal power tool for larger projects involving thicker aluminum pipes. It has a circular blade mounted on an arm that can be angled to make miter cuts.
- Jigsaw: This handheld power tool uses a reciprocating blade to make curved or intricate cuts in aluminum pipes. It is excellent for cutting non-linear shapes and angles.
- Lathe: A lathe can be used to cut and shape aluminum pipes accurately for more advanced metalworking projects. However, this requires specialized skills and knowledge of operating this equipment safely.
When using power tools, you will also need appropriate safety gear, such as gloves, goggles, and ear protection.
10 Easy Steps on How to Cut Aluminum Pipe
Step 1. Measure and Mark the Pipe:
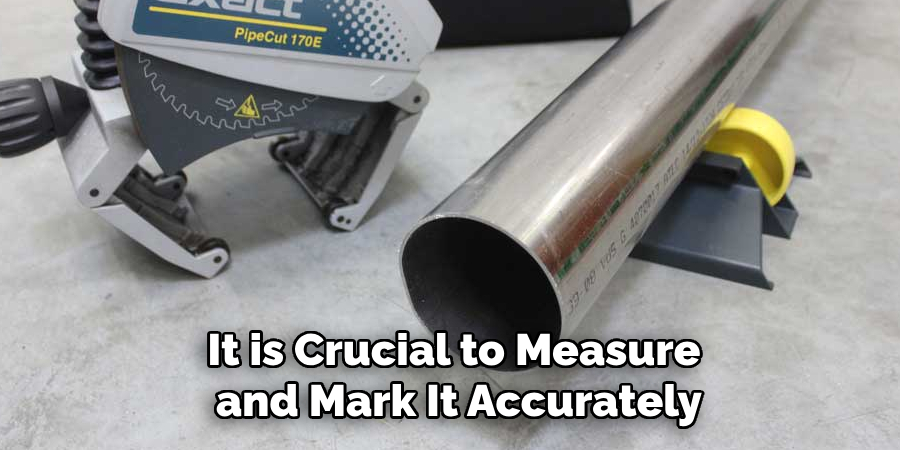
Before you begin cutting the aluminum pipe, it is crucial to measure and mark it accurately. Start by determining the length of the pipe you need for your project. Use a measuring tape to measure the exact size, ensuring precision to avoid wastage or errors. Once you have your measurements, take a permanent marker or a scribing tool to mark the precise spot on the aluminum pipe where you plan to cut. Ensure the mark is clear and distinct so it is easily visible during the cutting process. Making precise measurements and marks is the foundation of achieving a clean and accurate cut, which is essential for the overall success of your project.

Step 2. Secure the Pipe:
Once you have measured and marked the aluminum pipe, the next step is to secure it firmly to ensure stability during the cutting process. A pipe vise or a secure workbench with clamps is recommended to hold the pipe in place. Ensure the pipe is positioned so the portion you intend to cut hangs freely without obstruction. This positioning prevents any movement that could affect precision while cutting. Ensuring the pipe is adequately secured not only aids in achieving a cleaner cut but also enhances safety, reducing the risk of injury from a slipping or moving pipe.
Step 3. Choose the Right Tool for the Cut:
Having secured the pipe, the next critical decision involves selecting the appropriate tool based on the pipe’s size, thickness, and the type of cut required. A hacksaw or pipe cutter is often sufficient for straight and basic cuts on smaller or thinner aluminum pipes. Consider using a miter saw or jigsaw if the pipe is thicker or requires angled, miter, or intricate cuts. A lathe may be used in professional settings or for complex shapes, provided the operator has the necessary expertise. Choosing the right tool ensures precision and minimizes the risk of damaging the pipe or wasting material. Assess the specific requirements of your project to determine which tool will deliver the best results efficiently.
Step 4. Check the Blade or Cutting Wheel:

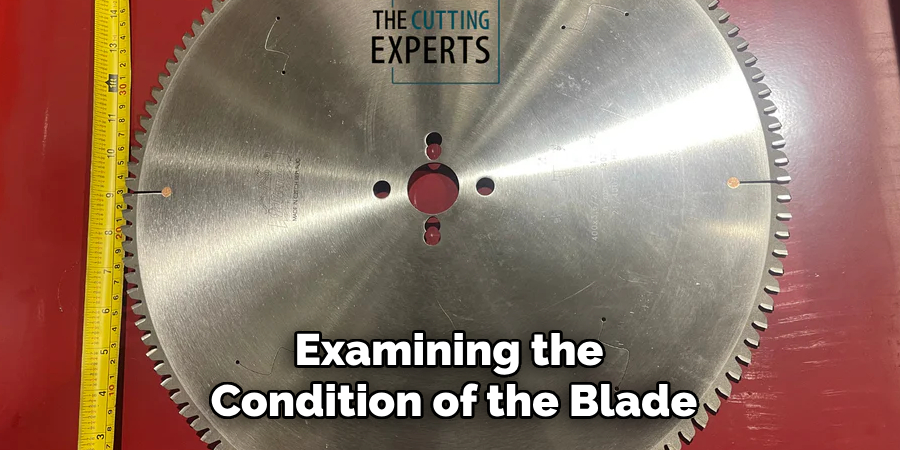
Before proceeding with the cut, examining the condition of the blade or cutting wheel on your chosen tool is essential. Ensure it is sharp, clean, and free from rust or any obstructions that could impair its performance. A dull or damaged blade can result in jagged edges, inefficient cutting, and potentially harm the pipe or the tool itself. If necessary, replace the blade with a new one to ensure optimal cutting performance. Regularly maintaining your tools promotes safety and extends their lifespan, resulting in better outcomes and smoother operations in all your cutting tasks.
Step 5. Begin Cutting the Pipe:
With your tool selected and the blade checked, position the tool at the marked position on the secured aluminum pipe. If you’re using a hacksaw or manual tool, apply steady, even pressure as you begin to cut, ensuring the tool remains aligned with your mark. For power tools like a miter saw or jigsaw, start the tool before engaging the blade with the pipe to avoid any chipping.
Follow the marked line carefully to maintain precision and achieve a clean cut, allowing the tool to do most of the work—forcing it may lead to inaccuracies. Maintain a consistent pace to ensure the cut is smooth and free from any burrs or uneven edges. Remember to wear safety gear throughout the cutting process to protect against any stray metal shavings or potential tool kickbacks.
Step 6. Smooth the Edges:

After successfully cutting the aluminum pipe, you may find rough edges or burrs along the cut line. Smoothing these edges is essential to ensure safety and prepare the pipe for subsequent tasks. Use a metal file, sandpaper, or a deburring tool to remove any sharp or uneven areas. Gently work along the edge of the pipe, focusing on achieving a clean and smooth finish. This process not only enhances the appearance of the cut but also prevents potential injuries from handling sharp edges. For the best results, take your time and ensure that all edges are adequately smoothed before proceeding to the next stage of your project.
Step 7. Clean the Pipe:
Once the edges of the aluminum pipe are smoothed, it’s important to clean the pipe to remove any debris or metal shavings left from the cutting and filing process. Use a clean cloth or brush to wipe the surface of the pipe, ensuring that all particles are removed. This step not only enhances the appearance of the pipe but also prevents contamination or interference in any subsequent stages of your project, such as welding or fitting. For stubborn residues, consider using a mild cleaning solution or degreaser suitable for aluminum. Ensure that the pipe is completely dry before moving on, as this will aid in achieving a strong bond or connection if further assembly is required.
Step 8. Inspect and Test the Cut:

After cleaning the pipe, it is essential to conduct a final inspection to ensure that the cut meets your specifications and standards. Check for precision in alignment, smoothness of edges, and any signs of imperfections or irregularities. If the pipe is a larger assembly component, test its fit with other elements to confirm compatibility. This step is vital to avoid problems during installation or assembly and ensures that the pipe will perform optimally in its intended application. Making any necessary adjustments at this stage can save time and resources later on in the project. Once satisfied with the inspection, the cut pipe is ready for use or further processing.
Step 9. Finalize and Secure the Installation:
With the pipe cut, smoothed, and inspected, you’re ready to proceed with its installation or integration into your project. Position the pipe in its intended location, ensuring it aligns correctly with any adjoining components. Use appropriate connectors or fasteners to secure the pipe in place, ensuring a stable and lasting fit. Depending on your project requirements, this may involve soldering, welding, or using mechanical fittings. Double-check all connections for tightness and security to prevent any potential leaks or weak points. Confirm that the pipe’s orientation is correct and that all safety standards for your application are met. By finalizing the installation correctly, you ensure the durability and functionality of the completed project.
Step 10. Conduct a Final Quality Check:
Once the aluminum pipe has been installed and secured, it’s crucial to perform a final quality check to ensure the entire setup meets the highest quality and safety standards. This involves revisiting each process step, from the initial cut to the final installation, ensuring all criteria have been met. Look for any signs of wear, misalignment, or potential weak points in the installation. Verify that all connections are properly secured and the pipe fits seamlessly within its intended application. Test the system under expected operating conditions to confirm performance and leak-free operation.
By following these ten steps, you can confidently and safely cut aluminum pipes for any project or application.
Conclusion
In conclusion, how to cut aluminum pipe effectively requires a combination of the right tools, careful planning, and meticulous execution.
You can achieve clean and accurate results by thoroughly preparing the work environment, selecting suitable cutting tools, and following precise measurement and cutting techniques. It’s essential to prioritize safety by wearing appropriate protective equipment and maintaining your tools regularly. Attention to detail during each stage—from marking the pipe to ensuring a clean cut and smooth edges—ensures the final product is high quality.
Whether you’re a professional or a DIY enthusiast, adhering to these guidelines will enhance the success of your projects involving aluminum piping.
Edmund Sumlin is a skilled author for Metal Fixes, bringing 6 years of expertise in crafting a wide range of metal fixtures. With a strong background in metalwork, Edmund’s knowledge spans various types of fixtures, from decorative pieces to functional hardware, blending precision with creativity. His passion for metalworking and design has made him a trusted resource in the industry.
Professional Focus:
- Expert in Metal Fixtures : Edmund aesthetic specializes in creating durable and innovative metal fixtures, offering both appeal and functionality. His work reflects a deep understanding of metalworking techniques and materials.
- Sustainability Advocate : He is dedicated to using sustainable practices, ensuring that every fixture is crafted with eco-friendly methods while maintaining high-quality standards.
In his writing for Metal Fixes, Edmund provides valuable insights into the latest trends, techniques, and practical advice for those passionate about metal fixtures, whether they are professionals or DIY enthusiasts. His focus on combining artistry with engineering helps others discover the true potential of metal in design.


