Electroplating silver is a fascinating process that allows you to coat objects with a thin layer of shiny silver.
This technique is widely used to enhance the appearance and durability of various items, from jewelry to tableware. Using an electrochemical process, a thin layer of silver is deposited onto a conductive surface, creating a lustrous and reflective finish. In addition to aesthetic purposes, silver electroplating can provide benefits such as corrosion resistance and improved electrical conductivity. Whether you’re a hobbyist looking to add a personal touch to your creations or a professional aiming to enhance the quality of your products, understanding how to electroplate silver can be a valuable skill.
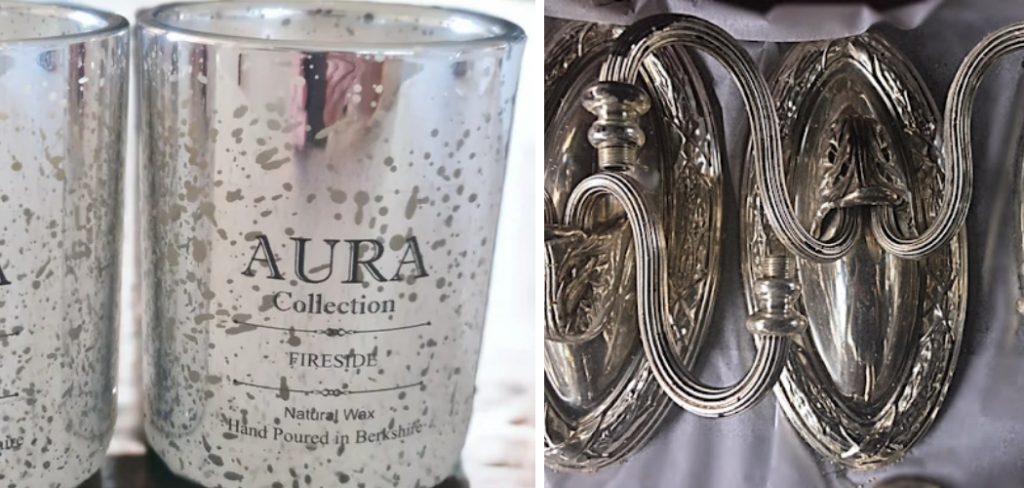
This guide will take you through the essential steps and necessary materials to achieve successful silver electroplating.
What Will You Need?
Before you begin electroplating silver, gathering all the necessary materials is important. Here are the items you will need:
- A piece of silver that will act as the plating material
- An object made of a conductive material such as copper or brass to be plated
- Electroplating solution containing silver ions
- DC power supply
- Wire for connecting the objects to the power supply
Once you have all the materials ready, you can start preparing for the electroplating process.
10 Easy Steps on How to Electroplate Silver
Step 1: Prepare Your Objects
Begin by thoroughly cleaning the object you plan to electroplate. Any dirt, grease, or oxidation on the object’s surface can interfere with the plating process, resulting in an uneven or poor-quality coating. Use a mild detergent and warm water to wash the object, scrubbing gently with a soft brush if necessary. Rinse it thoroughly and allow it to dry completely. In some cases, you might need to use a specialized cleaning solution or an abrasive brush to ensure all residues are removed.
Step 2: Set Up the Electroplating Apparatus
To set up your electroplating apparatus, begin by placing the object to be plated and the silver anode in the electroplating bath. The object should be suspended in the solution, ensuring it does not touch the sides or bottom of the container. This can be achieved by using a support or a hook to hold the object securely. Then, connect the object to the negative terminal of the DC power supply using a piece of wire, turning it into the cathode. Similarly, connect the silver anode to the positive terminal. Ensure that the connections are secure and stable to facilitate a steady current flow during the plating process.
Step 3: Prepare the Electroplating Solution
Before submerging the objects in the electroplating bath, preparing the electroplating solution containing silver ions is essential. Ensure that the solution is correctly mixed according to the manufacturer’s instructions, as the concentration of silver ions will directly impact the quality of the plating. The solution should be clear and free of any particulates that might lead to defects in the coating. If necessary,
filter the solution to remove any unwanted impurities. Additionally, check that the temperature of the solution aligns with the recommended range, as temperature fluctuations can affect the plating rate and the finish’s uniformity. Once the solution is ready, proceed to immerse the prepared object and the silver anode in it, ensuring that both are fully submerged while maintaining their proper positions within the apparatus.
Step 4: Start the Electroplating Process
Once your setup is complete and the silver anode and the object to be plated are fully submerged in the electroplating solution, you can begin the electroplating process. Slowly switch on the DC power supply, ensuring that the voltage and current are set according to the specifications for your plating project.
A low and steady current is typically favored, as it allows for a more uniform layer of silver to form over time. Monitor the process closely, looking out for any irregularities, such as excessive bubbling or uneven deposition, which might indicate an issue with your setup. The length of time needed for plating will vary depending on the desired thickness of the silver layer.
Step 5: Rinse and Dry the Plated Object
After completing the electroplating process, it’s crucial to rinse the freshly plated object thoroughly to remove any residual electroplating solution. Distilled water is used for rinsing, as it helps prevent any additional impurities from adhering to the silver surface. Gently swish the object in the water, ensuring that all crevices and recesses are free of the solution. After rinsing, carefully dry the object with a soft, lint-free cloth to avoid scratching the delicate silver layer. Allow it to air dry completely before handling to ensure no moisture remains, which could lead to tarnishing or surface blemishes over time.

Step 6: Inspect and Polish the Silver-Plated Object
Once the object has dried completely, the next step is to inspect it for any defects or irregularities in the silver plating. Carefully examine the surface to ensure that the silver layer is smooth and uniform. If any areas appear thin or uneven, additional electroplating might be necessary. After inspection, polishing can enhance the luster and smoothness of the silver-plated object. Use a soft polishing cloth and a gentle silver polish, applying it in circular motions until the desired shine is achieved.
Step 7: Apply a Protective Coating
Consider applying a protective coating to extend the lifespan and preserve the appearance of your newly silver-plated object. This layer helps safeguard the silver against tarnishing, scratches, and environmental factors. Choose a suitable lacquer or sealant designed for silver, ensuring it is transparent and non-yellowing. Apply the coating in a thin, even layer using a soft brush or spray, following the manufacturer’s instructions. Allow it to dry completely in a dust-free environment to minimize imperfections. Adding this protective layer, you will enhance the durability of the plating and maintain the object’s brilliance over time.
Step 8: Maintain the Silver-Plated Object
Maintaining the quality and brilliance of your silver-plated object requires regular care and attention. To prevent tarnishing, periodically clean the item with a soft, lint-free cloth, avoiding abrasive materials that could scratch the surface. For deeper cleaning, use a mild silver polish tailored for plated items, ensuring you follow the product’s instructions. Additionally, to minimize exposure to air and moisture—common causes of tarnish—store the object in a dry place, possibly with anti-tarnish paper or silica gel packs.
Step 9: Document and Photograph the Silver-Plated Object
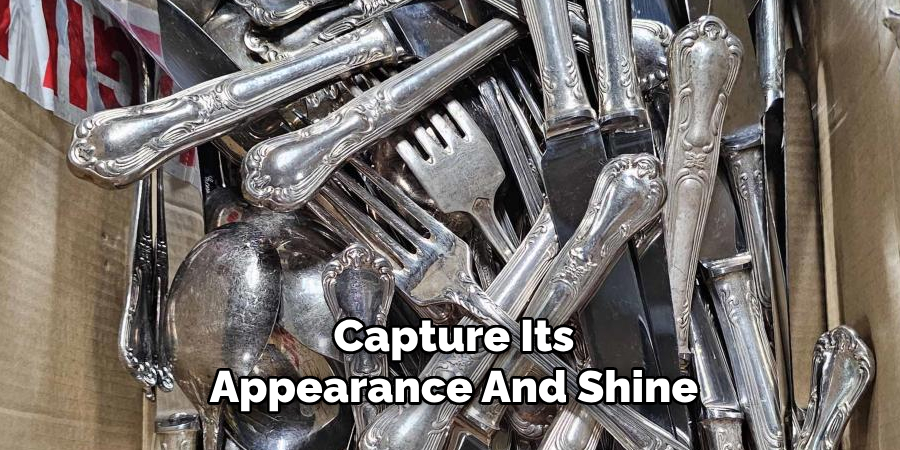
As the final step in the silver-plating process, document your work by creating a detailed record of the procedure and outcomes. Take high-quality photographs of the finished object to capture its appearance and shine. This visual documentation aids in assessing the quality of the plating and serves as a valuable reference for future projects. Include notes on the techniques, any challenges encountered, and the measures taken to address them. Maintaining thorough records enhances your ability to reproduce successful results, refine your process, and share insights with others interested in silver plating.
Step 10: Display the Silver-Plated Object
After documenting your work, take the opportunity to showcase your newly silver-plated object. Selecting an appropriate display space is crucial to highlight its aesthetic value and ensure it remains pristine. Choose a well-lit area free of direct sunlight, as continuous exposure to UV rays can cause fading or tarnishing over time. Consider placing the object in a display case to protect it from dust and handling while also emphasizing its decorative appeal. Elevate the presentation by using a complementary backdrop or stand that enhances the object’s characteristics.
By following these steps and paying attention to detail, you can successfully silverplate a variety of objects.
5 Things You Should Avoid
- Skipping Surface Preparation: Before electroplating, it’s crucial to thoroughly clean and polish the base metal to ensure proper adhesion of the silver. Please do so to avoid uneven plating and poor results.
- Ignoring Safety Precautions: Electroplating involves chemicals and electricity, so it’s essential to wear protective gear, such as gloves and goggles, and work in a well-ventilated area to avoid potential hazards.
- Using Incorrect Solution Concentration: The concentration of the plating solution must be precise. It must be strong enough to ensure good-quality plating, which affects both appearance and durability.
- Incorrect Voltage Settings: Applying the wrong voltage can cause over-plating or under-plating. It is critical to set the correct voltage according to the specifications of the electroplating process you’re using.
- Rushing the Plating Process: Rushing through electroplating can lead to subpar results. Following the recommended timing is essential to ensure the silver is evenly and adequately deposited on the base metal.

Conclusion
How to electroplate silver is a meticulous process that requires attention to detail, proper preparation, and adherence to safety measures to achieve optimal results.
By following the steps outlined—ranging from preparing the surface and applying the electroplating solution to finishing the object with polish and protective layers—you can ensure a high-quality, long-lasting silver finish. To maintain both the beauty and durability of the silver plating, it’s essential to avoid common pitfalls such as using incorrect solution concentrations and skipping surface preparation. Whether you are a hobbyist or professional, thorough documentation and regular maintenance are key to preserving the brilliance of your silver-plated pieces.
By embracing the entire process with patience and precision, you can enhance the aesthetic and functional value of a wide range of objects through silver electroplating.
you can also check it out Cut Thick Steel Plate
Edmund Sumlin is a skilled author for Metal Fixes, bringing 6 years of expertise in crafting a wide range of metal fixtures. With a strong background in metalwork, Edmund’s knowledge spans various types of fixtures, from decorative pieces to functional hardware, blending precision with creativity. His passion for metalworking and design has made him a trusted resource in the industry.
Professional Focus:
- Expert in Metal Fixtures : Edmund aesthetic specializes in creating durable and innovative metal fixtures, offering both appeal and functionality. His work reflects a deep understanding of metalworking techniques and materials.
- Sustainability Advocate : He is dedicated to using sustainable practices, ensuring that every fixture is crafted with eco-friendly methods while maintaining high-quality standards.
In his writing for Metal Fixes, Edmund provides valuable insights into the latest trends, techniques, and practical advice for those passionate about metal fixtures, whether they are professionals or DIY enthusiasts. His focus on combining artistry with engineering helps others discover the true potential of metal in design.


