

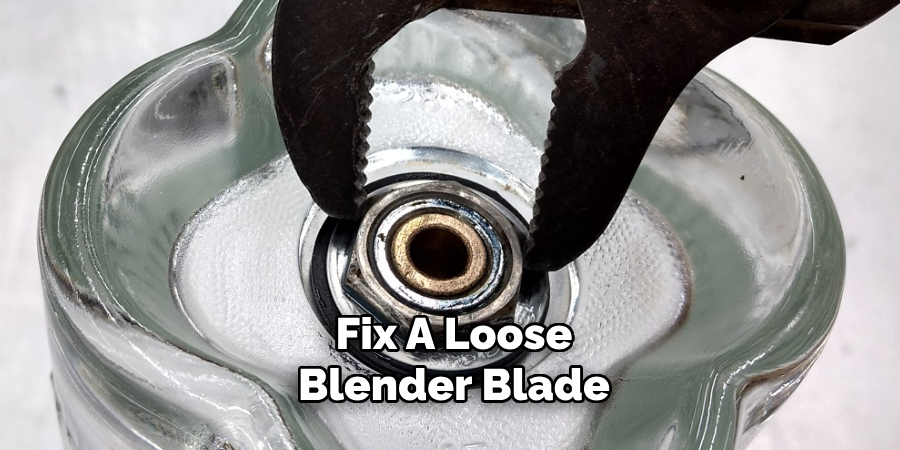
A loose blender blade can turn a convenient kitchen tool into a frustrating device that fails to deliver the desired results. If you’ve ever experienced this issue, you know how it can affect the efficiency and effectiveness of blending tasks. Fortunately, fixing a loose blender blade is typically a straightforward process that can be done with basic tools and minimal time.
In this guide on how to fix a loose blender blade, we’ll walk you through the steps to securely tighten your blender blade, ensuring smooth operation and prolonged use of your appliance. Whether you’re making smoothies, soups, or sauces, a properly functioning blender is essential for achieving the perfect consistency every time.
Why is a Loose Blender Blade an Issue?
Before we jump into the steps for fixing a loose blender blade, let’s first understand why this issue occurs and why it can be problematic. A loose blender blade can affect the blending process in several ways:
Inconsistent Blending:
A loose blade can result in uneven blending, with chunks of ingredients left unblended while others are over-processed. This can be frustrating when trying to achieve a smooth and consistent texture.
Leaking:
If the blender blade is not secure, liquids and other ingredients may leak out of the blender jar during operation. This not only creates a mess but also reduces the amount of food or drink you intend to make.
Damage to Blender Parts:
A loose blender blade can cause damage to other parts of your blender, such as the motor or drive socket. The constant movement and vibration from a loose blade can put stress on these components and shorten their lifespan.
8 Step-by-step Guidelines on How to Fix a Loose Blender Blade
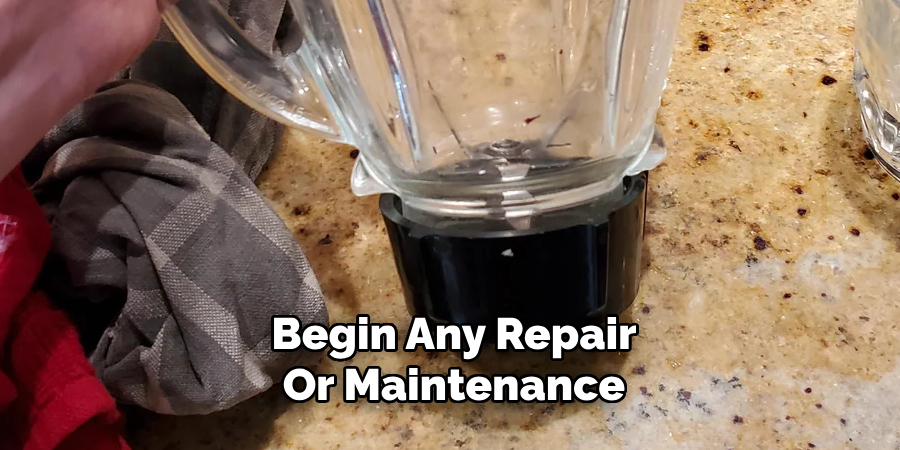
Step 1: Unplug the Blender
Before you begin any repair or maintenance work on your blender, it is crucial to ensure your safety. Start by unplugging the blender from the electrical outlet. This will prevent any accidental activation of the blender while you are working on it.
Disconnecting the power source is a simple yet essential step to avoid any potential injuries or electrical hazards. Make sure that the power cord is completely removed from the outlet before proceeding to the next steps in the repair process.
Step 2: Remove the Blender Jar and Blade Assembly
To access the blade, you need to remove the blender jar from its base. Most blender jars can be easily detached by twisting them in a counterclockwise direction. Once the jar is removed, set it aside. Next, you will need to loosen the nut or knob that holds the blade assembly in place. This may require using pliers or a wrench, depending on your specific blender model.
The blade assembly consists of a rubber gasket, blade, and any washers or seals. Carefully remove all components from the blender base and keep them in a safe place to avoid misplacing them.
Step 3: Clean the Blade Assembly
Now that you have removed the blade assembly, it’s an excellent opportunity to clean it thoroughly. Over time, food particles and residue can build up on the blades, affecting their performance. Use warm, soapy water and a brush to scrub away any dirt or grime from the blade and other components. Rinse with clean water and dry everything off before proceeding to the next step.
You can also check for any damage or wear and tear on the blades while cleaning. If you notice any significant issues, you may need to replace the blade assembly altogether.
Step 4: Inspect the Blender Base
While you have access to the blender base, it’s a good idea to inspect it for any damage or signs of wear. Look for cracks, breaks, or excessive build-up of food particles that may be affecting the performance of your blender. If necessary, clean and wipe down the base before moving onto the next step.
It’s also essential to check the drive socket where the blade assembly attaches to the base. If this is damaged or worn, it may be the cause of a loose blade and will need to be replaced.
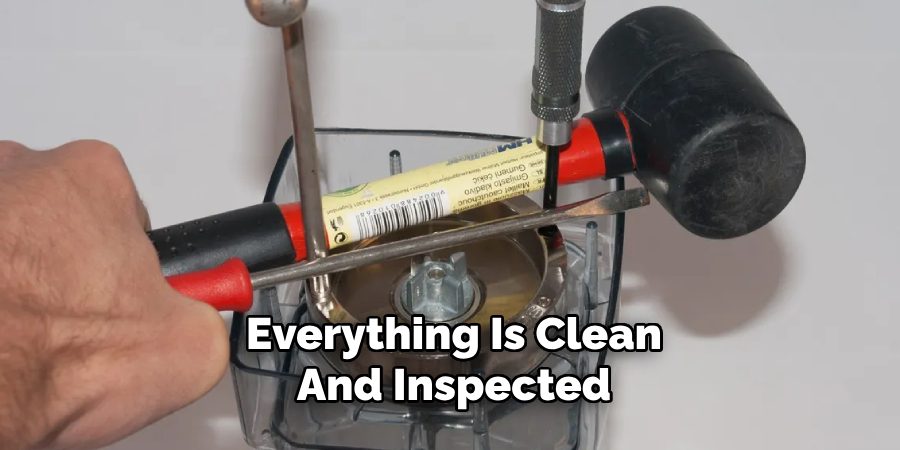
Step 5: Reattach the Blade Assembly
Now that everything is clean and inspected, it’s time to reattach the blade assembly. Place all components back into their original positions on the blender base, making sure they are secure. Follow any specific instructions for your blender model, such as tightening a nut or knob until it is snug.
But be careful not to over-tighten as this can also cause issues with the blade’s performance. Use your best judgment and make sure the blade assembly is securely attached without being too tight.
Step 6: Reattach the Blender Jar
Once the blade assembly is reattached, it’s time to put the blender jar back in place. Simply align it with the base and twist it in a clockwise direction until it locks into place. Make sure it is firmly set on its base before proceeding.
The blender jar is an integral part of securing the blade assembly, so it’s essential to make sure it is correctly attached to avoid any future issues.
Step 7: Test Your Blender
With everything back in place, it’s time to test your blender. Plug it back into the electrical outlet and run a quick blending cycle with some water or other ingredients. Listen for any strange noises and observe if the blade is functioning correctly without any wobbling or shifting.
If everything seems normal, you have successfully fixed your loose blender blade. If not, go back through the steps to ensure everything was done correctly.
Step 8: Regular Maintenance
To prevent a loose blade from happening again, it’s essential to perform regular maintenance on your blender. After each use, make sure to clean the blade and jar thoroughly, removing any food particles or residue that may have built up. This will not only keep your blades sharp and in good condition but also prevent any potential issues with a loose blade in the future.
Following these simple guidelines on how to fix a loose blender blade can help you avoid the frustration and inconvenience of a loose blender blade. Regular maintenance and proper care for your blender will ensure that it continues to work efficiently and effectively for all your blending needs. So next time you notice any issues with your blender blade, remember these steps to fix it and keep it in top shape. Happy blending!
Additional Tips for Blender Maintenance
- Always make sure the blender jar is securely attached to the base before use.
- Check the blade assembly regularly for any signs of damage or wear and tear.
- Avoid overfilling the blender jar, as this can put stress on the blade and cause it to loosen over time.
- Use caution when handling the blades, as they are sharp and can cause injury if mishandled.
- If you notice any unusual noises or performance issues with your blender, stop using it immediately and follow these steps to fix the issue.
- When in doubt, refer to the manufacturer’s instructions for specific care and maintenance guidelines for your blender model.
By following these additional tips on how to fix a loose blender blade, you can ensure that your blender stays in good condition and continues to function properly for a long time. Regular maintenance is key to avoiding larger repair costs down the line and keeping your blender running smoothly. Don’t neglect your blender’s care and maintenance – it will pay off in the long run!
Frequently Asked Questions
Q: How Often Should I Check My Blender for Any Issues?
A: It’s a good idea to perform regular maintenance and checks on your blender after each use. This will help catch any potential issues early on before they become major problems. The more often you use your blender, the more frequently you should check for any issues.
Q: Can I Use Any Cleaning Products on My Blender Blades?
A: It’s best to stick to warm soapy water and a brush for cleaning your blender blades. Harsh chemicals or abrasive cleaners can damage the blades and affect their performance.
Q: How Do I Know if My Blade Assembly Needs to be Replaced?
A: If you notice significant damage or wear on your blade assembly, it may be time for a replacement. Also, if you have tried fixing a loose blade using these steps and it still continues to loosen, it could be a sign that the blade assembly needs replacing.
Q: Is it Normal for My Blender Blades to be Slightly Loose?
A: No, your blender blades should not be loose. If you notice any wobbling or shifting of the blades during use, it’s important to fix the issue immediately to prevent any further damage. Regular maintenance and proper care can help prevent this from happening in the first place.
Q: How Do I Know if My Blender Base Needs to be Replaced?
A: If you notice cracks, breaks, or other significant damage on your blender base, it may need to be replaced. You can also try cleaning and inspecting the drive socket where the blade assembly attaches to the base. If it is significantly worn or damaged, it may need to be replaced as well. Always refer to the manufacturer’s instructions for replacement parts for your specific blender model. So, it’s important to regularly check and maintain your blender base to avoid any potential issues.
Conclusion
A loose blender blade may seem like a minor issue, but it can affect the performance of your appliance and even cause damage if left unfixed. By following these simple steps, you can easily fix a loose blender blade at home and ensure your appliance is functioning properly for all your blending needs. Regular maintenance is key to preventing this issue from happening again, so make sure to keep
you can also check it out Clean Water Stains on Stainless Steel
Edmund Sumlin is a skilled author for Metal Fixes, bringing 6 years of expertise in crafting a wide range of metal fixtures. With a strong background in metalwork, Edmund’s knowledge spans various types of fixtures, from decorative pieces to functional hardware, blending precision with creativity. His passion for metalworking and design has made him a trusted resource in the industry.
Professional Focus:
- Expert in Metal Fixtures : Edmund aesthetic specializes in creating durable and innovative metal fixtures, offering both appeal and functionality. His work reflects a deep understanding of metalworking techniques and materials.
- Sustainability Advocate : He is dedicated to using sustainable practices, ensuring that every fixture is crafted with eco-friendly methods while maintaining high-quality standards.
In his writing for Metal Fixes, Edmund provides valuable insights into the latest trends, techniques, and practical advice for those passionate about metal fixtures, whether they are professionals or DIY enthusiasts. His focus on combining artistry with engineering helps others discover the true potential of metal in design.