

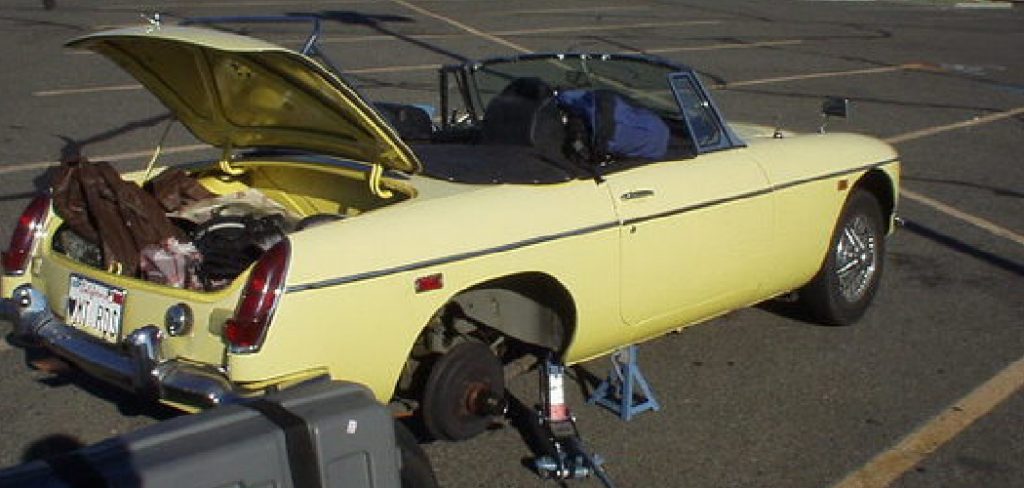
Are you dealing with an annoying oil leak that’s making a mess in your garage or driveway? If so, the culprit may be a crack in your oil pan. Your oil pan is an essential component of your vehicle’s engine, as it holds and stores the oil needed for lubrication.
How to fix crack in oil pan can be alarming, as it can lead to oil leakage and potential engine damage if left unresolved. However, with the right knowledge and tools, it is possible to fix a crack in the oil pan yourself, saving you time and money.
This guide will walk you through the step-by-step process of repairing a crack in the oil pan, ensuring your vehicle’s oil system remains intact and protecting the engine’s performance and longevity. Let’s dive in and get your oil pan back in proper working order.
What Will You Need?
Before you start the repair process, gathering all the necessary tools and materials is important. Here’s a list of things you’ll need:
- Safety gear (gloves, safety glasses)
- Jack and Jack stands
- Wrench set
- Oil pan patch kit or epoxy putty
- Cleaning solvent
- Sandpaper or wire brush
- Rags or towels
It’s also essential to have your vehicle manual handy for reference. Before proceeding with the repair, make sure you have all the right equipment.
10 Easy Steps on How to Fix Crack in Oil Pan
Step 1. Prepare the Vehicle
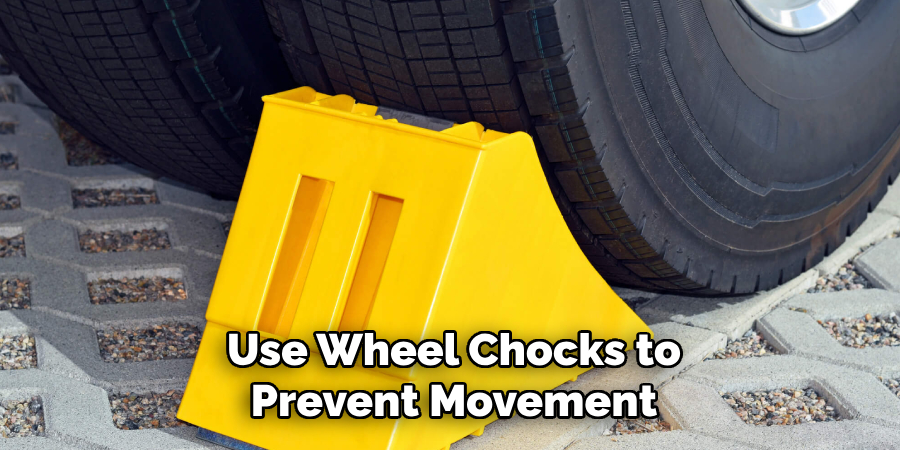
Before beginning the oil pan crack repair, it is essential to ensure that your vehicle is securely parked on a level surface. Engage the parking brake and, if necessary, use wheel chocks to prevent movement. Open the vehicle manual for your specific model and ensure you clearly understand the oil pan’s location and any specific instructions provided. Additionally, gather all the tools and materials listed earlier, including safety gear such as gloves and safety glasses, to ensure a safe and efficient repair process. Taking the time to properly prepare the vehicle and gather the required items will contribute to a smooth and successful repair.
Step 2. Drain the Oil
Place a drain pan or container under the oil pan to catch the old oil. Use a wrench to loosen and remove the oil drain plug carefully. Allow all the oil to drain completely into the pan before proceeding. This step is crucial to ensure a clean work area and prevent oil from spilling during the repair process. Once the oil is fully drained, securely reattach the drain plug to avoid any mess or further leakage. Proper disposal of the used oil is essential, so be sure to take it to a recycling facility or an auto shop that accepts used oil.
Step 3. Remove the Oil Filter
Carefully remove the old oil filter with an oil filter wrench or your hands. Be cautious as the filter may still contain residual oil. Place the old filter in a plastic bag or container to prevent oil from leaking and properly dispose of it. Before installing the new oil filter, lightly lubricate the rubber gasket with fresh oil to ensure a proper seal.
Step 4. Install the New Oil Filter
Transfer the new oil filter onto the engine’s oil filter housing by hand. Turn it clockwise carefully to ensure it is properly aligned and seated. Once the filter is hand-tight, use a quarter-turn of additional pressure to secure it, but avoid overtightening, as this can damage the gasket or make future removal difficult. Confirm that the filter is snugly in place to prevent leaks when the engine is restarted. This step ensures a tight seal and contributes to the proper functioning of your vehicle’s oil system.
Step 5. Identify the Crack
Use a cleaning solvent to thoroughly clean the area around the crack in your oil pan. This will provide better visibility and allow for proper adhesion of the patch or putty material. Once cleaned, use a rag or towel to dry the area thoroughly. Carefully inspect the crack and surrounding areas for any debris or dirt that may impact the repair process.
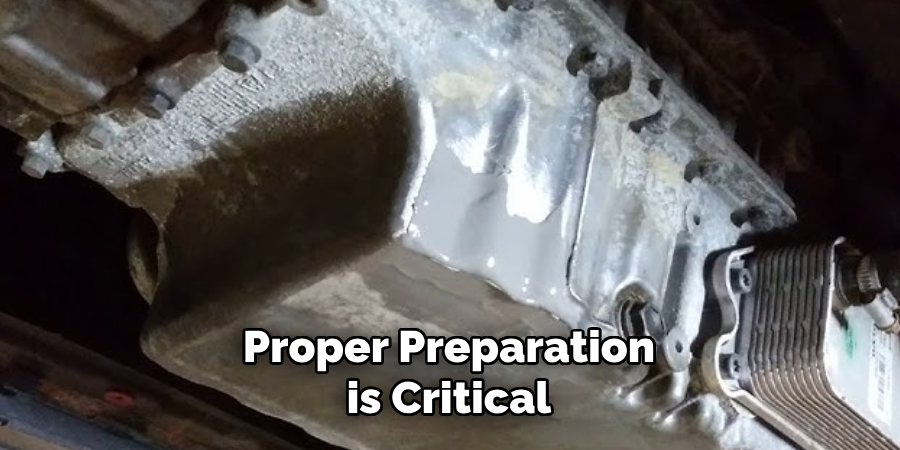
Step 6. Prepare Epoxy Putty
Follow the instructions provided with your epoxy putty or oil pan patch kit to mix and prepare the product. Usually, epoxy putty requires you to knead it until it forms a uniform color and consistency. Make sure to work quickly, as epoxy putty tends to harden within a few minutes after mixing. Proper preparation is critical to ensure the material adheres effectively to the crack and provides a durable seal. Once the epoxy is ready, proceed immediately to the application step.
Step 7. Apply Epoxy Putty to the Crack
Using a putty knife or gloved fingers, apply the prepared epoxy putty to cover the crack on your oil pan. Press the putty firmly into the crack, ensuring full coverage and a tight seal. Smooth out the surface of the putty to create an even finish. Take extra care to prevent any excess putty from obstructing the oil flow or interfering with other components. Allow the putty to cure and harden as per the instructions provided with the product, typically within a few hours.
Step 8. Inspect and Clean Up
After the epoxy putty has fully cured and hardened, inspecting the repaired area is crucial to ensure the crack is sealed correctly. Carefully examine the patched section for any signs of leakage or weakness. You may need to reapply the epoxy putty or seek professional assistance if there are any issues.
It’s time to clean up once you are satisfied with the repair. Remove any excess putty or residue using a clean cloth or solvent recommended by the epoxy putty manufacturer. Ensure the surrounding area is free from debris or contaminants that could hinder the repair’s performance.
Step 9. Refill with Fresh Oil
After completing the repair and cleaning up, it is time to refill the engine with fresh oil. Make sure to use the recommended type of oil for your vehicle, and check the oil level using a dipstick or the vehicle’s monitoring system. If necessary, top up the oil to the appropriate level.
Step 10. Test and Monitor
Once everything is back in place, start your engine and let it run for a few minutes to ensure no leaks or issues with the repair. Watch for any warning lights on your dashboard or unusual noises from under the hood. It’s essential to monitor your vehicle closely over the next few days to confirm that there are

By following these steps, you can successfully repair a cracked oil pan and get your vehicle back on the road.
5 Things You Should Avoid When Fixing Crack in Oil Pan
- Rushing Through the Repair Process: It’s essential to take your time and follow each step carefully to ensure a successful repair. Rushing can result in mistakes or an incomplete fix, leading to further issues.
- Overlooking Safety Gear: Working with vehicles can be dangerous, so it’s crucial always to wear proper safety gear, such as gloves and safety glasses. These will protect you from any potential hazards during the repair process.
- Neglecting to Drain the Oil Properly: Failing to drain the oil fully can lead to a messy work environment and potentially cause oil to spill during the repair. Ensure all the oil is drained correctly before starting the repair process.
- Using Incorrect Tools or Materials: Using the right tools and materials recommended for your specific vehicle model is essential. Using the correct items can result in an effective repair or even cause further damage.
- Not Checking for Leaks After Repair: Once you have completed the repair, it’s crucial to check for any leaks before driving your vehicle again. Failure to do so can result in major engine damage if left undetected.
By following these tips and avoiding common mistakes, you can successfully fix a crack in your oil pan and save yourself from expensive repairs or potential breakdowns.
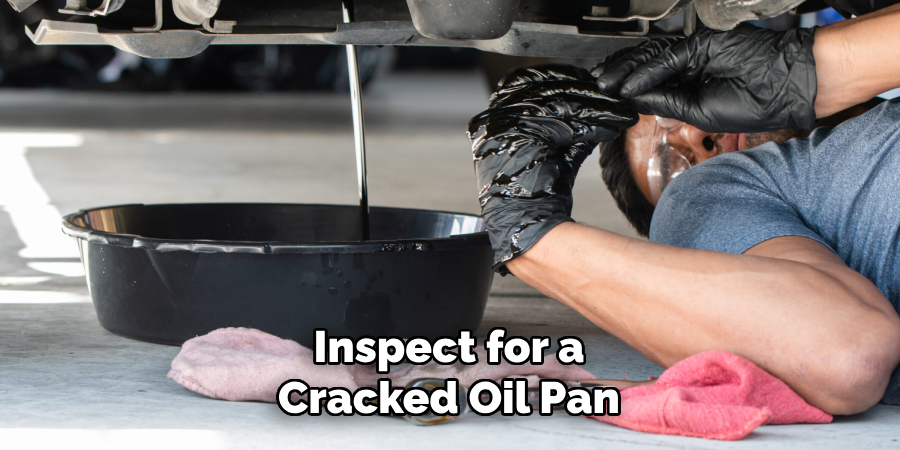
What Are the Signs of an Oil Pan Crack?
Some common signs of an oil pan crack include:
- Oil spots or puddles under your vehicle when parked
- Visible damage or cracks on the oil pan itself
- Low oil levels despite recent refilling
- Burning smell from the engine area
- Engine warning light illuminated on the dashboard. If you notice any of these symptoms, it’s essential to address them immediately and inspect for a cracked oil pan.
These signs could also indicate other issues with your vehicle, so it’s best to consult a mechanic for a proper diagnosis. Regularly checking and maintaining your vehicle’s oil pan can help prevent cracks and extend lifespan.
Conclusion
Regular maintenance and prompt repairs are crucial to ensuring your vehicle’s longevity and performance. Addressing an oil pan crack at the earliest signs can prevent further damage to your engine and save you from costly repairs in the long run.
Always follow the recommended steps, use quality tools and materials, and take all necessary safety precautions when working on your vehicle. Don’t hesitate to seek professional assistance if you’re unsure about any part of the repair process. A properly maintained and sealed oil pan is essential for keeping your vehicle’s engine running efficiently and reliably. Proactive care is the best way to keep your car on the road and avoid unexpected breakdowns.
Hopefully, the article on how to fix crack in oil pan has provided you with valuable insights and instructions for repairing your vehicle’s oil pan. Keep driving safely!
Edmund Sumlin is a skilled author for Metal Fixes, bringing 6 years of expertise in crafting a wide range of metal fixtures. With a strong background in metalwork, Edmund’s knowledge spans various types of fixtures, from decorative pieces to functional hardware, blending precision with creativity. His passion for metalworking and design has made him a trusted resource in the industry.
Professional Focus:
- Expert in Metal Fixtures : Edmund aesthetic specializes in creating durable and innovative metal fixtures, offering both appeal and functionality. His work reflects a deep understanding of metalworking techniques and materials.
- Sustainability Advocate : He is dedicated to using sustainable practices, ensuring that every fixture is crafted with eco-friendly methods while maintaining high-quality standards.
In his writing for Metal Fixes, Edmund provides valuable insights into the latest trends, techniques, and practical advice for those passionate about metal fixtures, whether they are professionals or DIY enthusiasts. His focus on combining artistry with engineering helps others discover the true potential of metal in design.