

Repairing an iron can seem daunting, but with the right approach and materials, it is a task that you can accomplish at home. One of the most effective methods for minor repairs is using adhesive, as it provides a strong and durable bond.
This guide on how to fix iron with adhesive will walk you through the necessary steps and equipment to successfully fix your iron, so you can have it back in working order without the need for costly replacements or professional repairs. Whether it’s a loose handle or a cracked casing, adhesive can be a practical solution to keep your iron functional.
Why Use Adhesive?
Adhesive is a preferable choice for repairing irons due to its versatility and strength. It offers a cost-effective solution for minor damages, eliminating the need for expensive replacements or professional services. Adhesives are designed to bond various materials, including metals and plastics, making them ideal for fixing components on an iron.
They form a permanent attachment without the necessity of drilling or additional hardware, which can weaken the structure over time. Moreover, adhesives are easy to apply and often dry quickly, allowing you to complete repairs efficiently and get your appliance back in service with minimal downtime.
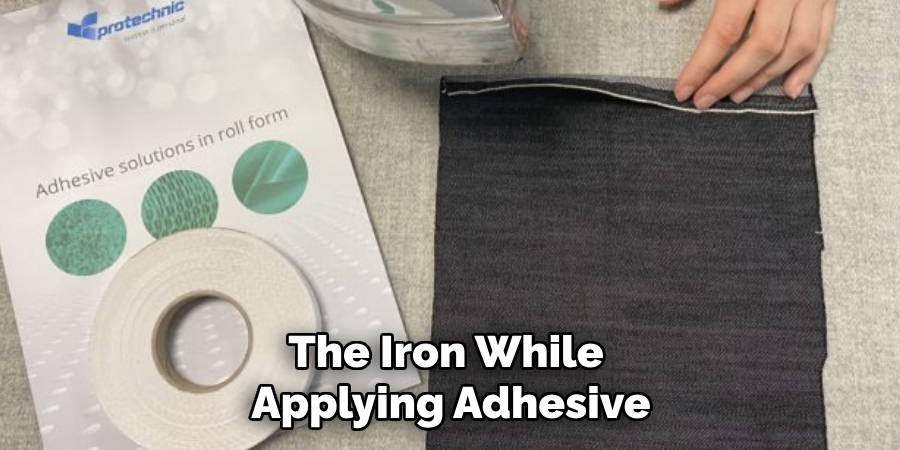
Needed Materials
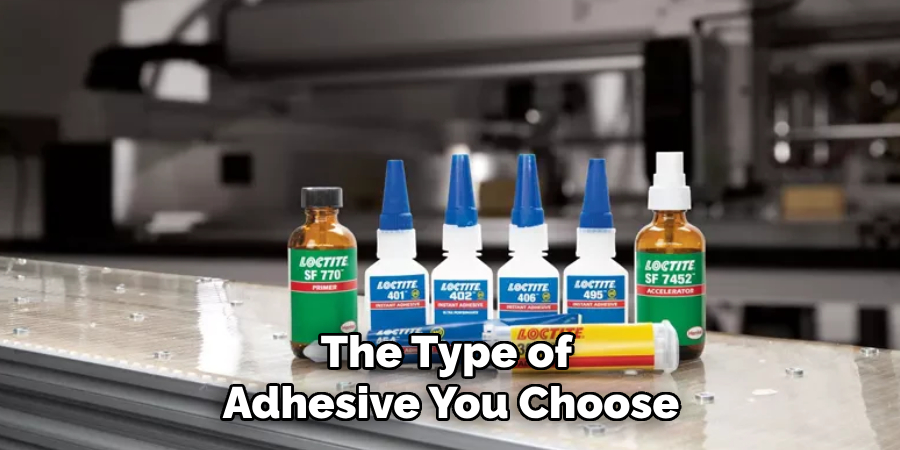
Adhesive Suitable for Iron Repairs:
The first step to fixing your iron using adhesive is selecting the right product for the job. Look for an adhesive specifically designed for metal or high-temperature applications, as these will provide a strong and long-lasting bond. Super glue, epoxy, or silicone-based adhesives are all excellent options for repairing irons.
Make sure to read the instructions carefully and choose one that can withstand the heat generated by your iron’s soleplate.
Sandpaper:
The sandpaper will help prepare the surfaces you plan to bond together by removing any rust, roughness, or debris that could hinder proper bonding. For best results, use fine-grit sandpaper (around 220 grit) and lightly sand the surfaces to ensure a clean and smooth bonding surface.
Clamps:
Depending on the type of adhesive you choose, using clamps may be necessary to hold the repaired components in place while the adhesive dries. This ensures a strong bond and prevents any movement that could weaken or break the bond.
7 Simple Methods on How to Fix Iron With Adhesive:
Method 1: Repairing a Loose Handle
- Begin by cleaning the area around the handle and removing any debris or previous adhesive residue.
- Lightly sand both the handle and the iron body where they will come in contact.
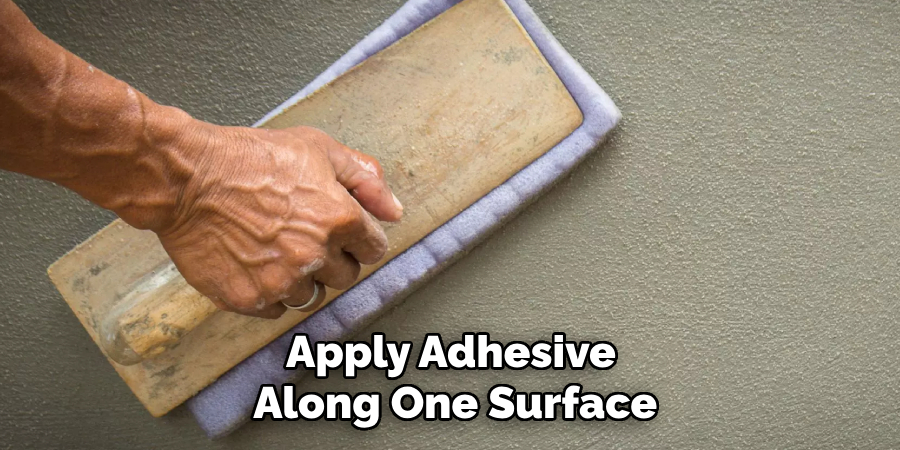
- Apply adhesive to one of the surfaces, making sure it is evenly distributed.
- Place the handle onto the iron body and hold it in place for a few minutes until the adhesive starts to set.
- Use clamps to secure the handle and allow the adhesive to dry completely, following the manufacturer’s instructions.
Method 2: Fixing a Cracked Casing
- Clean and sand both edges of the crack.
- Apply a small amount of adhesive along one side of the crack.
- Gently press the two edges together and hold them in place for a few minutes until the adhesive starts to set.
- Apply clamps to secure the bond and allow it to dry completely.
- If necessary, apply another layer of adhesive to reinforce the repair further.
Method 3: Reattaching a Loose Soleplate
- Clean and sand both surfaces where they will come into contact.
- Apply an even layer of adhesive on one surface or along the edge of the soleplate.
- Place the soleplate onto the iron body and hold it in place for a few minutes until it starts to set.
- Use clamps if necessary to secure the bond and allow it to dry completely.
Method 4: Repairing a Damaged Power Cord
- Cut off the damaged portion of the power cord and strip back the insulation to expose fresh wires.
- Twist the exposed wires together securely.
- Apply adhesive along the twisted wires, covering them completely.
- Allow the adhesive to dry, following the manufacturer’s instructions, before using your iron again.
Method 5: Fixing a Loose Temperature Dial or Setting Selector
- Clean and sand both surfaces where they will come into contact.
- Apply adhesive along one surface or edge of either component.
- Press them together and hold them in place for a few minutes until the adhesive starts to set.
- Use clamps if necessary and let it dry completely before using your iron.
Method 6: Repairing a Loose or Broken Steam Button
- Clean and sand both surfaces where they will come into contact.
- Apply adhesive along one surface or edge of either component.
- Press them together and hold them in place for a few minutes until the adhesive starts to set.
- If necessary, clamps are used to secure the bond and allow it to dry completely, following the manufacturer’s instructions.
Method 7: Fixing a Damaged Water Tank
- Begin by cleaning and drying the area around the crack or hole in the water tank.
- Use a small amount of adhesive to seal the crack or hole, making sure it is evenly distributed and covers the entire damaged area.
- Allow it to dry completely before using your iron again.
- If the crack or hole is large, consider using a patch of adhesive tape to reinforce the repair.
Following these methods on how to fix iron with adhesive, you can easily repair your iron using adhesive and save yourself time and money in the process. Keep in mind to always follow the manufacturer’s instructions when using adhesives to ensure a safe and successful repair. With the right adhesive and materials, you can fix various issues with your iron and extend its lifespan, making it a valuable addition to your household appliances. So the next time your iron needs a repair, consider using adhesive for a quick and efficient solution.
Additional Tips
- Always read and follow the instructions on the adhesive product carefully.
- Choose an adhesive that can withstand high temperatures to ensure it will hold up under regular use.
- Ensure both surfaces are clean, dry, and sanded for optimal bonding.
- If necessary, apply multiple layers of adhesive for added strength.
- When repairing plastic components, choose an adhesive specifically designed for plastic repairs.
- For larger repairs or more severe damages, consider taking your iron to a professional for repairs.
- Regular maintenance and cleaning of your iron can help prevent damages that may require adhesive repairs in the future. Although adhesive is a great solution for fixing minor issues with your iron, it’s always best to handle appliances with care and avoid potential damage whenever possible. With proper care, your iron can last for years without needing any adhesive repairs. So next time you’re faced with a small repair, try using adhesives to fix your iron and save yourself time and money in the process. Happy ironing!
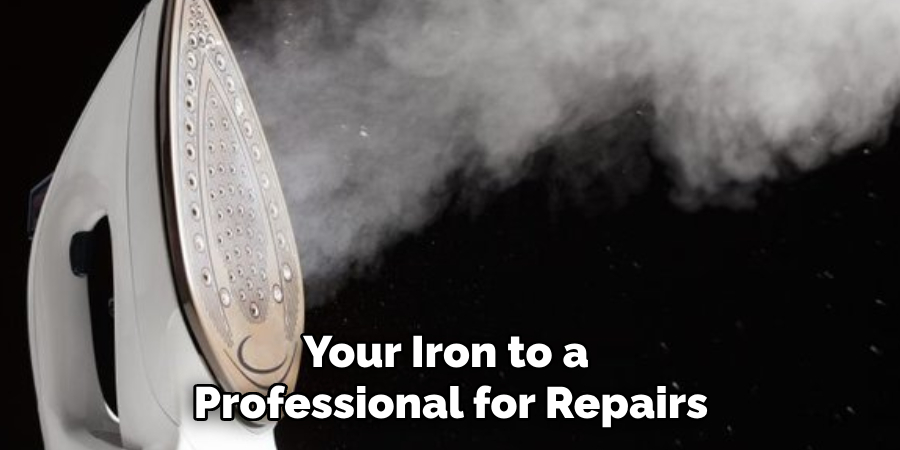
Do You Need to Use Professionals?
Determining whether to engage a professional for iron repairs depends on the extent of the damage and your comfort level with DIY repairs. For minor issues like a loose handle or cracked casing, as discussed in the previous methods, using adhesive and basic tools might suffice for a safe and effective fix. However, for more complex problems such as significant electrical or mechanical issues, consulting a professional may be wise.
Professionals are equipped with specialized tools and expertise to diagnose and repair intricate problems safely. Additionally, using a professional can ensure that repairs meet safety standards, reducing the risk of future malfunctions. Ultimately, balancing the cost of professional service against the potential risks of DIY repairs is crucial in deciding whether professional assistance is necessary.
Frequently Asked Questions
Q: Can I Use Any Type of Adhesive to Fix My Iron?
A: It is best to choose an adhesive that can withstand high temperatures and is suitable for the materials you are repairing. Read the product instructions carefully before use.
Q: How Long Does It Take for the Adhesive to Set?
A: The drying time will vary depending on the type of adhesive and the manufacturer’s instructions. It is best to wait until it is completely dry before using your iron again.
Q: Can I Repair a Damaged Iron Soleplate with Adhesive?
A: Yes, you can use adhesive to fix minor damages on the soleplate, such as cracks or loose edges. However, if the damage is severe or affects the functionality of the soleplate, it may be best to replace it entirely. Always refer to manufacturer’s instructions for proper care and repairs of your specific iron model.
Q: How Do I Prevent Adhesive from Getting on Other Parts of My Iron?
A: You can use masking tape or plastic sheets to cover and protect other parts of the iron while applying adhesive. Also, make sure to wipe off any excess adhesive immediately before it dries. Always use caution when handling adhesives to avoid any potential accidents or spills.
Conclusion
Using adhesive to repair various components of your iron can be an effective and economical solution for minor damages. Whether it’s sealing a cracked casing, securing a loose soleplate, or fixing a damaged power cord, adhesives provide a quick fix to keep your appliance in working order. Remember to choose the right adhesive for the material and ensure all surfaces are properly prepared for optimal results.
Additionally, regular maintenance and careful handling of your iron can prevent future damage, reducing the need for frequent repairs. By following the guidelines on how to fix iron with adhesive outlined in this document, you can extend the lifespan of your iron and maintain its performance, ensuring you achieve wrinkle-free clothes with ease.
Edmund Sumlin is a skilled author for Metal Fixes, bringing 6 years of expertise in crafting a wide range of metal fixtures. With a strong background in metalwork, Edmund’s knowledge spans various types of fixtures, from decorative pieces to functional hardware, blending precision with creativity. His passion for metalworking and design has made him a trusted resource in the industry.
Professional Focus:
- Expert in Metal Fixtures : Edmund aesthetic specializes in creating durable and innovative metal fixtures, offering both appeal and functionality. His work reflects a deep understanding of metalworking techniques and materials.
- Sustainability Advocate : He is dedicated to using sustainable practices, ensuring that every fixture is crafted with eco-friendly methods while maintaining high-quality standards.
In his writing for Metal Fixes, Edmund provides valuable insights into the latest trends, techniques, and practical advice for those passionate about metal fixtures, whether they are professionals or DIY enthusiasts. His focus on combining artistry with engineering helps others discover the true potential of metal in design.