

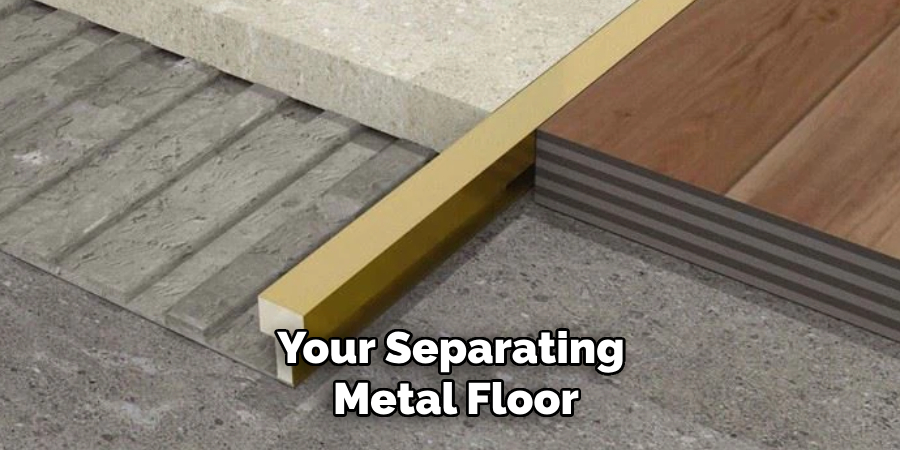
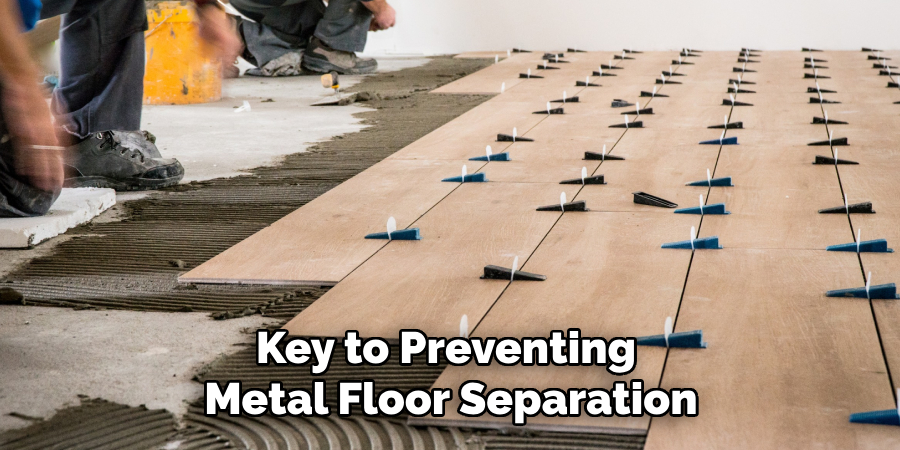
When dealing with a metal floor that is separating, it’s crucial to understand the causes and identify the best approach for repair to ensure safety and longevity. Metal flooring, often used for its durability and strength, can experience separation due to factors such as improper installation, environmental changes, or wear and tear over time.
Through proper assessment and repair techniques, you can restore the integrity of the floor and prevent future issues. This guide on how to fix metal floor separating will walk you through common causes, necessary tools, and step-by-step instructions to effectively fix a separating metal floor.
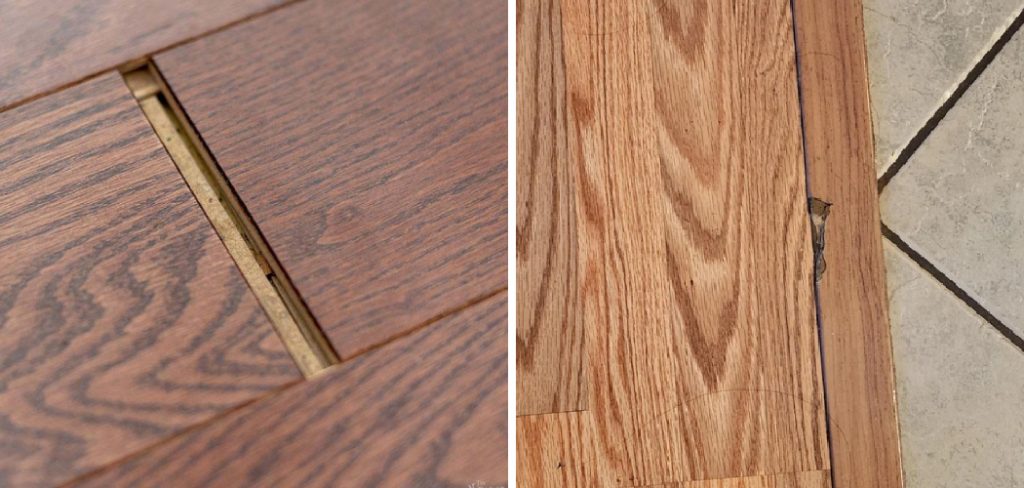
Why is my Metal Floor Separating?
The first step in fixing a separating metal floor is understanding the reasons behind it. Some common causes of metal floor separation include:
Improper Installation:
If the metal flooring is not installed correctly, it can lead to gaps and spaces between panels or tiles. This can occur due to uneven subflooring, inadequate adhesive, or not leaving enough room for expansion and contraction.
Environmental Changes:
The metal expands and contracts depending on temperature and moisture levels. If the flooring was installed in an area with extreme changes in weather, such as high humidity or fluctuating temperatures, it may cause the metal to warp and separate over time.
Wear and Tear:
Regular foot traffic, heavy objects, or dragging furniture across a metal floor can cause wear and tear that weakens joints between panels or tiles. This makes it easier for them to separate.
Necessary Tools
Before starting any repairs on your separating metal floor, gather these necessary tools:
- Safety Equipment (Gloves, Goggles)
- Pry Bar
- Hammer
- Nails/screws
- Adhesive/glue
- Metal Screws or Flooring Nails (if Necessary)
8 Step-by-step Guidelines on How to Fix Metal Floor Separating
Step 1: Assess the Damage
Begin by thoroughly examining the metal floor to identify the areas where separation is occurring. Look for visible gaps, misaligned panels, or any signs of warping. As you inspect the floor, take note of the extent and pattern of the damage, which will help you determine the best repair strategy.
It is crucial to identify whether the separation is widespread or localized, as this will influence the materials and techniques you choose for the repair. Additionally, consider the cause of the damage, whether it be due to improper installation, environmental factors, or wear and tear, to prevent similar issues in the future.
Step 2: Prepare the Area
Before beginning repairs, it’s necessary to prepare the area to ensure a safe and efficient process. Start by removing any furniture or objects from the damaged section of the floor to provide unobstructed access to the affected area. Clean the floor to remove any dust, debris, or loose particles that might interfere with the repair process. Use a mild cleaner suitable for metal surfaces to ensure that the area is free of any residues.
Additionally, ensure you wear the appropriate safety equipment, including gloves and goggles, to protect yourself during the repair. With the area clear and clean, you are now ready to proceed to the next step of securing the loose sections.
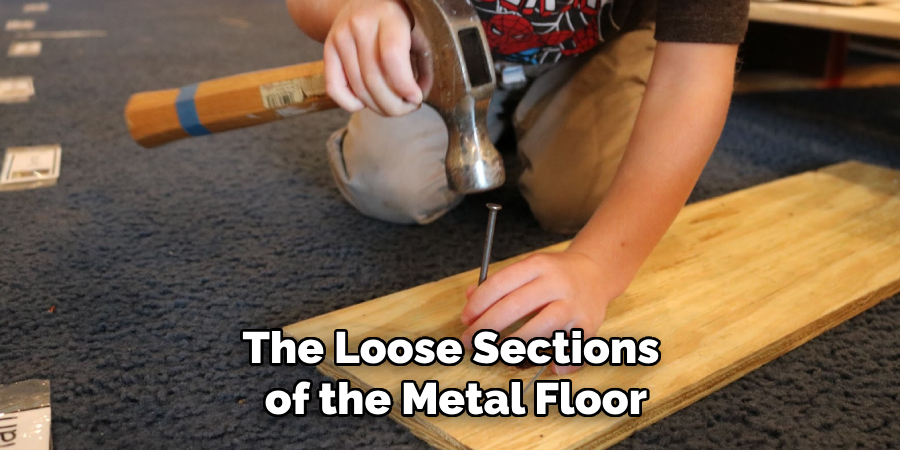
Step 3: Secure Loose Sections
Once the area is prepared, focus on securing the loose sections of the metal floor. Use a pry bar to gently lift the separated panels, taking care to avoid causing further damage. Apply a high-strength adhesive or glue on the edges of the metal panels that are to be joined. For a more secure fit, consider using metal screws or flooring nails if appropriate for the type of metal and flooring structure.
Carefully align the panels and press them firmly together, ensuring that the adhesive evenly coats the surface and fills any gaps. Allow the adhesive to set according to the manufacturer’s instructions before proceeding to additional steps, ensuring the bond is robust and durable.
Step 4: Fill Gaps and Spaces
After securing the loose sections, it is important to address any remaining gaps or spaces between the panels. Use a metal-specific filler or caulk to carefully fill in the visible gaps. Choose a product that matches the color and finish of your existing flooring to maintain a cohesive appearance. Start by applying the filler along the gap, using a putty knife or similar tool to press it in and smooth it out, ensuring a firm and even application.
Wipe away any excess filler with a clean cloth before it hardens to keep the seams clean and professional-looking. Allow the filler or caulk to cure as per the manufacturer’s instructions to ensure a strong, seamless bond that prevents any further separation issues.
Step 5: Secure the Edges and Corners
In some cases, edges and corners might require additional reinforcement to prevent further separation. Use metal screws or flooring nails to secure these areas, being careful not to damage the flooring’s surface. Use a drill or hammer to insert the screws or nails at regular intervals along the edge or corner, ensuring that they are flush with the surface and do not protrude.
This added support will help keep the edges and corners in place and prevent any future separation issues.
Step 6: Sand Down Uneven Surfaces
Once the gaps and edges have been secured, it’s important to ensure a smooth and even surface by sanding down any uneven areas. Use a fine-grit sandpaper or a sanding block to gently sand the affected sections of the metal floor. Focus on any raised surfaces or rough edges that might have resulted from the repair process.
Sand with consistent pressure to create a uniform finish that seamlessly blends with the surrounding floor. After sanding, carefully clean the area to remove any dust or fine particles left behind, ensuring the surface is ready for final refinements or treatments. This step not only enhances the appearance of the repaired floor but also reduces the risk of tripping hazards or discomfort underfoot.
Step 7: Refinish the Surface
If necessary, refinish the surface of the repaired metal floor to restore its original appearance. Use a suitable metal-specific paint or coating to protect and enhance the surface. Ensure that the color and finish match the surrounding flooring to maintain a consistent look. Follow the manufacturer’s instructions for application and drying time, allowing sufficient time for a complete cure before using or placing any objects on the floor.
It is essential to refinish the surface after repairs to protect it from moisture, rust, and other damaging elements that can lead to future separation.
Step 8: Regular Maintenance
To prevent metal floor separation from occurring in the future, it’s crucial to perform regular maintenance on your flooring. This includes keeping the area clean, avoiding excessive moisture or environmental factors that may affect the metal’s integrity, and addressing any issues as soon as they arise. Conduct routine inspections of your metal floor and address any small repairs before they become major problems. By consistently maintaining your metal flooring, you can extend its lifespan and avoid costly repairs or replacements in the future.
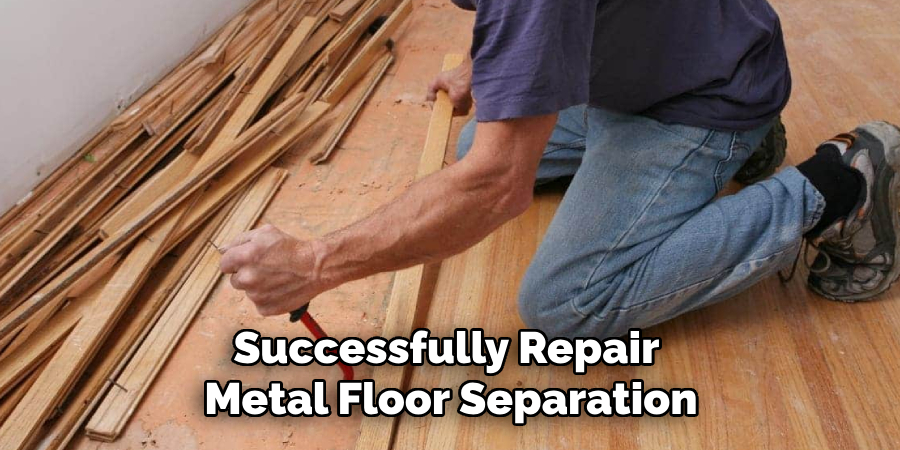
Following these steps on how to fix metal floor separating can help you successfully repair metal floor separation and restore the functionality and appearance of your flooring. Remember to take precautions, choose suitable materials and techniques, and maintain your floor regularly to ensure its longevity and durability. By following these tips, you can keep your metal floors in excellent condition for years to come.
Additional Tips for Repairing Metal Floor Separation
- If the separation is extensive or complicated, it may be best to consult a professional for assistance.
- Consider using a sealant or rust-resistant primer before refinishing the surface to provide added protection against future separation.
- For larger or thicker metal panels, you may need to use a specialized adhesive specifically designed for heavy-duty repairs.
- Don’t rush the drying time of the adhesive or filler to ensure a strong and long-lasting bond.
- If your flooring has been exposed to excessive moisture, consider waterproofing it after repairs to prevent future separation issues.
- Regularly inspect and maintain any joints or seams in your metal floor to catch potential separation issues early on.
Frequently Asked Questions
Q: Can I Use Regular Wood Glue or Adhesive on My Metal Floor?
A: No, it is essential to use a metal-specific adhesive or glue for this type of repair. Regular adhesives may not bond with the metal surface properly, leading to further separation or even causing damage to the floor.
Q: How Do I Know If My Metal Floor Needs Repairing?
A: Signs of metal floor separation include visible gaps between panels, movement or shifting when walked on, and creaking sounds. Regularly inspect your flooring for these signs and address any issues promptly.
Q: Can I Repair Deep Scratches or Dents on My Metal Floor?
A: Yes, you can use a filler or putty specifically designed for metal surfaces to fill in deep scratches or dents before refinishing the surface. However, if the damage is extensive, it may be best to consult a professional for repairs.
Q: How Can I Prevent Metal Floor Separation in the Future?
A: Regular maintenance and proper installation are key to preventing metal floor separation. Ensure that your flooring is installed correctly, keep the area clean and dry, and address any issues as soon as they arise to prolong its lifespan. Lastly, consider using a sealant or waterproofing product for added protection against moisture.
Conclusion
Repairing metal floor separation is a crucial maintenance task that ensures the safety, functionality, and aesthetic appeal of your flooring. By carefully following the detailed steps on how to fix metal floor separating provided—from securing edges with suitable hardware to refinishing with metal-specific products—you can address separation issues effectively. Regular maintenance is vital to catch potential problems early and prevent them from escalating into costly repairs or replacements.
With consistent care and attention, you can keep your metal floor in excellent condition, ensuring longevity and improving the overall integrity of your space. By investing time in proper maintenance and repair techniques, you’ll enhance both the durability and the visual appeal of your metal flooring, contributing to a safe and visually pleasing environment.
Edmund Sumlin is a skilled author for Metal Fixes, bringing 6 years of expertise in crafting a wide range of metal fixtures. With a strong background in metalwork, Edmund’s knowledge spans various types of fixtures, from decorative pieces to functional hardware, blending precision with creativity. His passion for metalworking and design has made him a trusted resource in the industry.
Professional Focus:
- Expert in Metal Fixtures : Edmund aesthetic specializes in creating durable and innovative metal fixtures, offering both appeal and functionality. His work reflects a deep understanding of metalworking techniques and materials.
- Sustainability Advocate : He is dedicated to using sustainable practices, ensuring that every fixture is crafted with eco-friendly methods while maintaining high-quality standards.
In his writing for Metal Fixes, Edmund provides valuable insights into the latest trends, techniques, and practical advice for those passionate about metal fixtures, whether they are professionals or DIY enthusiasts. His focus on combining artistry with engineering helps others discover the true potential of metal in design.