
Are you a mobile homeowner trying to figure out how to fix the skirting on your home? Skirting is an important component of any mobile home, providing insulation and preventing pests from entering underneath.
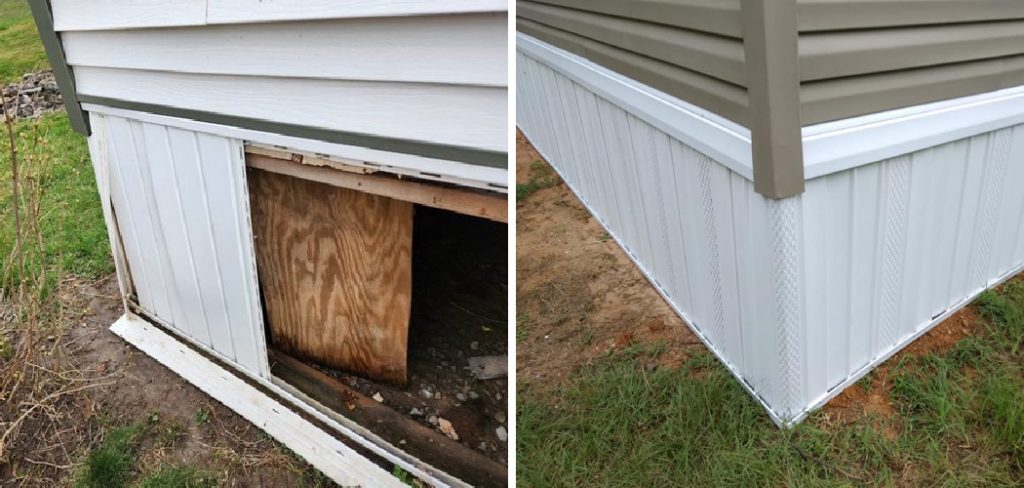
Maintaining the skirting on a mobile home is essential for both aesthetic appeal and functional purposes. Skirting enhances the visual look of your home by providing a streamlined appearance and serves as a protective barrier against pests, weather, and debris.
Over time, skirting can become damaged due to various factors such as extreme weather conditions, accidental impact, or natural wear and tear. Fixing or replacing the skirting can help ensure the longevity and efficiency of your mobile home.
In this guide, we will walk you through the step-by-step process required on how to fix skirting on a mobile home, including the tools needed and helpful tips to make the job easier.
What Will You Need?
To fix the skirting on your mobile home, you will need the following tools and materials:
- Measuring Tape: It’s important to get accurate measurements of the damaged area before replacing or repairing the skirting.
- Replacement Panels or Materials: Depending on the type and amount of damage, you may need to replace entire skirting panels or small sections.
- Circular Saw Jigsaw or Other Cutting Tools: If necessary, these will be needed to cut the new skirting panels to size. Take safety precautions when operating power tools.
- Screws or Nails: These will be used to secure the skirting panels in place. Choose the appropriate type and size for your specific skirting material.
- Level: This tool will help ensure that the skirting panels are installed evenly and straight.
- Drill or Hammer: You’ll need these tools to attach the skirting panels to your mobile home.
- Sealant or Caulk: This will help seal any gaps between the skirting panels and the ground, preventing pests from entering underneath.
Now that you have all the necessary tools and materials let’s go through the step-by-step process of fixing skirting on a mobile home.
10 Easy Steps on How to Fix Skirting on a Mobile Home
Step 1: Measure and Assess the Damage
Begin by thoroughly inspecting the damaged area to determine the extent of the repair work needed. Use your measuring tape to get accurate dimensions of the damaged sections.

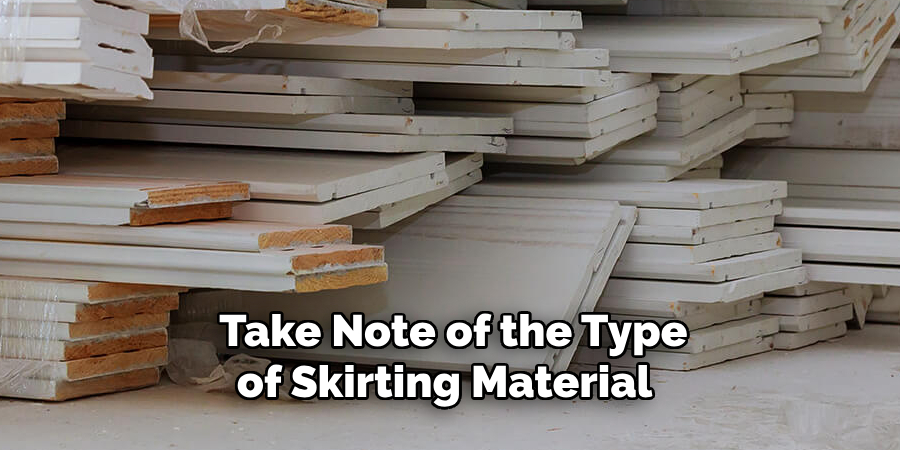
It’s essential to measure both the height and the width of the area to ensure you purchase the correct amount of replacement material. Take note of the type of skirting material you have; whether it’s vinyl, metal, or another type, this will influence the replacement materials you need to buy.
Examine the surrounding panels to determine if the damage is isolated or has affected adjacent areas. Sometimes, damage that appears minor at first glance can have extended implications, such as underlying structural issues or hidden water damage. Make sure to look for signs of warping, cracking, or discoloration that might indicate more extensive damage.
Step 2: Acquire the Necessary Materials
With your measurements and assessment in hand, head to your local hardware store or home improvement center to purchase the necessary materials.
Ensure you get the correct type of skirting that matches your existing panels in both material and color. If you’re unsure about the compatibility, consider bringing a small, undamaged piece of your current skirting for comparison.
Purchase additional materials such as screws, nails, and sealant, as well as any new tools you might need for the job. It’s always better to have a little extra material than to run short in the middle of your project. Also, consider investing in high-quality materials to extend the longevity of your skirting and reduce the frequency of future repairs.
Step 3: Prepare Your Workspace
Before you start the repair process, prepare your workspace by clearing the area around the skirting. Remove any debris, plants, or objects that might obstruct your work. This will give you a clear, safe space to operate your tools and materials.
Set up your tools and materials orderly so they’ll be easily accessible. If you’re using power tools, ensure they are in good working condition and that you have the necessary safety gear, such as gloves and eye protection. Organizing your workspace can make the repair process smoother and more efficient, reducing the likelihood of accidents or mistakes.
Step 4: Remove the Damaged Skirting
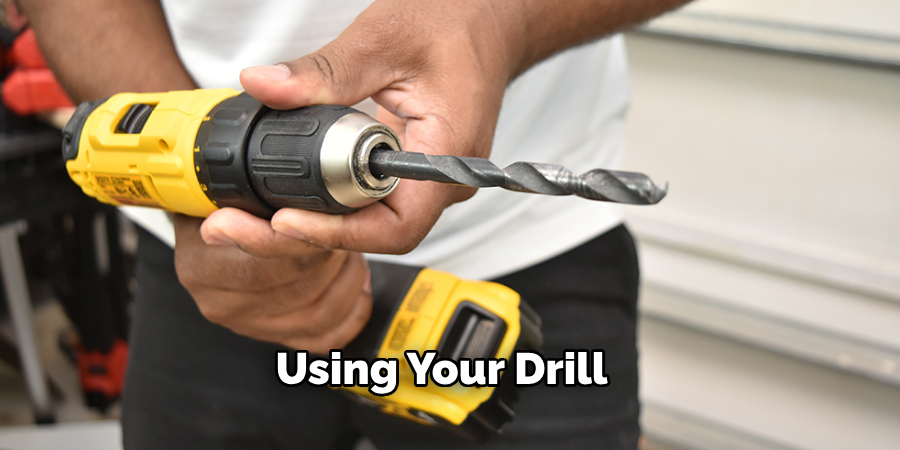
Using your drill or hammer, carefully remove any screws or nails securing the damaged skirting panels to your mobile home.
Gently pry away the damaged panels, not harming the surrounding panels or the underlying structure. If the skirting is particularly old or has been subjected to extensive damage, it might come away easily; however, more stubborn panels may require extra effort.
Dispose of the damaged skirting appropriately, especially if it has sharp edges or splintered areas that could pose a hazard. If any sections of the underlying framework are damaged, take the time to address and repair those areas before installing the new skirting.
Inspect the ground beneath the skirting as well, ensuring it is clear of debris and leveled properly to support the new panels.
Step 5: Cut the Replacement Panels
Once you’ve removed the damaged skirting, it’s time to cut the replacement panels to the appropriate size.
Use your measurements from Step 1 to ensure the new panels fit precisely into the designated area.
If you’re working with vinyl or metal skirting, a circular saw or jigsaw will be handy for cutting through the material. Remember to wear protective eyewear and gloves while operating power tools to ensure your safety.
Lay the replacement panel on a stable surface and mark the dimensions with a pencil or marker. Double-check your measurements to avoid mistakes. Carefully cut along the marked lines, ensuring smooth, even edges.
If you need to make smaller adjustments or trim the panel, use a finer cutting tool or sandpaper to achieve a perfect fit. Once the replacement panel is cut to size, test fit it to confirm that it aligns seamlessly with the existing skirting. It should sit flush without any significant gaps or misalignments.
Step 6: Install the Replacement Panels
With your replacement panels cut to size, it’s time to install them. Position the new panel carefully against the frame of your mobile home, ensuring it aligns with the adjacent undamaged panels.
If you’re using screws, use your drill to secure the panel in place, starting from the top and working your way down. For nails, use a hammer, ensuring that each nail is driven in straight to avoid damaging the panel.
Be sure to secure the panel at multiple points to provide a firm and stable installation. Check that the panel sits flush with the surrounding skirting and that there are no significant gaps. If you notice any misalignment, adjust the panel accordingly before fully securing it. This ensures a neat and professional finish.
Step 7: Seal the Edges
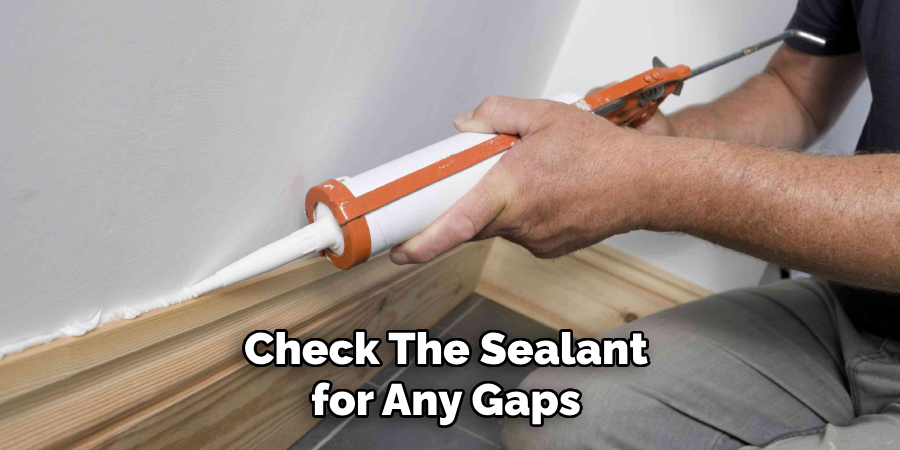
Once the replacement panel is securely in place, it’s crucial to seal the edges to prevent moisture and pests from entering. Apply a bead of sealant or caulk along the seams where the new panel meets the existing skirting. Use a caulking gun for an even and controlled application.
Smooth the sealant with a caulking tool or a finger dipped in soapy water to ensure a tight seal. This step not only keeps out unwanted moisture and pests but also gives the skirting a clean and finished appearance. Allow the sealant to dry completely as per the manufacturer’s instructions before proceeding.
Step 8: Inspect and Make Final Adjustments
Take a step back and inspect your work. Ensure that the new panel aligns seamlessly with the rest of the skirting and that all fasteners are secure. Check the sealant for any gaps or uneven applications and make any necessary adjustments.
If everything looks good, give the skirting a gentle tug to ensure it is firmly in place. A thorough inspection ensures that your repair job will withstand the elements and stand the test of time.
Step 9: Clean Up and Maintain
After completing the installation and inspection, it’s time to clean up your workspace. Gather all tools, leftover materials, and debris, disposing of any waste properly. Store your tools in their designated places and ensure they are cleaned and maintained for future use.
Maintaining your mobile home skirting is crucial to prolonging its lifespan. Regularly inspect the skirting for any signs of damage or wear. Cleaning the skirting periodically helps prevent dirt build-up and keeps the panels looking new. Address any minor repairs promptly to prevent them from becoming more significant.
Step 10: Paint or Finish the Skirting (Optional)
If you want to enhance the appearance of your mobile home skirting or match it with the overall aesthetic of your home, consider painting or applying a finish to the new panels. Choose a paint or finish that is suitable for the material of your skirting, whether it’s vinyl, metal, or wood. Ensure the surface is clean and dry before beginning the painting process.
Apply a primer if recommended for the type of material you’re working with. This helps the paint adhere better and increases the longevity of the finish. Use even strokes and multiple thin layers of paint, allowing each layer to dry completely before applying the next. For a more professional look, use exterior-grade paint that is weather-resistant.
Once the final coat is applied, allow the skirting to dry thoroughly according to the paint manufacturer’s instructions. This ensures a durable and polished finish, adding an extra layer of protection against the elements and enhancing the curb appeal of your mobile home.
By following these steps, you can successfully repair or replace damaged skirting on your mobile home.
5 Additional Tips and Tricks
- Use High-Quality Materials: Investing in high-quality skirting materials will not only enhance the appearance of your mobile home but also extend the life of the skirting. Cheaper materials may save money initially, but they often require more frequent repairs and replacements.
- Elevate the Skirting Slightly: When installing skirting, ensure it’s slightly elevated from the ground. This prevents moisture build-up and allows for better ventilation, reducing the risk of mold and mildew.
- Add Ventilation Panels: Incorporate ventilation panels into your skirting to promote airflow beneath your mobile home. Proper ventilation helps keep the area dry, reducing the likelihood of structural damage caused by moisture.
- Use Insulated Skirting in Cold Climates: If you live in an area with cold winters, consider using insulated skirting. This helps maintain a stable indoor temperature, reduces energy costs, and prevents freezing of the undercarriage.
- Check for Local Regulations: Before installing skirting or making any modifications to your mobile home, check with your local authorities for any regulations or restrictions. Some areas may have specific guidelines for the type of materials, height, and overall appearance of skirting on mobile homes.
With these additional tips and tricks, you can ensure the successful installation and maintenance of skirting for your mobile home.
5 Things You Should Avoid
- Using Inappropriate Tools: Using the wrong tools can lead to inefficiency and potential damage to the skirting materials. Always ensure you have the correct tools for the job, such as a proper drill, hammer, caulking gun, and measuring tape.
- Ignoring Safety Precautions: Failing to follow safety guidelines can result in accidents or injuries. Wear appropriate protective gear, such as gloves and safety glasses, and be cautious when handling sharp or heavy materials.
- Neglecting the Underlying Issues: If your skirting is damaged, there may be underlying issues such as moisture problems or pest infestations. Simply replacing the skirting without addressing these root causes can lead to repeated damage.
- Skipping the Preparation Step: Proper preparation is crucial for a successful installation. Don’t skip cleaning the area, measuring accurately, or using a primer if necessary. Lack of preparation can lead to misalignment and a less durable finish.
- Cutting Corners on Sealants and Fasteners: Using inadequate or cheap sealants and fasteners can compromise the integrity of the skirting. Ensure that you use high-quality materials to secure and seal the skirting to protect against weather and pests.
By avoiding these common mistakes, you can achieve a more durable and professional-looking skirting repair or installation on your mobile home.
What Type of Skirting is Best?
The type of skirting that is best for your mobile home will depend on various factors such as climate, budget, and personal preference. Some popular options include:
- Vinyl Skirting is durable, low-maintenance, and affordable. It comes in various colors and styles and is suitable for most climates.
- Metal Skirting: Sturdy and long-lasting, metal skirting protects against pests and harsh weather conditions.
- Wood Skirting: Aesthetically pleasing but higher maintenance compared to other options. Wood skirting can be painted or stained to match the home’s exterior.
- Concrete Skirting: Very durable and long-lasting, but more expensive than other options. Concrete skirting is often used for permanent mobile homes in colder climates.
- Faux Stone or Brick Skirting: Offers a high-end look without the cost and maintenance of real stone or brick. Faux skirting comes in various styles and colors to complement any mobile home’s exterior.
Ultimately, choosing a skirting material that suits your needs and budget is important while complying with local regulations. Proper installation and maintenance of the chosen skirting type will ensure its longevity and effectiveness in protecting your mobile home.
What is a Cheap Alternative to Skirting?
If you’re looking for a cheaper alternative to traditional skirting, there are a few options you can consider:
- Landscaping: Planting shrubs, bushes, or other plants around the base of your mobile home can act as a natural barrier and add visual appeal.
- Decorative Gravel or Rocks: Using gravel or rocks around the perimeter of your mobile home can be a cost-effective way to cover the unsightly undercarriage.
- Wood Lattice Panels: Lattice panels are affordable and can be easily cut to fit around the base of your mobile home. They also provide some ventilation for the area beneath the home.
- Trellis with Climbing Plants: Similar to landscaping, using a trellis with climbing plants can add a natural and unique look while providing coverage for the undercarriage.

It’s important to note that these alternatives may not provide the same level of protection and insulation as traditional skirting materials. Therefore, they may not be suitable for all climates or mobile home setups.
Conclusion
How to fix skirting on a mobile home is a crucial task that enhances the aesthetic appeal and structural integrity of your residence.
By choosing the right material, performing proper installation, and adhering to local regulations, you can ensure that your skirting is both functional and durable. Avoid common pitfalls such as using inappropriate tools or neglecting underlying issues, and make sure to follow safety precautions to prevent accidents.
Additionally, if you’re on a tight budget, there are cost-effective alternatives available that can still provide some level of protection and improve the overall appearance of your mobile home.
Ultimately, investing the time and effort into high-quality skirting installation and maintenance will result in a more comfortable and attractive living environment.