

Flaring copper tubing for propane involves a precise process crucial for safe and efficient propane gas systems. Properly flared connections ensure gas-tight seals, preventing leaks that could pose serious safety hazards.
Whether you’re installing a new propane appliance or repairing an existing line, mastering the art of flaring copper tubing is essential.
This guide explores the step-by-step process of how to flare copper tubing for propane, from preparing the tubing and selecting the right flaring tool to forming a flare that meets industry standards.
By understanding these techniques and following safety protocols, you can confidently handle propane installations or repairs, ensuring your system operates reliably and safely.
Understanding the nuances of flaring copper tubing empowers homeowners and professionals alike to maintain gas systems that comply with safety regulations and provide peace of mind.
What is Flaring?
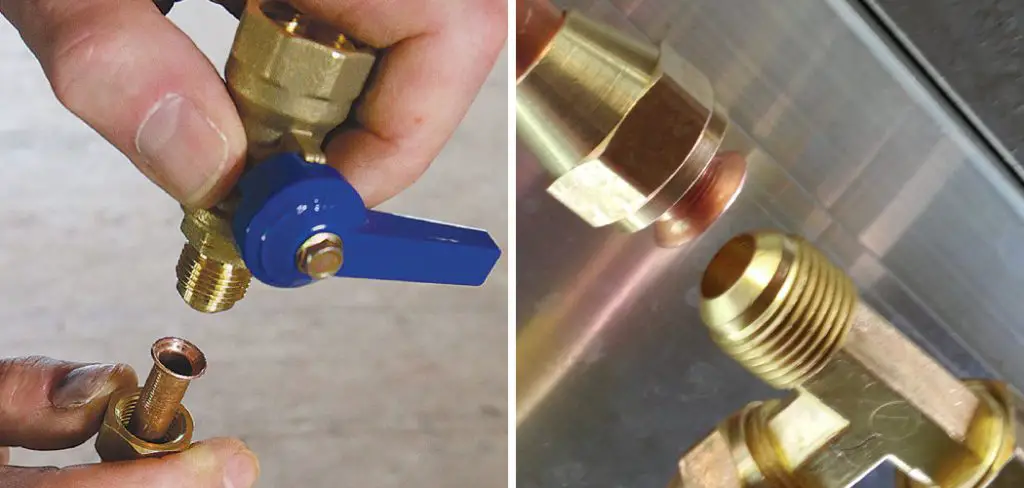
Flaring is a process used to create a conical flare at the end of a copper tube, allowing it to form a secure and tight connection with a fitting. This technique is widely used in various plumbing and gas installation applications, including propane systems.
The flare is created by expanding the end of the tubing using a specialized flaring tool, which reshapes the copper into a bell-like shape. When the flared end is connected to a fitting, it creates a compression seal that is highly resistant to leaks.
Flaring is crucial for ensuring the integrity of gas lines, as it provides a robust and leak-free connection that can withstand the pressures and environmental conditions typical of propane systems. Understanding the flaring process is essential for anyone working with copper tubing, ensuring both safety and efficiency in gas installations.
Tools and Materials Needed
Before you begin flaring copper tubing for propane, it’s essential to gather the right tools and materials to ensure a successful and safe installation. Here’s a list of what you’ll need:
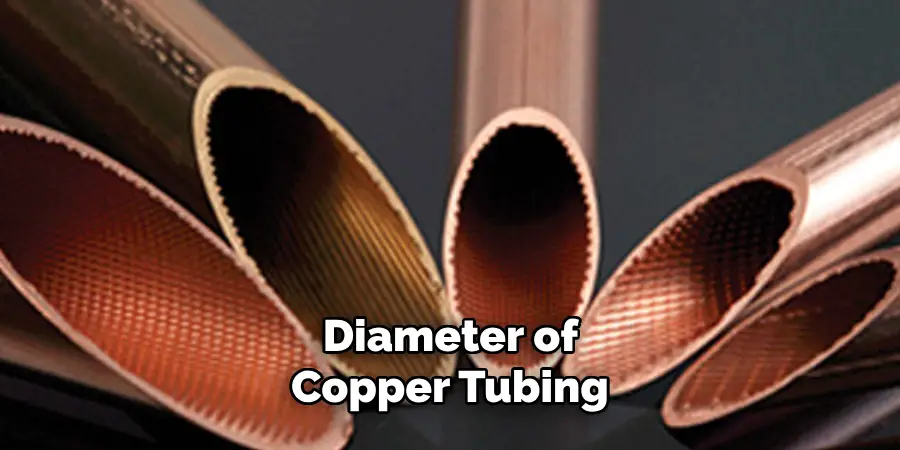
- Copper Tubing: The appropriate diameter of copper tubing for your specific propane system.
- Tubing Cutter: A tool for cutting the copper tubing to the desired length with a clean, straight edge.
- Flaring Tool Kit: This includes a flaring bar and yoke, essential for creating precise flares.
- Deburring Tool: Used to remove burrs from the cut end of the tubing, ensuring a smooth surface.
- Propane-Compatible Fittings: Appropriate flaring fittings that match the tubing size and the requirements of your propane system.
- Wrench: For tightening connections securely.
- Safety Glasses: To protect your eyes from metal shavings and debris during the cutting and flaring process.
- Work Gloves: To protect your hands while handling the tubing and tools.
- Pipe Thread Sealant or Teflon Tape: For ensuring leak-proof connections (if required by the fittings being used).
Having these tools and materials on hand will help streamline the flaring process and ensure a secure and compliant propane setup.
10 Methods How to Flare Copper Tubing for Propane
1. Selecting the Right Tools
The first step in flaring copper tubing for propane is selecting the right tools. Essential tools include a flaring tool kit, a tube cutter, and a deburring tool. A high-quality flaring tool kit will include various adapters to accommodate different tubing sizes, a yoke, and a flaring cone.
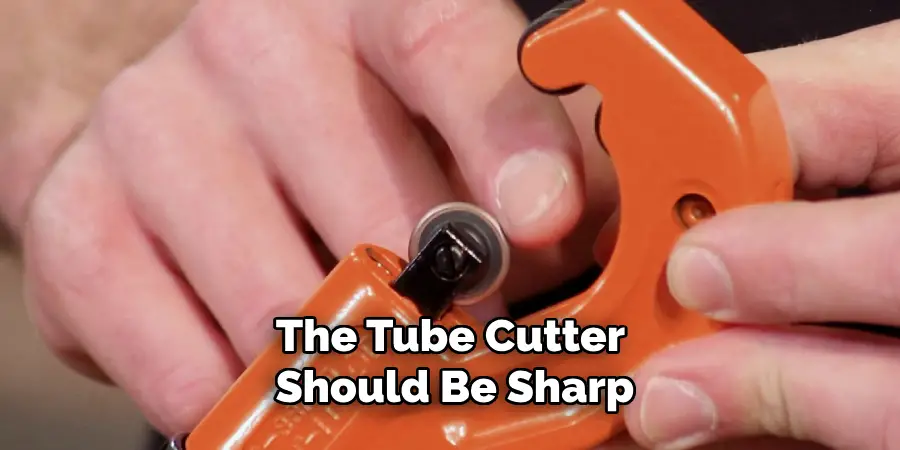
The tube cutter should be sharp and capable of making clean cuts without deforming the tubing. The deburring tool is used to remove any burrs from the cut end of the tubing. Using the right tools ensures a precise and clean flare, which is crucial for a secure connection.
2. Cutting the Tubing
Accurate cutting of the copper tubing is crucial for a successful flare. Use a tube cutter to make a clean, straight cut. Place the tubing in the cutter and tighten the blade against the tubing. Rotate the cutter around the tubing, gradually tightening the blade after each rotation until the tubing is cut through.
Ensure the cut is clean and free of any deformations. A precise cut provides a smooth surface for the flaring process, ensuring a better seal and connection.
3. Deburring the Tubing
After cutting the tubing, it is essential to deburr the cut end. Burrs can interfere with the flaring process and prevent a proper seal. Use a deburring tool to remove any burrs from both the inside and outside edges of the tubing.
Hold the tool at a slight angle and rotate it around the edge of the tubing until all burrs are removed. A smooth, burr-free edge is crucial for creating a uniform flare and ensuring a leak-free connection.
4. Selecting the Correct Flare Angle
For propane systems, the correct flare angle is 45 degrees. Ensure that your flaring tool is set to create a 45-degree flare. Most flaring tool kits are adjustable and will have markings to indicate the angle.
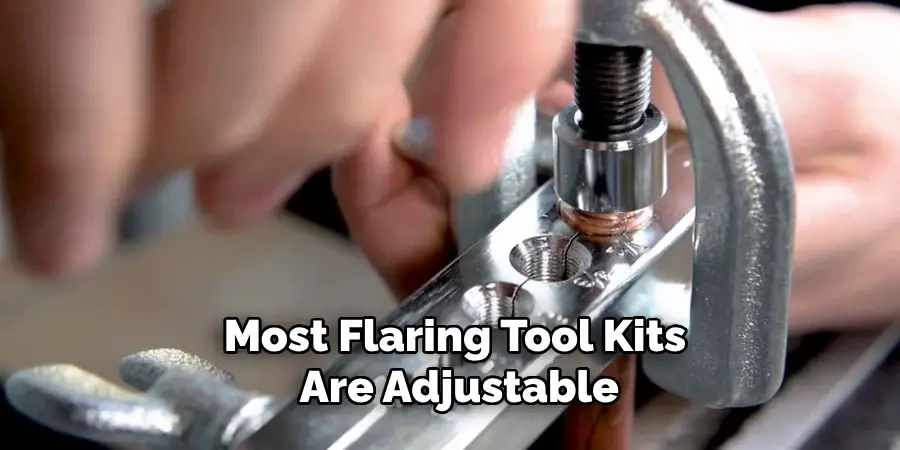
Verify the angle setting before proceeding to avoid incorrect flaring, which can result in leaks. The correct flare angle ensures a proper fit with the corresponding flare fittings, creating a secure and leak-free connection.
5. Using a Standard Flaring Tool
A standard flaring tool is a common and reliable method for flaring copper tubing. First, place the tubing in the flaring tool’s clamp, ensuring it sticks out slightly more than the thickness of the flare nut. Tighten the clamp to secure the tubing in place. Align the flaring cone with the tubing and tighten the yoke to press the cone into the tubing, creating the flare.
Continue tightening until the flare is formed, then release the yoke and remove the tubing. Inspect the flare for uniformity and smoothness. This method is straightforward and provides consistent results when done correctly.
6. Using a Ratchet Flaring Tool
A ratchet flaring tool offers greater control and precision, making it easier to create high-quality flares. Place the tubing in the tool’s clamp and tighten it to secure the tubing. Attach the correct-sized adapter to the tool and align it with the tubing.
Use the ratchet handle to gradually press the adapter into the tubing, forming the flare. The ratchet mechanism allows for controlled, even pressure, resulting in a uniform flare. Release the ratchet and remove the tubing, inspecting the flare for any imperfections. This method is ideal for those who require consistent and precise flares.
7. Using a Hydraulic Flaring Tool
A hydraulic flaring tool is suitable for larger or thicker copper tubing, as it provides the necessary force with minimal effort. Place the tubing in the tool’s clamp and secure it tightly. Attach the appropriate adapter and align it with the tubing. Use the hydraulic pump to press the adapter into the tubing, forming the flare.
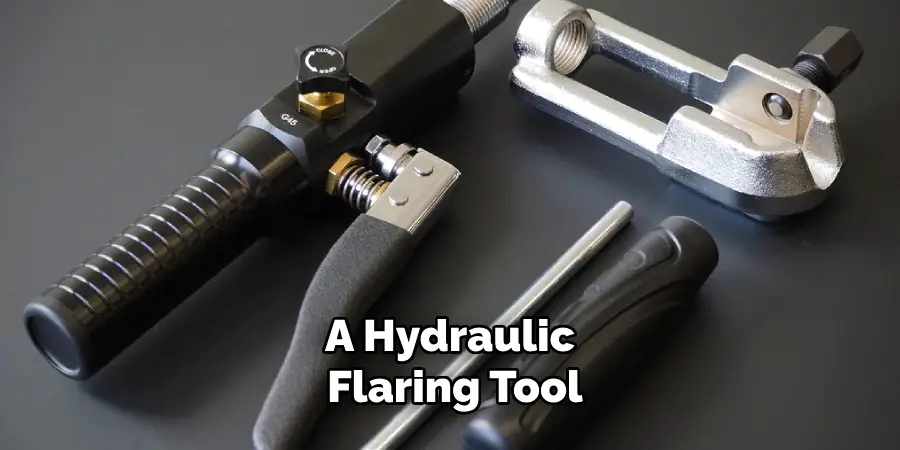
The hydraulic mechanism provides even and consistent pressure, resulting in a high-quality flare. Release the pressure and remove the tubing, inspecting the flare for any defects. This method is efficient for heavy-duty applications and ensures a secure connection.
8. Double Flaring for Added Security
Double flaring involves creating a flare that is folded back on itself, providing additional strength and security. This method is particularly useful for high-pressure propane systems. To create a double flare, first use a standard flaring tool to create a shallow flare.
Then, use the tool again to fold the flare back onto itself, forming a double layer. This double flare provides a more robust connection and reduces the risk of leaks. Ensure the double flare is uniform and smooth for the best results.
9. Checking for Proper Fit
After creating the flare, it is essential to check the fit with the flare fitting. Insert the flare into the fitting and tighten the flare nut by hand. The flare should fit snugly into the fitting without gaps or misalignment.
If the fit is not correct, the flare may need to be redone to ensure a proper seal. A good fit ensures that the connection will be secure and leak-free when the system is pressurized.
10. Testing for Leaks
Once the flare connection is complete, it is crucial to test for leaks. Connect the flared tubing to the propane system and pressurize it. Apply a soapy water solution to the flare connection and look for bubbles, which indicate a leak.
If bubbles are present, the flare may need to be tightened or redone. Conducting a leak test ensures that the connection is secure and safe for use in the propane system. Regular testing and maintenance of flare connections help maintain the integrity and safety of the system.
Conclusion
Flaring copper tubing for propane requires attention to detail, proper tools, and a systematic approach. From selecting the right tools and making precise cuts to creating uniform flares and testing for leaks, each step is crucial for ensuring a secure and leak-free connection.
Whether using a standard flaring tool, a ratchet flaring tool, or a hydraulic flaring tool, the key is to achieve a consistent and high-quality flare. Thanks for reading, and we hope this has given you some inspiration on how to flare copper tubing for propane!
Edmund Sumlin is a skilled author for Metal Fixes, bringing 6 years of expertise in crafting a wide range of metal fixtures. With a strong background in metalwork, Edmund’s knowledge spans various types of fixtures, from decorative pieces to functional hardware, blending precision with creativity. His passion for metalworking and design has made him a trusted resource in the industry.
Professional Focus:
- Expert in Metal Fixtures : Edmund aesthetic specializes in creating durable and innovative metal fixtures, offering both appeal and functionality. His work reflects a deep understanding of metalworking techniques and materials.
- Sustainability Advocate : He is dedicated to using sustainable practices, ensuring that every fixture is crafted with eco-friendly methods while maintaining high-quality standards.
In his writing for Metal Fixes, Edmund provides valuable insights into the latest trends, techniques, and practical advice for those passionate about metal fixtures, whether they are professionals or DIY enthusiasts. His focus on combining artistry with engineering helps others discover the true potential of metal in design.