

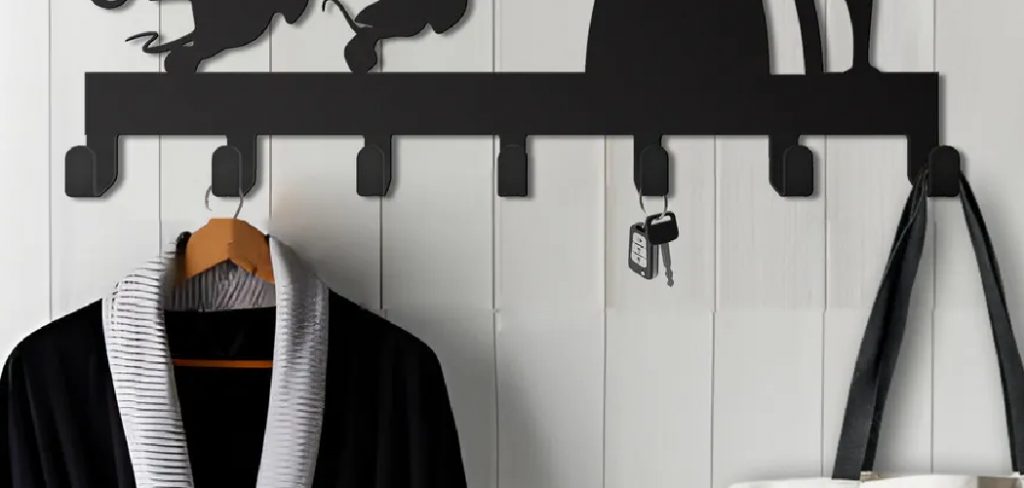
Do you need help hanging things on your aluminum hanger? Don’t worry—you’re not alone! Many people struggle with this task because aluminum can be tricky to work with.
How to hang things on aluminum hanger may seem like a straightforward task, but there are a few key considerations to ensure a secure and stable setup. Whether you’re looking to hang clothing, accessories, or other items, this guide will walk you through the steps to effectively utilize an aluminum hanger.
From understanding the weight capacity to choosing the right attachment method, we’ll provide you with the knowledge and techniques to hang your belongings confidently and precisely. Let’s dive in and explore the art of hanging things on aluminum hangers.
What Will You Need?
Before we get started, gather the necessary materials to ensure a successful hanging experience. Here’s what you’ll need:
- Aluminum Hanger: The primary tool for hanging your items on.
- Items to be Hung: These can vary from clothing to accessories or home decor items. Ensure they are suitable for hanging and within the weight capacity of the hanger.
- Attachments: Depending on the item, you may need attachments such as hooks, clips, or hangers for a secure setup.
- Measuring Tape: This will be useful when determining placement and spacing between items.
- Pencil: This is for marking measurements and placements on the wall or surface where you hang your items.
Once you have everything ready, it’s time to start hanging!
8 Easy Steps on How to Hang Things on Aluminum Hanger
Step 1: Know the Weight Capacity
Before hanging anything on an aluminum hanger, the first thing to consider is its weight capacity. This will determine the type and number of items that can be hung without compromising the hanger’s integrity. Each hanger has a different weight limit, so make sure to check the manufacturer’s instructions or label for this information. It’s important not to exceed the weight limit as it could lead to the hanger bending or breaking, causing damage to your items.
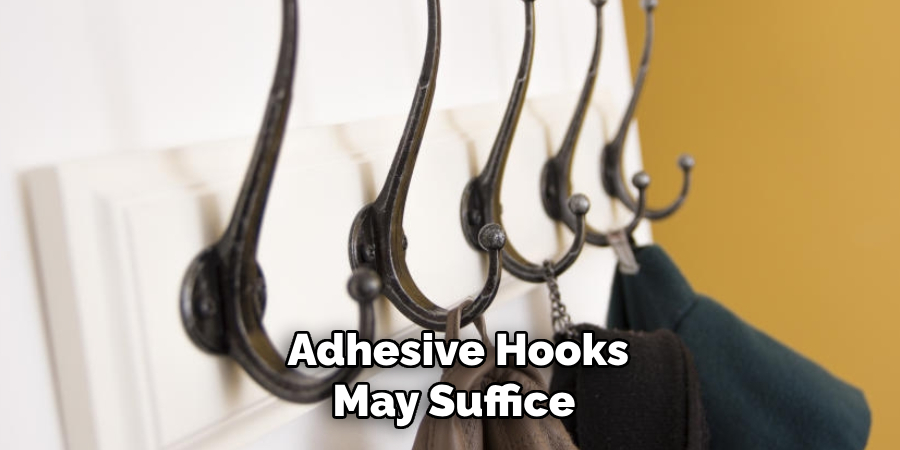
Step 2: Choose the Right Attachment Method
Your attachment type will depend on the item you’re hanging and its weight. For heavier items, it’s best to use sturdy hooks or clips to hold the weight without slipping or breaking securely. For lighter items, simple hangers or adhesive hooks may suffice. Make sure to test the attachments’ strength before hanging your items to avoid any accidents. Avoid using tape or another weak adhesive as they may not provide enough support.
Step 3: Measure and Mark the Placement
Before hanging your items, measuring and marking the precise placement on the wall is essential. This will ensure that your items are evenly spaced and aligned, creating a visually pleasing arrangement. Here’s how to do it:
- Gather your tools: Prepare a measuring tape, a pencil, and a level.
- Measure and mark: Measure the desired distance between each item and make small pencil marks on the wall at those points. Use a level to ensure that the marks are straight and aligned.
- Adjust as needed: Step back and assess the marked spots. Make any necessary adjustments to ensure the spacing and alignment are visually appealing. You can erase or adjust the pencil marks as needed.
- Consider the overall arrangement: If you’re hanging multiple items together, visualize how they will look as a group. Consider the size, shape, and color of each item to create a harmonious display.
By measuring and marking the placement of your items beforehand, you’ll have a clear guide to follow when it comes time to hang them. This extra step will help you achieve a polished and professional-looking arrangement on your wall.
Step 4: Hang the Heaviest Item First
Start by hanging the heaviest item on your aluminum hanger. This step is essential because heavier items often require more secure positioning and can be a base for arranging lighter items. Here’s how to do it:
- Secure the attachment: Ensure the hook, clip, or other attachment supporting the heavy item is adequately secured to the aluminum hanger or the wall.
- Double-check the balance: Gently place the heavy item on the hanger and verify it remains balanced. An unbalanced hanger can tip over or bend under the load, so take the time to adjust if necessary.
- Test the stability: Once the item is hung, lightly tug it to confirm that it won’t shift or fall. This will help avoid accidents and protect both your item and the hanger.
Hanging the heaviest item first also helps you gauge the remaining space and adjust the positioning of lighter items accordingly for a well-organized final arrangement.
Step 5: Arrange the Lighter Items Next
After securing the heaviest item, proceed to hang the lighter ones. Lighter items are more accessible to adjust and can be spaced around the heavier pieces to achieve a balanced and aesthetic look. Here’s what to keep in mind:
- Distribute weight evenly: Arrange the lighter items so that the overall weight on the hanger is balanced.
- Consider the design: Place the items in a way that complements the overall arrangement, ensuring a visually appealing layout.
- Leave adequate spacing: There should be enough space between the items to prevent crowding, which can make the arrangement look cluttered.
Take your time with this step to create a functional and stylish arrangement.
Step 6: Use Multiple Hangers for Heavy or Bulky Items
For heavier or bulkier items, using multiple hangers to distribute the weight more evenly and prevent any damage is best. Here’s what you can do:
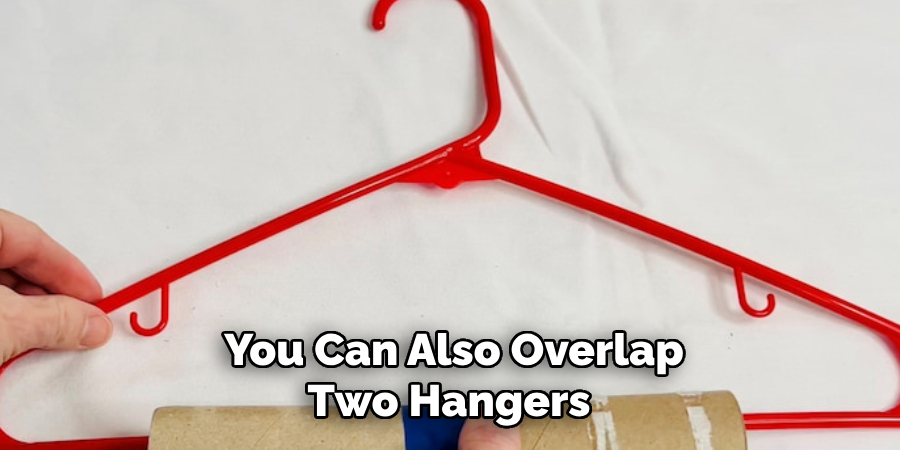
- Use hooks: If your aluminum hanger has built-in hooks, utilize them to hang items that require additional support.
- Overlap hangers: For more extensive or bulky items, you can also overlap two hangers to create a sturdier base.
- Consider using other attachment methods: Depending on the item, you may need to use brackets, wire, or even a tension rod for added strength and stability.
Using multiple hangers may take more effort, but it will ensure that your heavier or bulkier items are hung safely and securely.
Step 7: Add Finishing Touches
To complete your organized and visually appealing closet arrangement, it’s time to add those final touches that will elevate the overall look. Here are a few ideas to consider:
- Categorize by color or style: Arrange your clothing by color, creating a pleasing visual display. Alternatively, you can group items by style or occasion to make it easier to find what you need.
- Use storage bins and baskets: Utilize storage bins or baskets to neatly store accessories, such as scarves, hats, or belts. This keeps them organized and adds a touch of decorative flair.
- Consider adding lighting: If your closet lacks natural light or sufficient overhead lighting, consider installing LED strip lights or battery-operated touch lights to illuminate the space. This will enhance visibility and make it easier to select your outfits.
- Personalize with decorative elements: Inject your style into the closet by adding decorative elements such as framed photos, artwork, or small plants. This creates a customized and inviting space that showcases your personality.
By incorporating these finishing touches, your closet will serve its practical purpose and become a stylish and organized space that brings joy every time you step inside.
Step 8: Maintenance and Updates
Once you’ve completed the organization process, it’s essential to maintain your closet regularly. Here are a few tips to help you keep things tidy:
- Regular decluttering: Schedule regular decluttering sessions (e.g., every season) to get rid of items that no longer serve you. This helps prevent your closet from becoming too cluttered.
- Rotate seasonal clothing: To free up space and make it easier to access items, consider rotating your seasonal clothing. Store off-season clothes in storage bins or under-bed compartments until they’re needed.
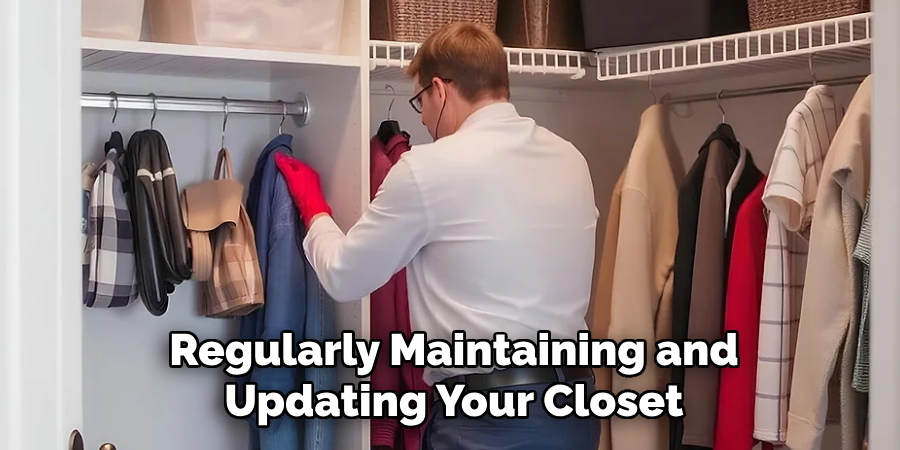
- Make adjustments as needed: As your wardrobe evolves, don’t be afraid to make changes or rearrange items in your closet to suit your needs better. This could mean adding more hangers, adjusting shelf height, or rearranging items for a fresh look.
Regularly maintaining and updating your closet organization will ensure that it remains functional and aesthetically pleasing for the long term.
With these eight simple steps, you can transform your cluttered and chaotic closet into a neatly organized and visually appealing space.
5 Things You Should Avoid
- Overloading the Hangers: Avoid placing too many clothes on a single aluminum hanger, as this can lead to distortion and damage to both the hanger and your garments. Distribute the weight evenly to maintain the integrity of the hangers and prevent your clothes from stretching or sagging.
- Using Thin or Slippery Hangers: Avoid using hangers made of thin materials or those with slippery surfaces, as they can cause your clothes to slide off easily. Opt for sturdy aluminum hangers with non-slip features to hold your garments in place securely.
- Ignoring Proper Spacing: Avoid overcrowding your closet by hanging clothes too close together. More spacing between garments can lead to wrinkling, creasing, and difficulty in accessing your clothes.
- Neglecting Padded or Protective Hanger Covers: Avoid hanging delicate or fragile garments directly on aluminum hangers without protective covers. The lack of padding or covers can cause imprints, snagging, or stretching on delicate fabrics.
- Don’t Use the Wrong Hangers for Specific Clothing Items: Avoid using a one-size-fits-all approach with your hangers. Different types of clothing require specific hanger types to maintain their shape and prevent damage.

Conclusion
In conclusion, using aluminum hangers to hang clothes offers numerous benefits in terms of durability, strength, and aesthetics.
By following the tips mentioned above, you can maximize the advantages of aluminum hangers and keep your closet organized and visually pleasing. With proper care and maintenance, your clothing will stay in excellent condition, allowing you to create a functional, stylish, and clutter-free wardrobe.
Hopefully, the article on how to hang things on aluminum hanger was helpful and gave you some practical tips for organizing your closet. So, invest in high-quality aluminum hangers and transform your closet into a well-organized space where your clothes are beautifully displayed and easily accessible. Happy hanging!
Edmund Sumlin is a skilled author for Metal Fixes, bringing 6 years of expertise in crafting a wide range of metal fixtures. With a strong background in metalwork, Edmund’s knowledge spans various types of fixtures, from decorative pieces to functional hardware, blending precision with creativity. His passion for metalworking and design has made him a trusted resource in the industry.
Professional Focus:
- Expert in Metal Fixtures : Edmund aesthetic specializes in creating durable and innovative metal fixtures, offering both appeal and functionality. His work reflects a deep understanding of metalworking techniques and materials.
- Sustainability Advocate : He is dedicated to using sustainable practices, ensuring that every fixture is crafted with eco-friendly methods while maintaining high-quality standards.
In his writing for Metal Fixes, Edmund provides valuable insights into the latest trends, techniques, and practical advice for those passionate about metal fixtures, whether they are professionals or DIY enthusiasts. His focus on combining artistry with engineering helps others discover the true potential of metal in design.