Installing a metal stove into an existing chimney can be a valuable upgrade to your home’s heating system, offering both efficiency and aesthetic appeal. Whether you’re seeking to enhance your home’s warmth during the colder months or aiming to add a unique focal point to your living space, a metal stove provides a sustainable and cost-effective heating solution.

However, the installation process requires careful planning and adherence to safety guidelines to ensure optimal performance and to prevent potential hazards. This guide will walk you through how to install a metal stove into an existing chimney.
Advantages of Using an Existing Chimney
Utilizing an existing chimney for your metal stove installation presents several advantages that can enhance both efficiency and convenience. First, reusing a pre-existing chimney reduces installation time and cost, as it eliminates the need for building a new exhaust system. This not only saves financial resources but also minimizes disruption to the home environment.
Additionally, existing chimneys are often strategically placed to optimize heat distribution throughout the home, increasing the overall effectiveness of your heating system. Moreover, using the existing structure can often comply more easily with local building codes and regulations, further simplifying the installation process. By integrating a metal stove with an existing chimney, homeowners can enjoy an efficient, effective, and less intrusive home improvement project.
Understanding the Basics
Before embarking on the installation of a metal stove into an existing chimney, it’s important to understand the fundamental components and requirements. First, ensure that the chimney structure is in good condition and capable of handling the new stove’s output. Inspect the chimney for any cracks, blockages, or damages that may impede functionality or compromise safety.
It’s also essential to determine the right size and type of stove that matches your heating needs and fits appropriately within your space. Consider the stove’s capacity, material, and design, as well as the type of fuel you’ll be using, such as wood, pellets, or gas.
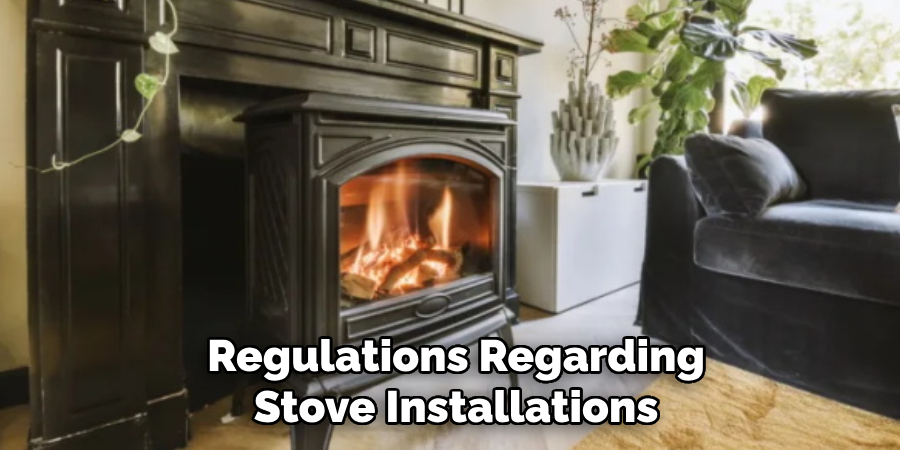
Additionally, familiarize yourself with local codes and regulations regarding stove installations, which might dictate specific safety protocols and installation standards. By acquainting yourself with these basics, you lay a solid foundation for a successful and compliant installation process.

Tools and Materials Needed
Proper preparation with the right tools and materials can make the installation of your metal stove into an existing chimney smoother and more efficient. Here’s a list of essential items you’ll need for the installation process:
Tools
- Drill and bits: For making precise holes and securing screws.
- Screwdriver set: Ensure you have both Phillips and flathead driver options.
- Measuring tape: For accurate measurements to ensure all components fit correctly.
- Level: To ensure the stove and chimney connection are perfectly aligned.
- Masonry tools: Such as a trowel for any necessary chimney repairs.
- Caulking gun: For applying heat-resistant sealant.
Materials
- Metal stove: The chosen stove model that suits your needs.
- Stove pipe with adapter: To connect the stove to the chimney.
- Heat-resistant sealant: Used for securing joints and preventing air leaks.
- Chimney liner: If required, to ensure compatibility and safety with the new stove.
- Fireproof floor pad or hearth: To protect flooring under and around the stove.
- Smoke and carbon monoxide detectors: Essential for safety purposes.
Having these tools and materials ready before commencing installation ensures a more efficient process and helps prevent any interruptions or complications.
10 Methods on How to Install a Metal Stove into an Existing Chimney
1. Check Building Codes and Regulations
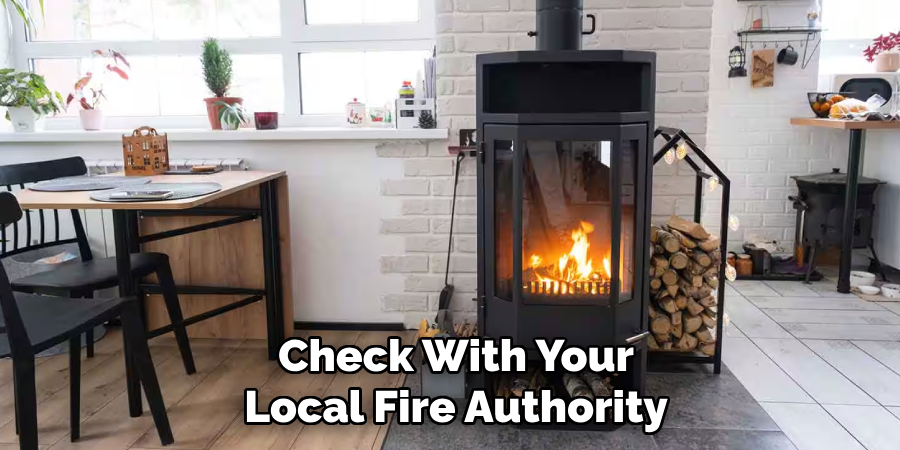
Before starting, familiarize yourself with local building codes and safety regulations. These often specify clearance requirements, venting specifications, and permissible materials. Consulting the manual for your metal stove is also essential, as it will outline manufacturer-specific regulations.
Pro Tip:
Ignoring regulations can lead to fines or even fire hazards. Always check with your local fire authority or building inspector if you’re unsure.

2. Inspect Your Existing Chimney
A thorough inspection of the chimney is crucial to ensure it’s safe, functional, and ready for installation. Look for cracks, clogs, or other structural damage. If the chimney hasn’t been cleaned recently, hire a professional to remove creosote buildup.
Example:
The National Fire Protection Association (NFPA) recommends annual chimney inspections to prevent structural damage and ensure safety.
3. Measure the Flue Opening
The flue opening must perfectly match the diameter of your metal stove’s outlet. A mismatch can cause poor ventilation, resulting in smoke and carbon monoxide building up inside your home.
Practical Tip:
If the existing chimney’s flue is a different size, you may need a chimney adapter to align the outlet and flue.
4. Choose the Right Chimney Liner
Chimney liners are essential for protecting your home from extreme heat and improving airflow. Stainless steel liners are the most recommended for metal stoves as they are durable and heat-resistant.
Fun Fact:
Studies have shown that using a quality liner can increase stove efficiency by up to 30%.
5. Seal the Stove Pipe Connection
Proper sealing prevents smoke leaks and improves the efficiency of your stove. Use stove cement or high-temperature silicone sealant to secure the metal stove pipe to the chimney. Ensure the seal is even and airtight.

Pro Tip:
Give the sealant enough time to cure (typically 24–48 hours) before lighting your stove.
6. Maintain Proper Clearance
Clearance refers to the distance between the stove and any flammable materials like walls or furniture. Metal stoves typically require a minimum clearance of 24 inches unless protective heat shields are used.
Safety Reminder:
Installing a heat shield can reduce clearance space by as much as 50%, giving you greater flexibility with room layout.
7. Create a Non-Combustible Base
Metal stoves emit significant heat, so installing them on a non-combustible base like tile, stone, or concrete is critical. If your existing floor is wood or carpet, lay a fire-proof hearth pad beneath the stove.
Tip:
Ensure the base extends at least 16 inches in front of the stove to catch stray sparks and ash.
8. Install a Damper for Better Control
A damper installed in the stove pipe helps regulate airflow and control the burn rate of your stove. This is especially useful in preventing excessive heat loss through the chimney.
Example:
For homes in colder climates, a damper can reduce heating expenses by improving heat retention.
9. Test Draft and Ventilation
Before using your stove, conduct a draft test to ensure the chimney is venting smoke effectively. Light a small fire and observe how the smoke behaves—if it lingers indoors, your chimney may have a blockage or insufficient draft.
Quick Tip:
Use a smoke test stick or an incense stick to visualize airflow patterns more easily.
10. Perform a Safety Check Before First Use
Once the installation is complete, double-check all connections, seals, and clearances. It’s also wise to install smoke detectors and a carbon monoxide detector in the same room as the stove for added peace of mind.
Reminder:
If you’re uncertain about any part of the process, consult a professional. Safety should always come first.
Stay Warm and Safe
Installing a metal stove into an existing chimney might seem overwhelming, but following these 10 methods will simplify the process. From proper measurements to final safety checks, each step plays a crucial role in ensuring your stove functions safely and efficiently.
If you’re still unsure about handling this project yourself, contact a licensed chimney installer to get it done professionally. After all, your warmth and safety are worth it. Now go ahead, light that first fire, and toast to a snug and cozy home.
Things to Consider When Installing a Metal Stove
- Location and Space Availability: Before installation, determine the most suitable location in your home for the metal stove. Consider both the aesthetic appeal and practicality of the space. Ensure there’s enough room for proper clearances and that it’s conveniently located for heat distribution.
- Type of Fuel: Consider the type of fuel your metal stove will use, whether it’s wood, pellets, or another source. This decision can impact both installation specifics and operational costs. Research the availability and price of your chosen fuel type in your area to ensure it fits your budget.
- Chimney Condition: The condition of your existing chimney is a crucial factor. Ensure it’s structurally sound and capable of handling the heat output from the stove. You might need to update or repair the chimney to accommodate your new stove, which can add to the installation cost.
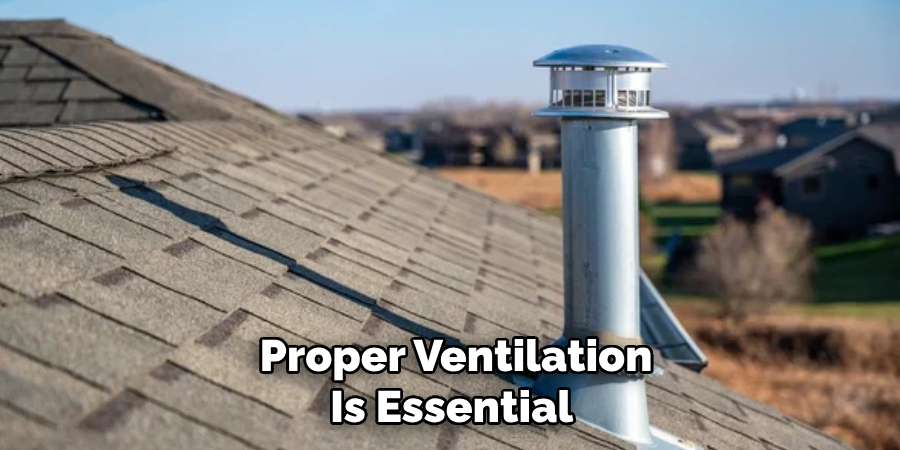
- Ventilation Needs: Proper ventilation is essential to prevent smoke and harmful gases from accumulating indoors. Check that the chimney provides adequate draft, and consider additional ventilation solutions if needed to keep your home safe and comfortable.

Conclusion
Installing a metal stove in your home can be a rewarding way to enjoy efficient heating during colder months. By carefully navigating each phase from planning to installation, and paying close attention to safety and efficiency, you can ensure optimal performance and longevity for your stove. ‘
Remember the importance of assessing your chimney’s condition, choosing the appropriate liner, and adhering to recommended clearances and ventilation needs. So, there you have it – a quick and easy guide on how to install a metal stove into an existing chimney.
Edmund Sumlin is a skilled author for Metal Fixes, bringing 6 years of expertise in crafting a wide range of metal fixtures. With a strong background in metalwork, Edmund’s knowledge spans various types of fixtures, from decorative pieces to functional hardware, blending precision with creativity. His passion for metalworking and design has made him a trusted resource in the industry.
Professional Focus:
- Expert in Metal Fixtures : Edmund aesthetic specializes in creating durable and innovative metal fixtures, offering both appeal and functionality. His work reflects a deep understanding of metalworking techniques and materials.
- Sustainability Advocate : He is dedicated to using sustainable practices, ensuring that every fixture is crafted with eco-friendly methods while maintaining high-quality standards.
In his writing for Metal Fixes, Edmund provides valuable insights into the latest trends, techniques, and practical advice for those passionate about metal fixtures, whether they are professionals or DIY enthusiasts. His focus on combining artistry with engineering helps others discover the true potential of metal in design.


