

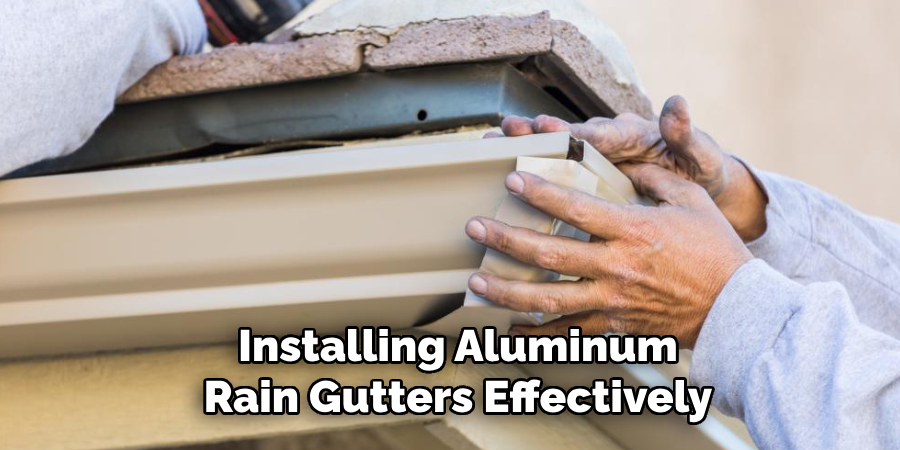
Installing aluminum rain gutters is an essential step in protecting your home from water damage. Rain gutters effectively channel rainwater away from the foundation, preventing erosion, basement leaks, and damage to exterior walls. Aluminum is a popular material for gutters due to its lightweight nature, durability, and resistance to rust.

In this guide on how to install aluminum rain gutters, we’ll walk you through the process of installing aluminum rain gutters, ensuring that your home remains well-protected against the elements. Whether you’re tackling this as a DIY project or hiring a professional, understanding the installation process will help you make informed decisions and maintain the structural integrity of your home.
Why Choose Aluminum Rain Gutters?
Before diving into the installation process, it’s essential to understand why aluminum rain gutters are a popular choice amongst homeowners. Here are some of the reasons why you should consider installing aluminum gutters in your home:
Lightweight Yet Durable:
Aluminum is a lightweight material, making it easier to install and less likely to sag or pull away from your home’s fascia. Despite its lightweight nature, aluminum is also incredibly durable and able to withstand heavy rainfall, strong winds, and extreme temperatures.
Low Maintenance:
Unlike other materials like wood or steel, aluminum gutters require little maintenance. They won’t rust or rot like steel or require frequent repainting like wood. A simple cleaning once a year is usually all that’s needed to keep them functioning properly.
Cost-Effective:
Aluminum rain gutters are relatively affordable compared to other materials like copper or zinc. This makes them an attractive choice for homeowners looking for a cost-effective solution that doesn’t compromise on durability.
Available in Various Styles and Colors:
Aluminum gutters come in a wide range of styles and colors, making it easier to find a design that complements your home’s exterior. This versatility allows you to achieve both functionality and aesthetic appeal.

Materials Needed for Installation
Before beginning the installation process, here are the materials you’ll need:
Aluminum Gutters:
Measure the length of your roofline to determine how much guttering you’ll need. It’s always a good idea to purchase slightly more than necessary in case of measurement errors.
Downspouts:
Downspouts are essential for directing water from the gutters away from your home’s foundation. The number of downspouts required will depend on the size and layout of your roof.
Gutter Hangers:
Hangers are used to attach the gutters to your home’s fascia board. They should be spaced every 2-3 feet along the length of the gutter.
End Caps and Corner Pieces:
These pieces are used to cap off the ends of gutters or navigate around corners. Make sure to measure and order end caps and corner pieces in the correct sizes.
Sealing and Mounting Hardware:
To secure the gutters to your home, you’ll need screws, rivets, or other mounting hardware. Be sure to use a sealing agent such as silicone caulk to prevent leaks.

Ladder and Safety Gear:
When working on your roof, safety is of utmost importance. Make sure you have a sturdy ladder with adjustable height and non-slip feet. Wearing gloves, safety glasses, and a harness are also recommended for added protection.
8 Step-by-step Guidelines on How to Install Aluminum Rain Gutters
Step 1: Preparation
Before you begin installing aluminum rain gutters, it’s crucial to prepare the installation site and gather all necessary materials and tools. Start by inspecting your roofline and fascia to ensure they are in good condition and capable of supporting the weight of the gutters. Repair any damaged areas as needed. Clear any debris or old guttering from the installation area to provide a clean working environment.
Make sure you have all the materials listed previously, as well as any tools you’ll need, such as a drill, measuring tape, saw, and a level. Lastly, the gutter layout should be planned by marking downspout locations and ensuring a proper slope for water drainage. Proper preparation will set the foundation for a successful and efficient installation process.
Step 2: Install Fascia Brackets
Once your preparation is complete, the next step is to install the fascia brackets that will support your aluminum gutters. Begin by determining the placement of the brackets, ensuring they are spaced evenly across the fascia board, approximately every 2-3 feet. This spacing is crucial to provide adequate support and prevent sagging.
Using a measuring tape and a pencil, mark the locations for each bracket along the fascia at a consistent height, allowing for a slight slope towards the downspouts to facilitate effective water drainage. Drill pilot holes at each mark to make it easier to drive in the screws without damaging the fascia. Secure each bracket firmly with screws, ensuring they are level and flush against the fascia. Double-check the alignment and slope with a level before moving on to the next step. Proper installation of fascia brackets will provide a sturdy foundation for your gutters, ensuring they function correctly to protect your home from water damage.
Step 3: Cut and Fit the Guttering
Using a saw, cut your aluminum gutters to the desired length, leaving extra room for end caps if needed. Once you have the correct measurements, carefully place the gutters onto the fascia brackets, ensuring they fit securely. Use a level to double-check that they are sloping towards the downspouts for proper water drainage. If necessary, trim or adjust the guttering as needed.
You can also use a gutter crimping tool to create a tight fit between the overlapping sections of the gutter. This will prevent any leaks or water from seeping through the joints.
Step 4: Install End Caps and Corner Pieces
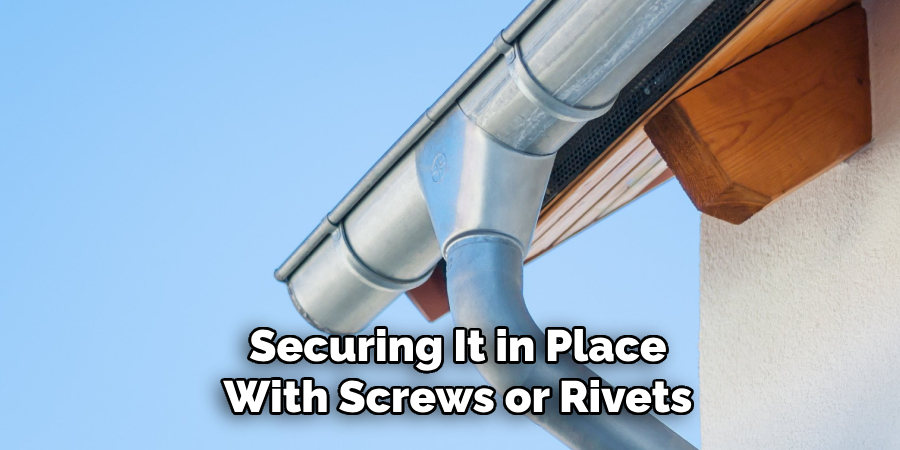
If your gutters require end caps or corner pieces, now is the time to install them. These pieces will provide a finished look and help guide water flow around corners. Simply slide them onto the ends of the gutters and secure them in place using screws or rivets.
But if you have a seamless gutter system, this step can be skipped as they are created in one continuous piece without the need for end caps or corner pieces.
Step 5: Attach Downspouts
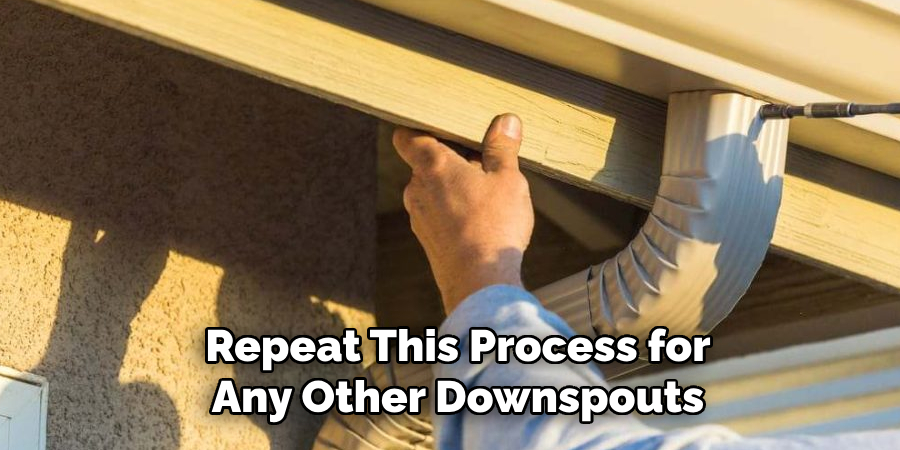
Next, it’s time to attach the downspouts. Begin by measuring and cutting them to the appropriate length, leaving extra room for connections at both ends. Slide one end of the downspout into the outlet of your gutters and secure it with screws or rivets. Repeat this process for any other downspouts you may have.
To direct water away from your home’s foundation, install an elbow joint at the bottom of each downspout that will extend outwards towards your desired drainage location. Secure the elbow joint in place using screws or rivets.
Step 6: Connect Gutters and Downspouts
With both gutters and downspouts now installed, you can connect them with a downspout connector to create a continuous flow of water from your gutters to the ground. Simply slide the connector onto the bottom of one gutter and into the top of the downspout, securing it in place with screws or rivets.
Repeat this process for any additional connections needed along your gutter system.
Step 7: Seal All Joints and Connections
To prevent any leaks or water seepage through joints and connections, use a silicone caulk sealant to seal them off. Apply the caulk liberally and smooth it out with a caulking tool or your finger to create a watertight seal.
If you prefer to have a seamless gutter system, you can also have the gutters professionally welded together for added strength and durability.
Step 8: Test Your Gutter System
Lastly, test your newly installed gutter system by running water through it using a hose or pouring water into it from the top. Check for any leaks, clogs, or pooling of water and make adjustments as necessary. Ensure that the water is being directed away from your home’s foundation towards the designated drainage location. Once you are satisfied with its functionality and performance, your aluminum rain gutters installation is complete!
Following these step-by-step guidelines on how to install aluminum rain gutters will allow you to install aluminum rain gutters efficiently and effectively, providing your home with the necessary protection from water damage. Remember to always prioritize safety by wearing appropriate gear and following manufacturer’s instructions for a successful installation experience. Therefore, it is essential to follow these guidelines carefully and consistently for the best results. Happily, you can now enjoy the peace of mind that comes with having a properly functioning gutter system. Happy installing!
Additional Tips
- If you’re unsure about proper measurements or techniques, consult a professional for assistance.
- Regularly clean and maintain your gutters to ensure they continue to function properly.
- Consider adding gutter guards or screens to prevent debris buildup and clogging in your gutters.
- Use caution when working at heights and always have a spotter present for added safety.
- In colder climates, consider using heat tape or deicing cables along the roof edge and inside the gutters to prevent ice dams from forming.
- If you have a two-story home, consider hiring a professional for installation due to the added safety risk.
- Consider investing in an aluminum gutter system with a baked-on enamel finish for increased durability and longevity.
- Keep all tools and materials organized and within reach to save time and prevent accidents during installation.
- Always follow local building codes and regulations when installing gutters, as requirements may vary by location.
- If you live in an area with heavy rainfall or frequent severe weather, consider reinforcing your gutter system with extra brackets for added stability. So, these are some additional tips that can help guide you through the process of installing aluminum rain gutters effectively. Happy guttering!
Conclusion
Installing aluminum rain gutters is an essential task for protecting your home against the potential damage caused by water. By carefully following the step-by-step guidelines on how to install aluminum rain gutters and utilizing the additional tips provided, you ensure a seamless and efficient installation. Not only do properly installed gutters manage water runoff, but they also enhance the overall look and maintenance of your home. Remember, attention to detail and adherence to safety protocols are crucial throughout the process.
Whether tackling the project yourself or seeking professional help, investing time and effort in a reliable gutter system pays off by offering peace of mind and preserving the integrity of your home for years to come.
Edmund Sumlin is a skilled author for Metal Fixes, bringing 6 years of expertise in crafting a wide range of metal fixtures. With a strong background in metalwork, Edmund’s knowledge spans various types of fixtures, from decorative pieces to functional hardware, blending precision with creativity. His passion for metalworking and design has made him a trusted resource in the industry.
Professional Focus:
- Expert in Metal Fixtures : Edmund aesthetic specializes in creating durable and innovative metal fixtures, offering both appeal and functionality. His work reflects a deep understanding of metalworking techniques and materials.
- Sustainability Advocate : He is dedicated to using sustainable practices, ensuring that every fixture is crafted with eco-friendly methods while maintaining high-quality standards.
In his writing for Metal Fixes, Edmund provides valuable insights into the latest trends, techniques, and practical advice for those passionate about metal fixtures, whether they are professionals or DIY enthusiasts. His focus on combining artistry with engineering helps others discover the true potential of metal in design.