

Do you dream of having a cupola on your metal roof? If that’s the case, you’ve come to the right place! Installing a cupola on your metal roof can be an exciting and rewarding experience. Not only will it enhance the exterior beauty of your house, but it also increases the structural integrity and ventilation of your building.
In this comprehensive guide on how to install cupola on metal roof, we’ll walk you through every step involved in installing a cupola on a metal roof – from selecting the perfect design to ensuring proper installation during harsh weather conditions. So get ready to give your home an impressive architectural update with minimum stress!
11 Step-by-step Guidelines on How to Install Cupola on Metal Roof
Step 1: Choose Your Cupola Design
Before considering anything else, decide on the perfect cupola design that will complement your home’s architecture. Cupolas are available in various style options such as hexagonal, square or rectangular. You can also choose from a wide range of materials – wood, vinyl, copper or metal. It’s recommended to opt for a metal cupola as it will blend seamlessly with your metal roof.
Step 2: Determine the Optimal Cupola Size
The size of your cupola is crucial to ensure it doesn’t overpower your home’s roofline. Ideally, you should choose a cupola that fits proportionally to your roof’s pitch and size. As a rule of thumb, the cupola should be at least 1% of your roof’s total square footage.
You can also consult a professional to determine the best cupola size for your metal roof. It’s essential to select a cupola size that is in harmony with your roof – too big or small will look out of place.
Step 3: Purchase the Necessary Materials
After deciding on the style and size, it’s time to purchase all the materials required for installation. This includes the cupola, weather vane, mounting brackets, fasteners and sealant. Ensure that the materials are of good quality to avoid any future issues. You can also refer to the manufacturer’s instructions for recommended materials and tools.
Step 4: Prepare Your Roof
Before you start installing your cupola, it’s essential to prepare your metal roof. Make sure that the area where the cupola will be placed is clean and free of any debris or dirt. If needed, remove any roofing material in that area to create a flat surface. But, be careful not to remove any essential roofing components. It’s also crucial to check the roof for any damages and make necessary repairs.

Step 5: Determine the Position and Mark the Center
Using a tape measure, determine the center point of your roof and mark it with a chalk line. This will serve as the reference point for positioning your cupola. You can also use a carpenter’s level to ensure the center is accurately marked. It’s best to have a helper to assist you during this step. But, if you’re installing a small cupola, you can complete this step on your own.
Step 6: Assemble Your Cupola
Assemble your cupola on the ground using the manufacturer’s instructions. Make sure all components are securely attached and properly aligned to avoid any issues during installation. This is also the perfect time to paint or seal your cupola if needed. It’s recommended to prime and paint your cupola before installation.
Step 7: Install the Mounting Bracket
Place the mounting bracket on the center point and attach it to your roof using fasteners. The bracket should be aligned with your roof’s pitch and secured tightly. You can also refer to the manufacturer’s instructions for specific installation guidelines. It’s essential to ensure that the mounting bracket is strong and securely attached to hold the weight of your cupola.
Step 8: Lift Your Cupola on the Roof
With the help of a helper or lifting equipment, carefully lift your assembled cupola onto the roof and place it over the mounting bracket. Make sure that the cupola is centered, and the mounting bracket fits securely into its designated spot. Double-check all sides to ensure proper alignment. But, be cautious when lifting your cupola to avoid any damage.
Step 9: Secure Your Cupola
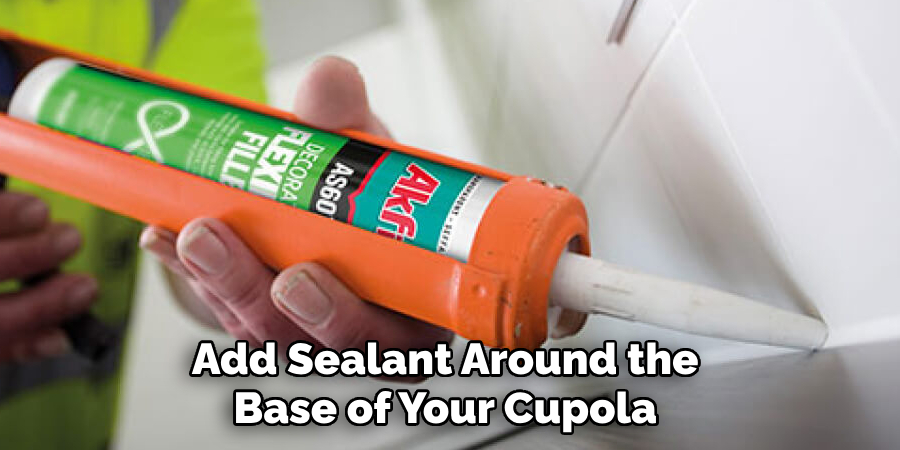
Secure your cupola to your metal roof using fasteners. These should be placed at designated spots on the cupola’s base and roof. It’s crucial to ensure that the fasteners are securely attached to hold the cupola in place during harsh weather conditions. You can also add sealant around the base of your cupola to prevent any water leakage.
Step 10: Add a Weather Vane
If you’ve purchased a cupola with a weather vane, this is the time to install it. Place the weather vane on top of your cupola and secure it with fasteners or adhesive as specified in the manufacturer’s instructions. This step is optional but adds an elegant touch to your cupola. But, be cautious when installing the weather vane to avoid any damage.
Step 11: Test and Inspect Your Cupola
After completing the installation, it’s essential to test and inspect your cupola. Check for any gaps or leaks around the base of your cupola. You can also take this time to make any necessary adjustments. If everything looks good, you can now enjoy your newly installed cupola on your metal roof!
Following these step-by-step guidelines on how to install cupola on metal roof will ensure a successful and hassle-free installation of your cupola on a metal roof. Remember to always prioritize safety when working on the roof and consult a professional if needed. By following these tips, your home will have an added touch of architectural beauty and functionality with a stunning cupola atop its metal roof.
Do You Need to Hire Professionals?
Installing a cupola on a metal roof can be a challenging task, especially if you don’t have any experience with roofing. It’s always recommended to hire professionals for this job to ensure proper installation and avoid any potential risks. Professional installers have the necessary skills, expertise, and equipment required to safely install your cupola on a metal roof.
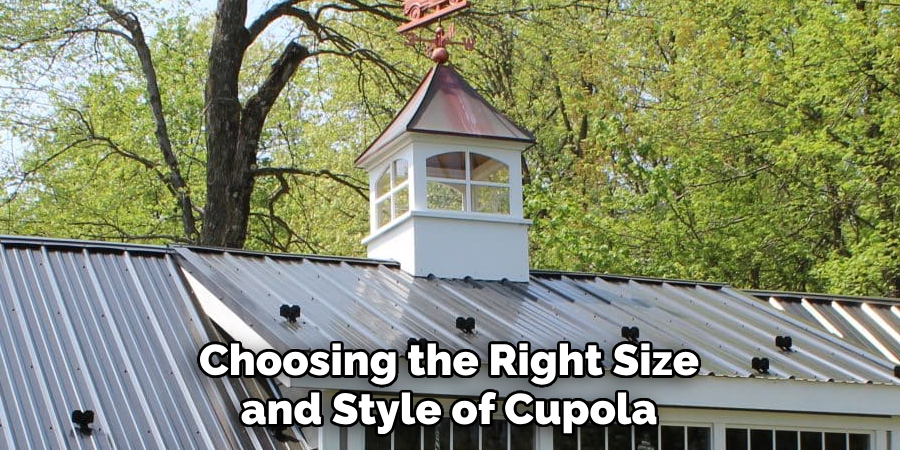
They can also assist you in choosing the right size and style of cupola that best suits your home’s roofline.Moreover, hiring professionals can save you time and effort, making the installation process stress-free for you.
So, if you’re unsure about installing a cupola on your metal roof, it’s best to leave it to the experts. With their help, you’ll have a beautifully installed cupola that will add character and charm to your home for years to come.
Frequently Asked Questions
Q1: Can I Install a Cupola on My Metal Roof by Myself?
A1: Yes, with the right tools and materials, you can install a cupola on your metal roof. However, it’s recommended to have a helper or consult a professional for larger cupolas if you feel unsure about the process. Safety should always be a top priority when working on the roof.
Q2: How Long Will It Take to Install a Cupola on My Metal Roof?
A2: The installation time can vary depending on the size and complexity of your cupola, as well as your experience with roofing projects. A small cupola can take a few hours, while larger ones may take a full day. It’s best to allocate enough time and work at a comfortable pace to ensure a successful installation.
Q3: Do I Need to Add Sealant When Installing a Cupola on My Metal Roof?
A3: Yes, it’s recommended to add sealant around the base of your cupola during installation. This will help prevent any water leakage and ensure that your cupola stays securely in place during harsh weather conditions. Make sure to use high-quality sealant for maximum effectiveness.
Q4: Can I Install a Cupola on Any Type of Metal Roof?
A4: Yes, cupolas can be installed on any type of metal roof, including steel, aluminum, and copper. However, it’s essential to make sure that the mounting bracket and fasteners are compatible with your specific type of metal roof. Consult the manufacturer or a professional for guidance if needed. Overall, installing a cupola on your metal roof is a relatively straightforward process that can add character and charm to your home.
Conclusion
To ensure your cupola installation is a success, make sure you prepare before beginning and have someone to help you with the heavier steps! Make sure to follow all necessary safety precautions while installing your cupola. Ask a professional roofer for advice if you are having trouble installing it correctly.
When you’re done, admire the beautiful outcome of your hard work and enjoy the wonderful view from your new cupola! So don’t wait any longer – start the process today and bask in the beauty that a cupola can bring to metal roofs everywhere! Thanks for reading this article on how to install cupola on metal roof.
Edmund Sumlin is a skilled author for Metal Fixes, bringing 6 years of expertise in crafting a wide range of metal fixtures. With a strong background in metalwork, Edmund’s knowledge spans various types of fixtures, from decorative pieces to functional hardware, blending precision with creativity. His passion for metalworking and design has made him a trusted resource in the industry.
Professional Focus:
- Expert in Metal Fixtures : Edmund aesthetic specializes in creating durable and innovative metal fixtures, offering both appeal and functionality. His work reflects a deep understanding of metalworking techniques and materials.
- Sustainability Advocate : He is dedicated to using sustainable practices, ensuring that every fixture is crafted with eco-friendly methods while maintaining high-quality standards.
In his writing for Metal Fixes, Edmund provides valuable insights into the latest trends, techniques, and practical advice for those passionate about metal fixtures, whether they are professionals or DIY enthusiasts. His focus on combining artistry with engineering helps others discover the true potential of metal in design.