

Installing metal slabs can be a manageable task with the right tools and knowledge. These slabs are frequently used in various construction and renovation projects due to their durability and sleek appearance. Whether you’re working on a new construction site or updating an existing space, understanding the process of installing metal slabs properly is crucial to achieving a professional finish.
This guide on how to install metal slabs will provide you with step-by-step instructions to ensure your metal slabs are installed safely and effectively, enhancing the overall stability and aesthetics of your project.
Why Choose Metal Slabs?
Before we jump into the installation process, it’s essential to understand why metal slabs are a popular choice in construction projects. Here are some of the main benefits of using metal slabs:
Durability:
Metal slabs are incredibly durable and can withstand high levels of heat, pressure, and external elements without warping or cracking. This makes them an ideal choice for outdoor spaces, such as patios or walkways.
Low Maintenance:
Metal slabs require minimal maintenance compared to other materials like wood or concrete. They are resistant to stains, mold, and pest infestations, making them a cost-effective option in the long run.
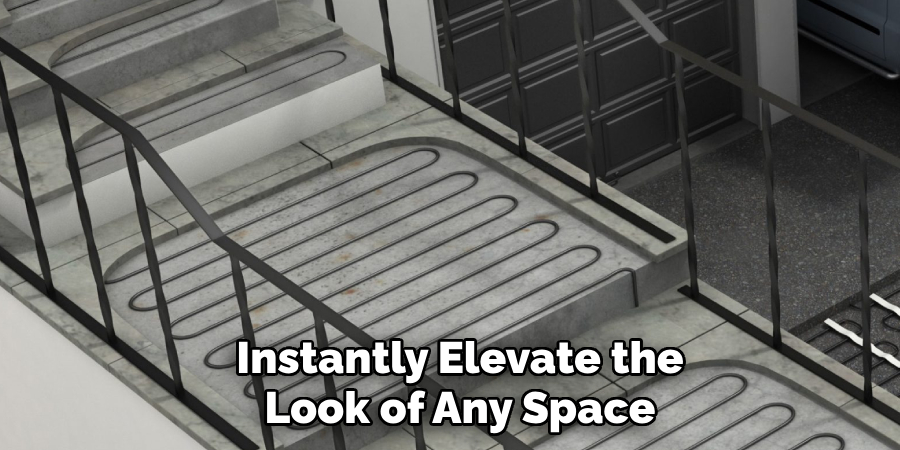
Aesthetic Appeal:
With its sleek and modern appearance, metal slabs can instantly elevate the look of any space. They come in various colors and finishes, giving you the flexibility to choose a style that complements your project’s overall design.
Tools Needed
Before starting the installation process, make sure you have all the necessary tools on hand. Here is a list of essential tools required for installing metal slabs:
- Safety Gear (Gloves, Goggles, and Mask)
- Measuring Tape
- Chalk Line
- Level
- Hammer or Mallet
- Circular Saw With a Metal-cutting Blade
- Tin Snips
- Drill With Drill Bits Suitable for Metal
- Screws or a Nail Gun (Depending on Your Preference)
- Metal Primer and Paint (if Desired)
8 Step-by-step Process on How to Install Metal Slabs
Step 1: Measure and Mark
Begin by measuring the area where you plan to install the metal slabs. Use a measuring tape to obtain accurate dimensions of the length and width of the space. Once you have these measurements, use a chalk line to mark the boundaries of the installation area on the substrate.
It’s crucial to ensure your markings are straight and precise to facilitate an even installation of the slabs. Double-check your measurements to avoid any potential misalignment that could affect the overall outcome of your project.
Step 2: Prepare the Substrate
The substrate is the surface on which you’ll be installing the metal slabs. It’s essential to prepare this surface correctly to ensure a stable and long-lasting installation. If the substrate is concrete, make sure it’s level and free of any cracks or defects that could affect the slabs’ placement. For wooden substrates, reinforce any weak areas with additional supports.
It’s also recommended to apply a layer of primer on the substrate to promote better adhesion with the metal slabs.
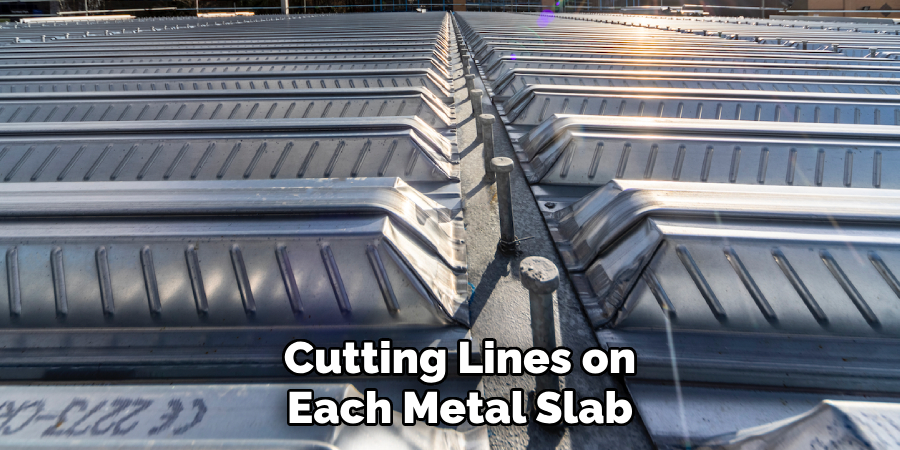
Step 3: Cut the Metal Slabs
Once the substrate is prepared, it’s time to cut the metal slabs to fit the designated area. Using your measurements from Step 1, mark the cutting lines on each metal slab with a clear marker or chalk. Ensure these lines are straight to avoid any mismatched edges during installation. Equip yourself with a circular saw fitted with a metal-cutting blade for straight cuts or tin snips for more intricate shapes and smaller adjustments.
Always wear safety gear, including gloves and goggles, while cutting to protect against sharp edges and metal shards. Cut each slab carefully along the marked lines, keeping the saw or snips steady to maintain clean edges. Double-check the size of the cut slabs against your installation area before proceeding to ensure they will fit precisely into the measured space.
Step 4: Test Fit the Slabs
Before proceeding with the installation, it’s vital to conduct a test fit of the metal slabs to ensure they align perfectly with the designated area. Carefully lay each cut slab onto the substrate, following your measurements and the marked boundaries from Step 1.
This process allows you to confirm that each piece fits correctly and helps you identify any necessary adjustments that need to be made. During this step, verify that there are no gaps or overlaps between slabs and that the overall layout meets your design expectations.
Make note of any modifications required, such as trimming or repositioning certain pieces, to achieve a seamless and professional finish. This pre-installation trial will facilitate a smoother installation process and minimize potential issues during the final placement of the metal slabs.
Step 5: Drill Holes for Screws
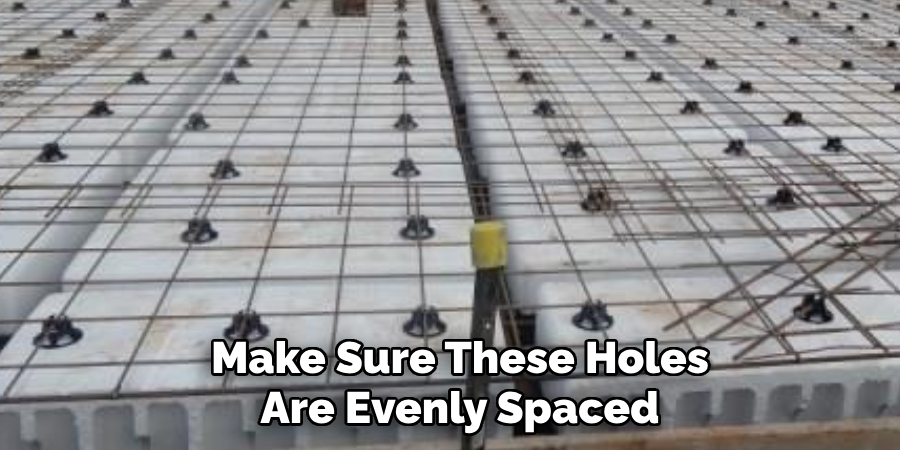
Once you have confirmed the proper fit of the metal slabs, it’s time to prepare them for installation. Using a drill with appropriate metal drill bits, create holes in each slab at designated intervals along the edges where you plan to secure them.
These holes should be slightly larger than the screws or nails you’ll be using to allow for slight movements during placement. It’s essential to make sure these holes are evenly spaced and located near the edges of each slab to provide sufficient support.
Step 6: Prime and Paint (Optional)
If you’re looking to enhance the appearance or add an extra layer of protection to your metal slabs, priming and painting them can be a beneficial step. Start by applying a coat of metal primer to each slab. This primer will help the paint adhere better and provide a smoother finish while offering some protection against rust and weathering. Allow the primer to dry completely as per the manufacturer’s instructions.
Once the primer has dried, you can proceed to paint your slabs with a metal-compatible paint of your choice. Choose a color and finish that complements your project’s overall aesthetic. Use a brush or a roller to apply the paint evenly across the surface of the slabs.
Depending on the paint, you may need multiple coats to achieve the desired coverage and color intensity. Be sure to let each coat dry thoroughly before adding another. This step not only enhances the visual appeal of your metal slabs but also contributes to their longevity by adding an additional protective barrier.
Step 7: Install the Slabs
With all preparations complete, it’s now time to install the metal slabs onto the substrate. Begin by placing each slab into its designated position, ensuring that they are lined up correctly with the marked boundaries and adjacent pieces. Using a hammer or mallet, gently tap each slab into place until it is securely positioned on the substrate.
Next, using your screws or nail gun, secure each slab in place by driving a screw or nail through each pre-drilled hole and into the substrate. Make sure these fasteners are flush with the surface of the slabs to prevent any potential tripping hazards. Continue this process for all remaining slabs until you have installed all of them.
Step 8: Finishing Touches
To complete your installation, you may want to add some final touches, such as filling in any gaps or seams between slabs with a sealant. This step will help prevent water and debris from getting between the slabs and causing potential damage. You can also add edge trim pieces for a more polished look.
Finally, thoroughly clean your newly installed metal slab surface to remove any dust or debris from the installation process. Use a mild detergent and warm water to scrub away any stubborn marks or stains.
Following these steps on how to install metal slabs will ensure a successful and professional installation of your metal slabs, providing a durable and visually pleasing surface for years to come. Remember to always prioritize safety and carefully plan out each step of the process to achieve the best results. Happy installing!
Additional Tips for Installing Metal Slabs
- Always check with local building codes before starting any installation project.
- If you are unsure about any part of the installation process, consult a professional.
- Consider using adhesive in addition to screws or nails for extra stability.
- Use a level to ensure that each slab is installed evenly and avoid any potential tripping hazards.
- Use a metal file to smooth any rough edges or corners on the slabs after cutting.
- Make sure to keep the area well-ventilated when working with primers and paints.
- If installing metal slabs outdoors, be mindful of weather conditions and consider applying an additional layer of protective sealant for added durability against the elements.
- Regularly inspect your metal slabs for any signs of damage or wear and tear, and make repairs as needed to maintain their longevity.
- Enjoy your newly installed metal slab surface and don’t be afraid to get creative with different patterns and designs for a unique touch to any space.
Frequently Asked Questions
Q: Can I Install Metal Slabs Over an Existing Surface?
A: Yes, as long as the existing surface is flat and stable, you can install metal slabs on top of it. It’s essential to ensure that the substrate is properly cleaned and prepped before installation.
Q: Do I Need Special Tools for Installing Metal Slabs?
A: To install metal slabs, you will need a drill with appropriate metal drill bits, screws or nails, a hammer or mallet, and potentially a saw if any trimming or adjustments are necessary. Additional tools such as a level, adhesive, and paint supplies may also be needed depending on your project’s specific requirements.
Q: How Can I Maintain the Appearance of My Metal Slab Surface?
A: Regular cleaning with mild detergent and warm water can help maintain the appearance of your metal slab surface. Be sure to avoid abrasive cleaners that could scratch or damage the surface and promptly clean up any spills or stains to prevent them from setting in.
Q: Are There Different Types of Metal Slabs Available?
A: Yes, there are various types of metal slabs available on the market, including stainless steel, aluminum, copper, and more. Each type has its unique properties and aesthetic qualities, so be sure to research which one is best suited for your project before purchasing.

Conclusion
Installing metal slabs can significantly enhance the durability and aesthetics of your space, whether for indoor or outdoor purposes. By following a systematic approach to how to install metal slabs, from preparation, priming, painting, and installation, you can achieve a professional and enduring finish. Remember to adhere to safety guidelines, consult local building codes, and make use of the right tools and materials to ensure a successful project.
With the wide variety of metal types available, you have the opportunity to tailor your installation to suit your specific needs and design preferences. Regular maintenance and inspections will help preserve the slabs’ integrity, allowing you to enjoy your robust and stylish surface for many years.
Edmund Sumlin is a skilled author for Metal Fixes, bringing 6 years of expertise in crafting a wide range of metal fixtures. With a strong background in metalwork, Edmund’s knowledge spans various types of fixtures, from decorative pieces to functional hardware, blending precision with creativity. His passion for metalworking and design has made him a trusted resource in the industry.
Professional Focus:
- Expert in Metal Fixtures : Edmund aesthetic specializes in creating durable and innovative metal fixtures, offering both appeal and functionality. His work reflects a deep understanding of metalworking techniques and materials.
- Sustainability Advocate : He is dedicated to using sustainable practices, ensuring that every fixture is crafted with eco-friendly methods while maintaining high-quality standards.
In his writing for Metal Fixes, Edmund provides valuable insights into the latest trends, techniques, and practical advice for those passionate about metal fixtures, whether they are professionals or DIY enthusiasts. His focus on combining artistry with engineering helps others discover the true potential of metal in design.