

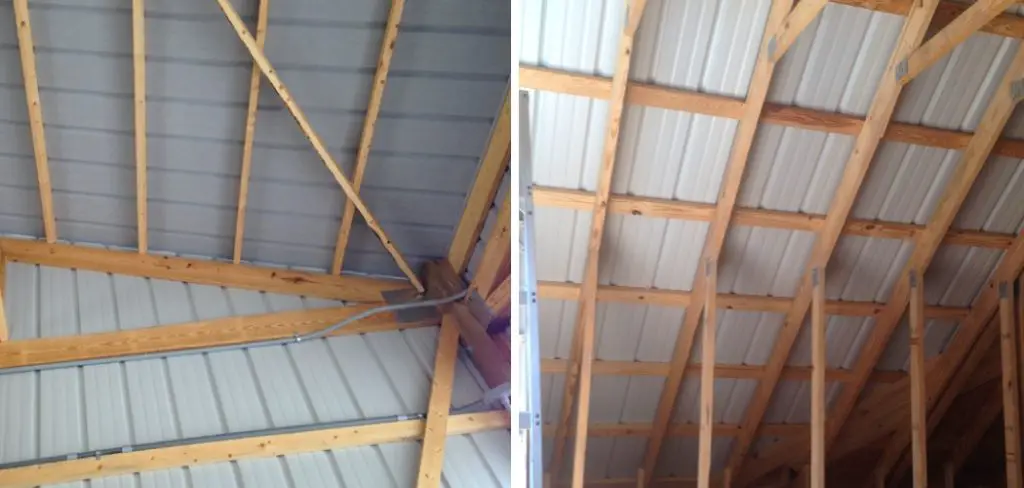
Are you considering installing a metal roof? If so, you’ll want to familiarize yourself with this type of structure’s different components and understand how to install purlins securely. Purlins are an essential structural element in many metal roofs, adding stability and supporting framing members. Installing these supports correctly ensures your roof performs optimally for years.
In this blog post, we will discuss the steps necessary to successfully How to Install Purlins for a Metal Roof or renovation project to be sturdy and dependable. Read on to discover what tools will be required and tips and tricks on installing purlins for a metal roof that can make the job easier!
Necessary Items to Install Purlins
Before starting your metal roof installation, gather all the necessary tools and materials. These include:
- Purlins
- Drill (with appropriate drill bits)
- Screws or nails
- Measuring tape
- Ladder
- Safety gear (gloves, safety glasses, etc.)
Additionally, make sure to have a helper available. Installing purlins typically requires two people, with one person positioning and holding the purlin in place while the other secures it.
10 Steps on How to Install Purlins for a Metal Roof
Step 1: Prepare The Roof Surface
Before installing purlins, ensure your roof surface is clean and free from any debris. This will ensure that the purlins can be appropriately placed and secured. If necessary, sweep or clear off any dirt or debris from the surface.
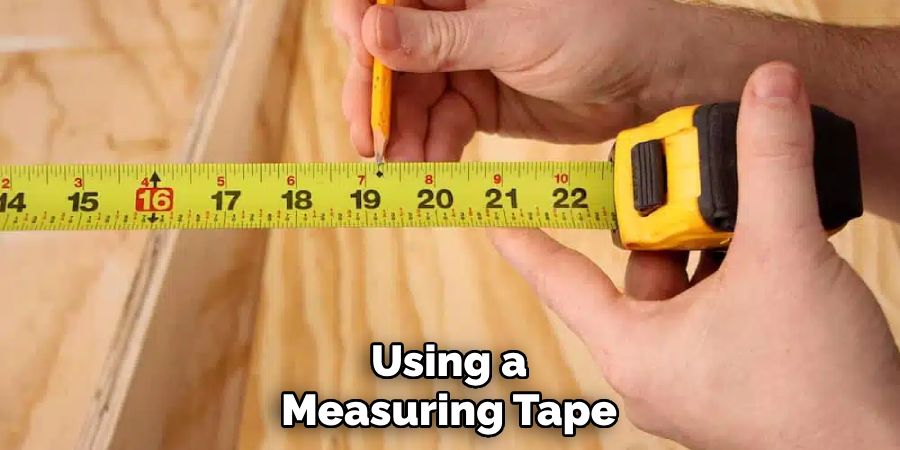
Step 2: Measure And Mark Purlin Placement
Using a measuring tape, determine the placement of your purlins on the roof. Typically, metal roofs require purlins every 24 inches (61 cm) or so. Use a marker to make small dots indicating where each purlin should be placed.
Step 3: Pre-drill Holes
Using a drill with the appropriate drill bit, pre-drill holes where you have marked for purlin placement. This will ensure that the screws or nails go in smoothly and securely. The size of the drill bit should be slightly smaller than the screws or pins you will use.
Step 4: Secure End Purlins
Start at one end of the roof and position your first purlin in place, aligning it with the markings on your roof. Have your helper hold the purlin in place while you secure it to the roof using screws or nails.
Step 5: Add Intermediate Purlins
Move along the roof, placing and securing intermediate purlins as you go. Remember to measure and mark each purlin before drilling and securing it in place. Make sure the purlins are evenly spaced for maximum stability.
Step 6: Check For Proper Alignment
After installing a few purlins, step back and check for proper alignment. This will ensure that your roof is level and even before continuing with the installation. Adjust as necessary.
Step 7: Install Cross Bracing (If Necessary)
Depending on the size and design of your roof, you may need to install cross-bracing for additional support. Consult with a professional or follow manufacturer instructions on installing cross bracing correctly.
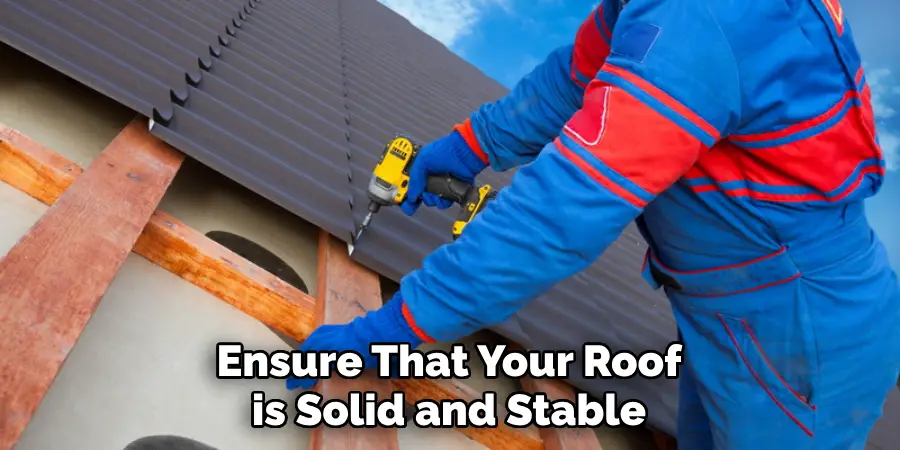
Step 8: Continue Installing Purlins
Continue installing purlins along the length of your roof, making sure to check for proper alignment and evenly spaced placement. This will ensure that your roof is solid and stable.
Step 9: Double Check For Secure Fastening
Once all purlins have been installed, double-check for any loose screws or nails. Make sure all purlins are securely fastened to the roof surface.
Step 10: Finish With Ridge Cap Installation
After all purlins are securely installed, you can finish by installing the ridge cap. This will cover and seal gaps or openings between the purlins and complete your metal roof installation.
Installing purlins for a metal roof is a daunting task. Still, by following these steps on how to install purlins for a metal roof and having the necessary tools and materials, you can ensure that your roof is adequately supported for years to come. Remember always to prioritize safety and consult with professionals if needed. With proper installation, your metal roof can provide both durability and aesthetic appeal to your home or building.
8 Safety Measures While Working on a Metal Roofing
1. Wear Appropriate Safety Gear
Proper safety gear, such as non-slip shoes, gloves, and a hard hat, is essential when working on a roof. This will protect you from any potential falls or injuries.
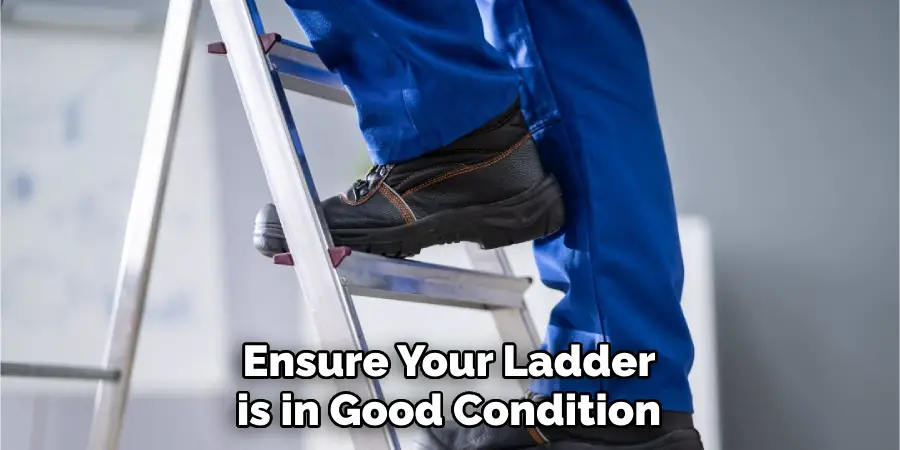
2. Use a Secure Ladder
Ensure your ladder is in good condition and properly secured before climbing onto the roof. Having someone hold the ladder’s base for added stability is also essential.
3. Avoid Working on a Wet Roof
If it has been raining or the roof is wet, avoid working on it until it is scorched. Wet surfaces can be slippery and increase the risk of accidents.
4. Be Mindful of Electrical Hazards
Metal roofing can conduct electricity, so avoid any power lines or electrical equipment while working on your roof. Turn off the power beforehand if you need to work near electrical sources.
5. Properly Store Tools and Materials
Always properly store and secure your tools and materials when not in use. This will prevent any accidents or injuries caused by tripping over them.
6. Use Caution When Handling Sharp Objects
Metal roofing panels can have sharp edges, so use caution when handling them. Wear gloves and be mindful of where your hands are placed to avoid cuts or injuries.
7. Take Breaks When Needed
Taking breaks and staying hydrated while working on a roof is essential. This will help prevent exhaustion or fatigue, which can lead to accidents.
8. Hire a Professional if Unsure
If you feel uncomfortable or confident in your ability to install metal roofing yourself, it’s best to hire a professional. This will ensure the job is done safely and correctly.
Installing purlins for a metal roof requires careful planning, proper tools and materials, and safety measures. Following these steps and taking the necessary precautions, you can install purlins and have a strong and durable metal roof. Remember to prioritize safety at all times while working on your roof. Consulting with a professional is always best if you need clarification or are uncomfortable with the installation process.
FAQs About Installing Purlins for a Metal Roof
Do I Need to Use Purlins for My Metal Roof?
It is recommended to use purlins for metal roofing installations. They provide additional support and help distribute the weight of the roof evenly.
What Size Should My Purlins Be?
The size of your purlins will depend on their spacing and the type of metal roofing you use. Consult with a professional or refer to manufacturer instructions for recommended sizing.
Can I Install Purlins Myself?
Installing purlins for a metal roof can be done by an experienced DIYer with the proper tools and materials. However, if you are unsure or uncomfortable with the process, hiring a professional for safety and accuracy is best.
Is It Necessary to Pre-drill Holes for Purlins?
Pre-drilling holes for purlins is highly recommended as it ensures secure fastening and prevents damage to the metal roofing panels. It also allows for easier installation and adjustments if needed.

How Do I Know If my Purlins are Properly Aligned?
To ensure proper alignment, measure and mark each purlin before securing it. Step back to check for even spacing, and use a level to ensure your roof is straight and level. Adjust purlins as needed before continuing with the installation process.
Do I Need to Install Cross Bracing?
Depending on the size and design of your roof, you may need to install cross-bracing for additional support. Consult with a professional or follow manufacturer instructions for proper installation methods.
How Many Purlins Do I Need for My Roof?
The number of purlins needed for your roof depends on size and design. Refer to manufacturer instructions or consult a professional for specific recommendations based on your roof’s specifications.
How Long Will My Metal Roof Last With Properly Installed Purlins?
Proper installation and maintenance can last 40-70 years or even longer with a metal roof. Using purlins helps ensure the longevity of your roof by providing adequate support and protecting against potential damage or wear. Investing in quality purlins for a metal roof is essential for its durability and long-lasting performance.
Conclusion
Installing purlins for a metal roof is crucial in ensuring its strength and longevity. By following these steps on how to install purlins for a metal roof, taking necessary safety measures, and utilizing proper tools and materials, you can successfully install purlins and have a solid and durable metal roof. or any doubts or concerns, it’s always best to consult a professional for accurate installation methods.
Remember to prioritize safety when working on a roof and adequately maintain your metal roofing for years of protection. So, take the necessary precautions and enjoy the benefits of a sturdy and reliable metal roof.
Edmund Sumlin is a skilled author for Metal Fixes, bringing 6 years of expertise in crafting a wide range of metal fixtures. With a strong background in metalwork, Edmund’s knowledge spans various types of fixtures, from decorative pieces to functional hardware, blending precision with creativity. His passion for metalworking and design has made him a trusted resource in the industry.
Professional Focus:
- Expert in Metal Fixtures : Edmund aesthetic specializes in creating durable and innovative metal fixtures, offering both appeal and functionality. His work reflects a deep understanding of metalworking techniques and materials.
- Sustainability Advocate : He is dedicated to using sustainable practices, ensuring that every fixture is crafted with eco-friendly methods while maintaining high-quality standards.
In his writing for Metal Fixes, Edmund provides valuable insights into the latest trends, techniques, and practical advice for those passionate about metal fixtures, whether they are professionals or DIY enthusiasts. His focus on combining artistry with engineering helps others discover the true potential of metal in design.