A strike plate is crucial in reinforcing the area where a door latch engages with the frame, providing essential security and ensuring proper latching. By absorbing the impact of the latch bolt, the door frame is protected from damage over time and helps maintain the structural integrity of the entrance. Correct installation of a strike plate on a metal door frame enhances its durability, ensures smooth door operation, and prevents unnecessary wear on the latch components.

This article offers a comprehensive, step-by-step guide on how to install strike plate on metal door frame, aiming to optimize both security and functionality. By following these detailed instructions, you can fortify your door for increased safety while ensuring a seamless fit that leads to effortless opening and closing. Proper alignment and fastening of the strike plate are key to achieving all its benefits.
Tools and Materials Needed
Essential Tools
Having the right tools is essential to install a strike plate on a metal door frame. A drill equipped with metal drill bits is necessary to accurately create holes in the metal frame. You will also need a screwdriver to firmly secure the strike plate. A measuring tape ensures precise measurements, while a pencil marks drill points. A center punch can make indentations in the metal to guide your drill, preventing bit wandering. Safety glasses are crucial to protect your eyes from metal shavings. Optional tools include a chisel, which may be used if alterations to the frame are necessary.
Materials
Selecting the correct materials ensures a secure installation. The primary material needed is the strike plate itself, which should be sturdy and compatible with your metal door frame. Along with the strike plate, you’ll require metal-specific screws to ensure a strong and durable attachment. Masking tape can be useful during the drilling phase to prevent surface damage. Optional materials such as adhesive or foam are available for those seeking additional soundproofing or vibration reduction. These materials not only aid in reducing noise but can also enhance your installation’s overall security and stability.
Preparing for Installation
Checking the Strike Plate Location

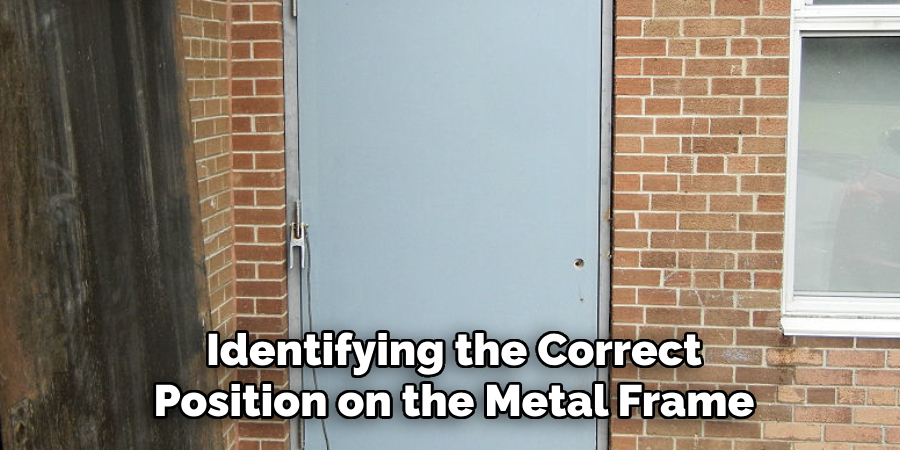
Identifying the correct position on the metal frame is vital for effective strike plate installation. Begin by closing the door and determining where the latch bolt naturally aligns with the frame. The strike plate should be installed in this spot to ensure the door latches smoothly. Make precise adjustments to ensure that the plate aligns perfectly with the latch bolt for optimal operation without friction or misalignment. Use the door’s latch bolt as a guide to mark the exact spot, ensuring that the strike plate will sit flush against the door frame once installed.
Marking the Screw Hole Positions
With the strike plate location identified, the next step involves marking the screw hole positions. Use a pencil or a fine-tipped marker to mark through the strike plate holes onto the metal frame, ensuring precision. For added stability, apply a strip of masking tape over the surface of the metal frame before marking the screw holes. This technique prevents the drill from slipping, providing a controlled surface when you start drilling. Carefully position the tape to cover the area where the holes will be drilled to maintain clear and accurate markings throughout the installation process.
Drilling Holes for the Strike Plate
Using a Center Punch to Mark Hole Locations
Before drilling, it’s crucial to use a center punch to mark the hole locations on the metal frame accurately. The center punch creates small indentations that help guide the drill bit, preventing it from slipping or wandering off the mark. To use the center punch effectively, position it on the marked hole location and tap it gently with a hammer to create a visible indentation. Ensure the indentation is clear and deep enough for the drill bit to sit securely in place. This preparation step not only aids in precision but also protects the metal frame from unnecessary scratches and damage.
Drilling Pilot Holes in the Metal Frame
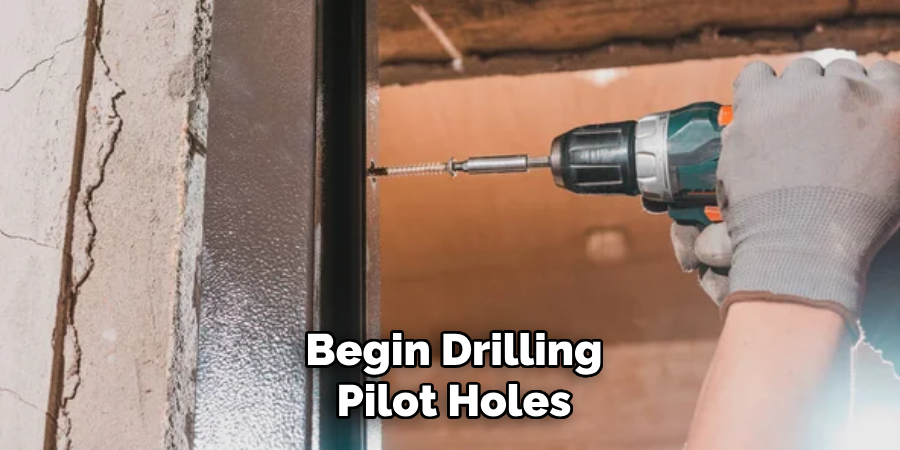
Once the markings are in place, begin drilling pilot holes using a metal-specific drill bit. Ensure your drill is equipped with the appropriate bit size for the screws you plan to use. Start drilling at a low speed to maintain control and prevent overheating, which might dull the drill bit.

To further aid in smooth drilling, apply a small amount of lubricant, such as cutting oil, to the drill bit. This reduces friction and heat buildup, protecting both the bit and the metal surface. Keep the drill steady and perpendicular to the frame while drilling to ensure straight, clean holes. Always wear safety glasses to protect your eyes from metal shavings. After completing the pilot holes, inspect them to ensure they are suitably sized and located correctly, readying them for the installation of the strike plate screws.
How to Install Strike Plate on Metal Door Frame: Attaching the Strike Plate to the Frame
Aligning the Strike Plate
Position the strike plate over the pre-drilled holes on the metal frame to begin securing it. Carefully ensure that the strike plate aligns perfectly with the latch bolt when the door is closed, allowing for smooth locking and unlocking without undue resistance. Proper alignment is key to ensuring that the strike plate fits flush against the frame, presenting a clean and even appearance. This step is critical to the operation and aesthetics of the door, as a misaligned plate could lead to malfunctions or an unprofessional look.
Securing the Strike Plate with Screws
Once the strike plate is correctly positioned, proceed to fasten it with metal-specific screws. Begin inserting the screws into the pre-drilled pilot holes, starting gently to avoid stripping the screws or damaging the metal frame. If you’re using a power drill, setting it at a low speed is advisable to maintain control. For better precision or if working in tight spaces, consider hand-tightening the screws to ensure they hold firmly without over-tightening, which could compromise the frame’s integrity or the screws’ grip.
Adjusting the Strike Plate Position

After securing the screws, close the door to verify that the latch aligns smoothly with the strike plate. If you notice any misalignment preventing proper latching, adjustments may be necessary. Loosen the screws slightly, allowing you to shift the strike plate’s position for optimal alignment with the latch bolt. Once adjusted, retighten the screws securely to maintain the plate’s new position. This ensures the door closes effortlessly and maintains its secure fit, providing both functional reliability and enhanced security.
Testing the Door and Strike Plate
Checking for Smooth Operation
After the strike plate is attached, test the door latch by closing and opening the door to ensure it clicks smoothly into the strike plate without resistance. Listen for a crisp click that indicates a secure engagement. If there’s rubbing or minor misalignment, slight adjustments to the door or latch might be necessary. You can accomplish this by gently tapping the latch bolt for better alignment or by adjusting the hinges to ensure an even door fits against the frame.
Addressing Common Issues
If the latch does not fully engage or sticks frequently, begin troubleshooting by ensuring the strike plate holes are perfectly aligned with the latch bolt. Realign the strike plate, if necessary, by loosening the screws and adjusting its position slightly. Additionally, consider adjusting the screws for better alignment, ensuring that they haven’t been over-tightened, which can lead to misalignment. Regular maintenance checks can prevent these common issues from recurring.
Reinforcing the Strike Plate for Enhanced Security
Adding Longer Screws
To enhance the security of your strike plate, consider using longer, heavy-duty screws. These screws should extend deeper into the door frame, providing a firmer grip and stronger hold, deterring forced entry attempts. When selecting longer screws, ensure they are compatible with the metal frame to avoid causing damage. Opt for screws specifically designed for metalwork, as this will prevent stripping or cracking. Begin by removing one screw at a time and replacing it with the longer version, ensuring each screw is secured snugly. This method not only increases security but also extends the longevity of the installation.
Optional Strike Plate Reinforcements
For additional reinforcement, you may use adhesive or foam padding. Applying a thin layer of adhesive behind the strike plate can help reduce sound and add a layer of protection against loosening over time. Foam padding, when placed around the strike plate, can minimize vibrations and contribute to a quieter door operation. These reinforcements are particularly useful in high-use areas where constant door movement can lead to wear. By implementing these optional additions, you further ensure that the installation remains robust, effectively adapting to varying door usage demands.
Maintaining the Strike Plate
Regular Inspections
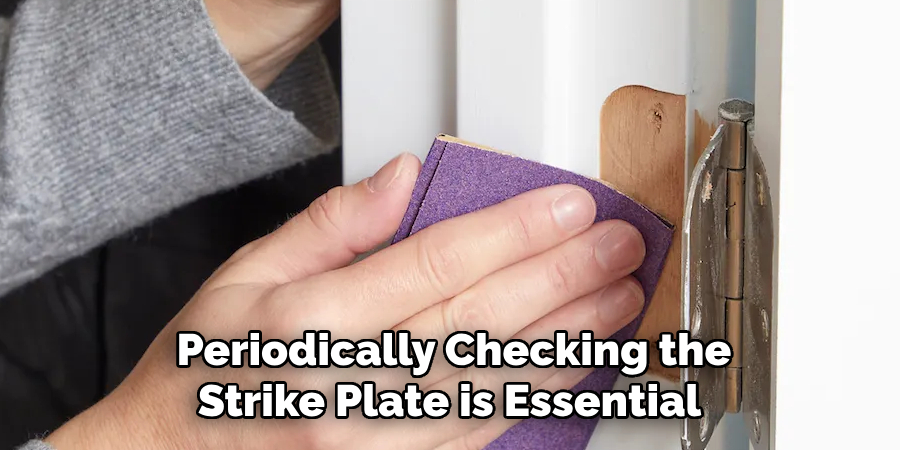
Periodically checking the strike plate is essential for ensuring secure and smooth door operation. Inspect for any signs of loose screws or misalignment that could compromise security. Retighten screws as needed, ensuring they remain firm to keep the strike plate accurately aligned with the latch.

Cleaning and Lubricating the Area
Maintain the area around the strike plate by regularly cleaning it to remove dust and debris, which can hinder performance. Use appropriate lubricants to prevent rust on screws and facilitate smooth operation of the latch, ensuring longevity and functionality.
Conclusion
Understanding how to install strike plate on metal door frame is crucial for achieving a secure and functional door. Key steps include aligning the strike plate accurately with the latch bolt, securing it with metal-specific screws, and periodically checking for proper alignment and screw tightness. Precision during installation is vital to ensure smooth door operation and robust security. A properly installed strike plate facilitates ease of use and enhances safety, offering peace of mind by fortifying an often overlooked yet critical component of door security.
Edmund Sumlin is a skilled author for Metal Fixes, bringing 6 years of expertise in crafting a wide range of metal fixtures. With a strong background in metalwork, Edmund’s knowledge spans various types of fixtures, from decorative pieces to functional hardware, blending precision with creativity. His passion for metalworking and design has made him a trusted resource in the industry.
Professional Focus:
- Expert in Metal Fixtures : Edmund aesthetic specializes in creating durable and innovative metal fixtures, offering both appeal and functionality. His work reflects a deep understanding of metalworking techniques and materials.
- Sustainability Advocate : He is dedicated to using sustainable practices, ensuring that every fixture is crafted with eco-friendly methods while maintaining high-quality standards.
In his writing for Metal Fixes, Edmund provides valuable insights into the latest trends, techniques, and practical advice for those passionate about metal fixtures, whether they are professionals or DIY enthusiasts. His focus on combining artistry with engineering helps others discover the true potential of metal in design.


